Amine blush in epoxy is a greasy or waxy film that can appear on the surface while curing. It can cause a dull haze, weaker adhesion for the next coat, and extra sanding. In this guide, you will learn how to prevent and safely remove amine blush.
My experience with different epoxy systems
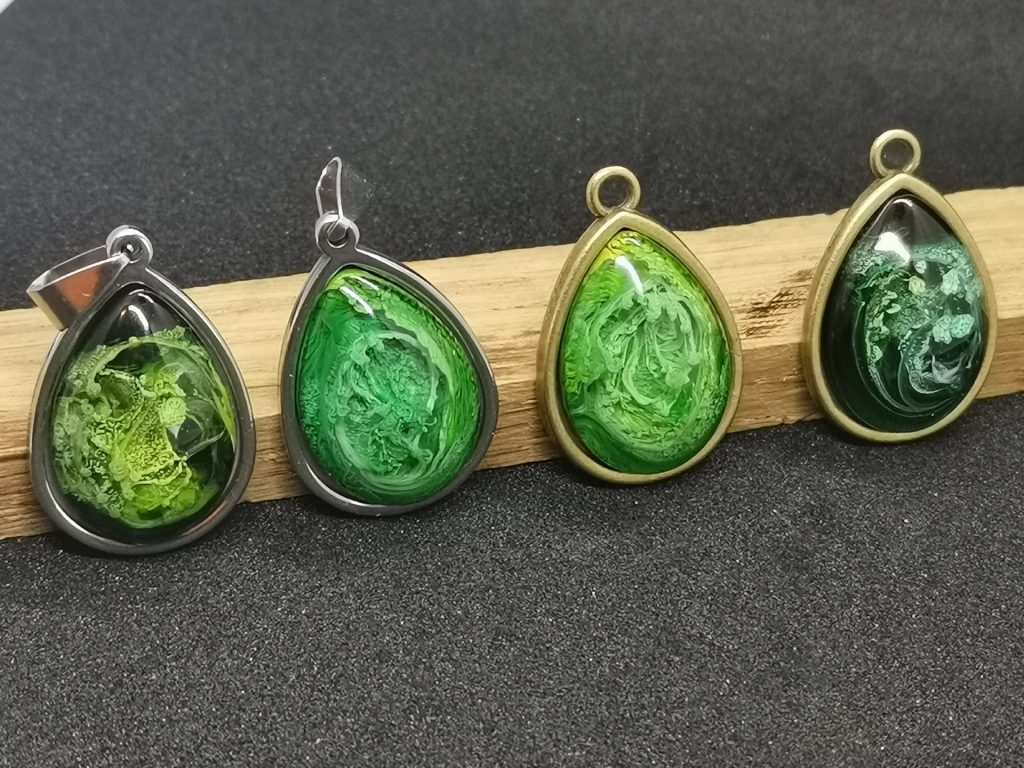
With Let’s Resin epoxy, I have not had issues with amine blush so far. In practice, I also see it less often in smaller pours and with resins that cure faster.
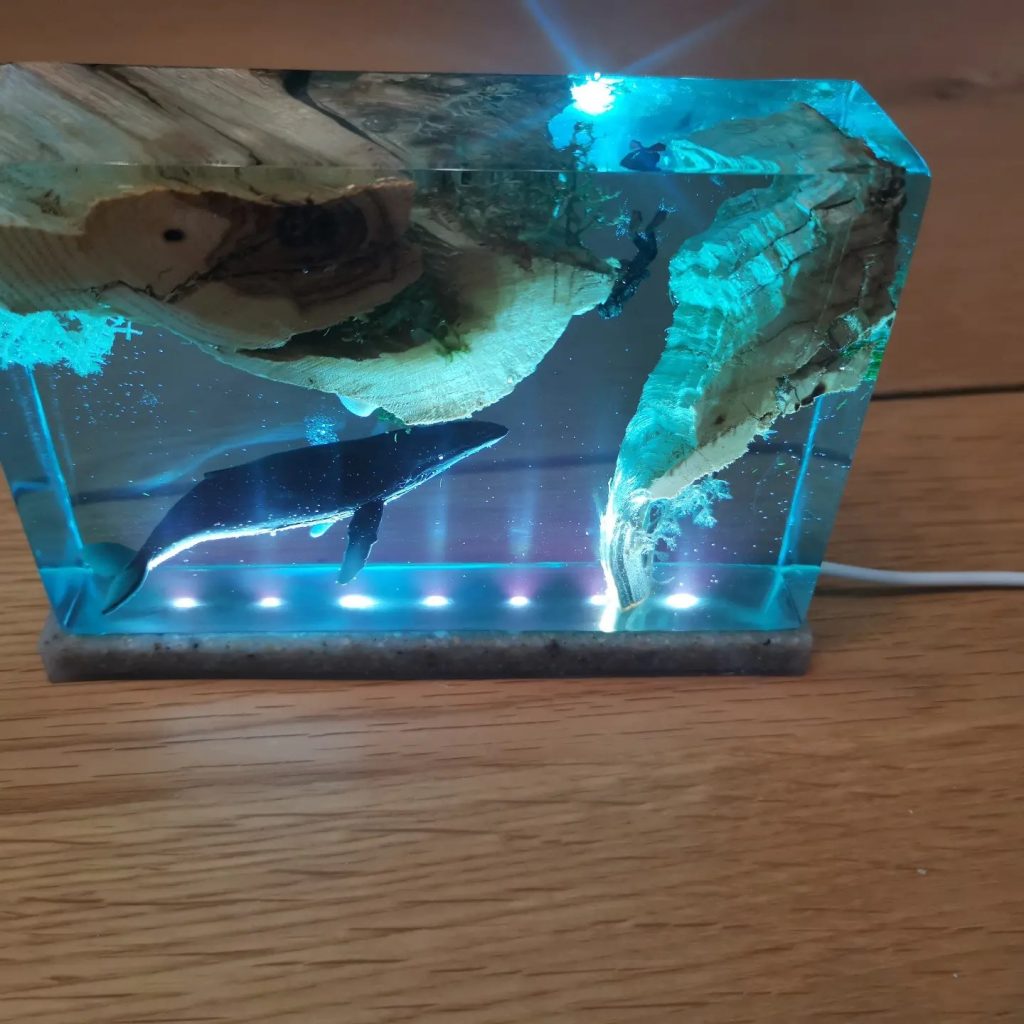
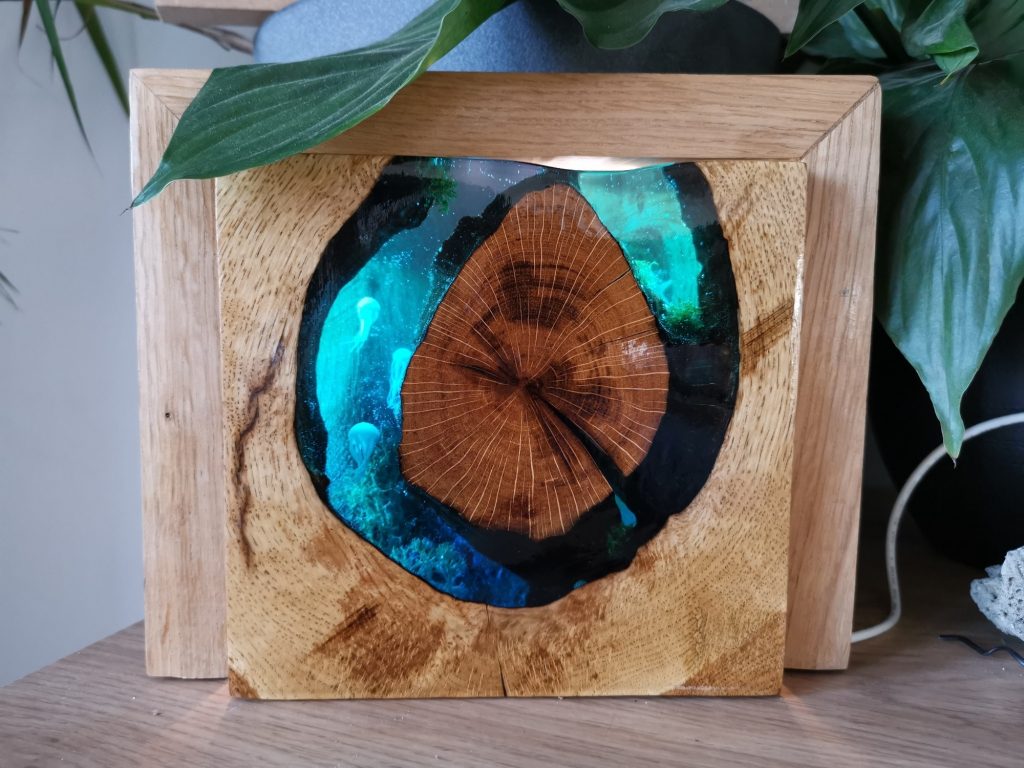
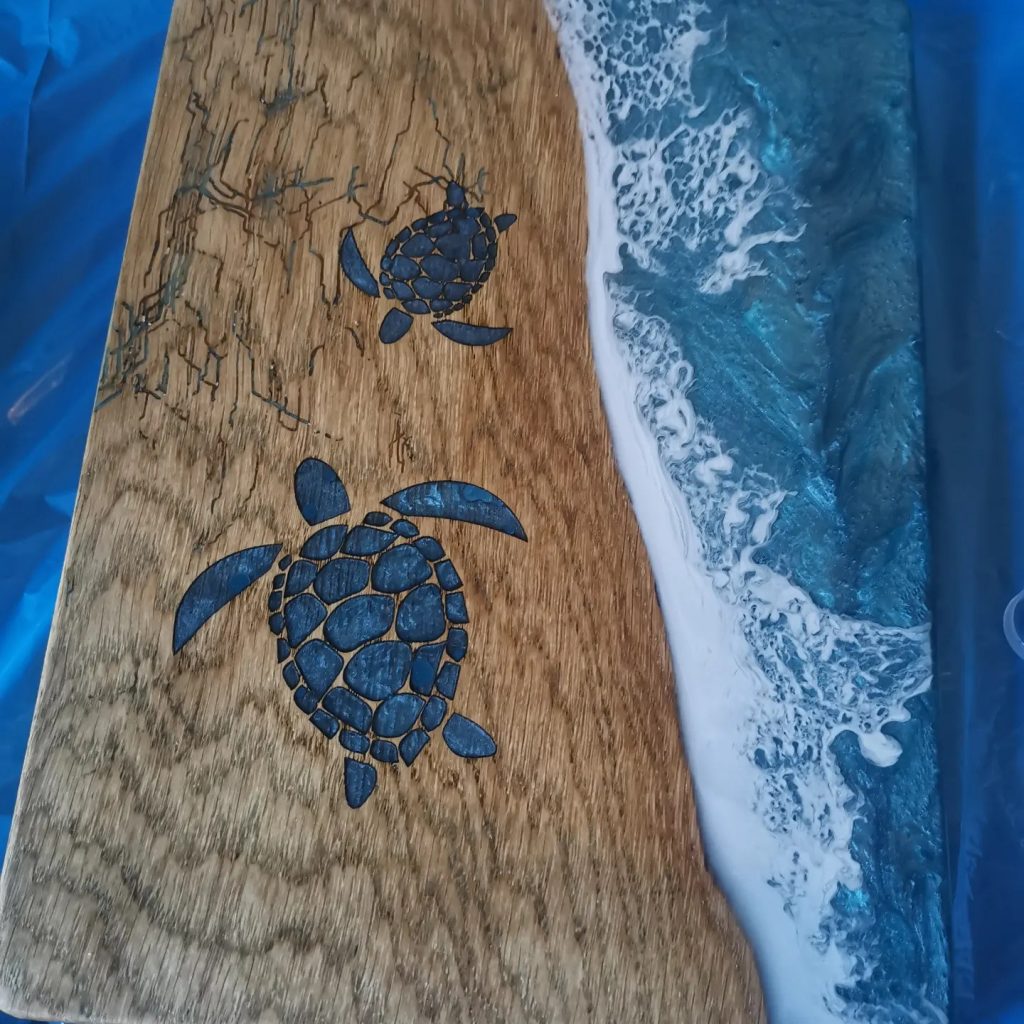
With deep pours, making serving boards and lamps, I have experienced amine blush. At that time, I used Mr Boat epoxy. Thicker pours and slower cure systems are more sensitive to environmental conditions.
What causes amine blush?
- High humidity during cure.
- Low temperature or strong temperature swings.
- Slow hardeners/deep pour systems that react longer with ambient air.
- Incorrect mix ratio or insufficient mixing, which disrupts cure quality.
How to prevent amine blush as much as possible
- Work in a stable room around 20-25 C.
- Keep humidity preferably below 60% during pouring and curing.
- Use the exact mix ratio and mix for at least 2-3 minutes, including cup bottom and sides.
- Warm components slightly (following product instructions) for a more even reaction.
- For deep pours: pour in layers within product limits instead of one overly thick pour.
- Keep the project covered from dust so condensation and contamination cannot settle on the surface.
How to remove amine blush if it appears
Important: amine blush is generally water-soluble. Do not start with dry sanding, because that can grind the film into the surface.
- Wash the surface first with lukewarm water and a soft sponge or Scotch-Brite.
- Dry completely with a lint-free cloth.
- Then sand lightly (for example P180-P320, depending on your finish).
- Remove sanding dust and only then apply the next epoxy coat or finish.
Quick checklist for your next pour
- Stable temperature?
- Humidity low enough?
- Exact mix ratio?
- Not poured too thick for this system?
- Surface checked before next coat?
Continue Reading on Creadeliefje
Want to go deeper into epoxy work? Explore our other in-house guides and practical posts about casting, finishing, and troubleshooting.
Mijn gebruikte materialen:
Let’s Resin epoxyhars set met mica poeder
Let’s Resin epoxyhars set met pompen en toebehoren
Affiliate disclaimer: some links are affiliate links. If you buy via such a link, I may receive a small commission at no extra cost to you.