Some projects for making an epoxy lamp run smoothly from start to finish. This one did not. That is exactly why I wanted to share this post.
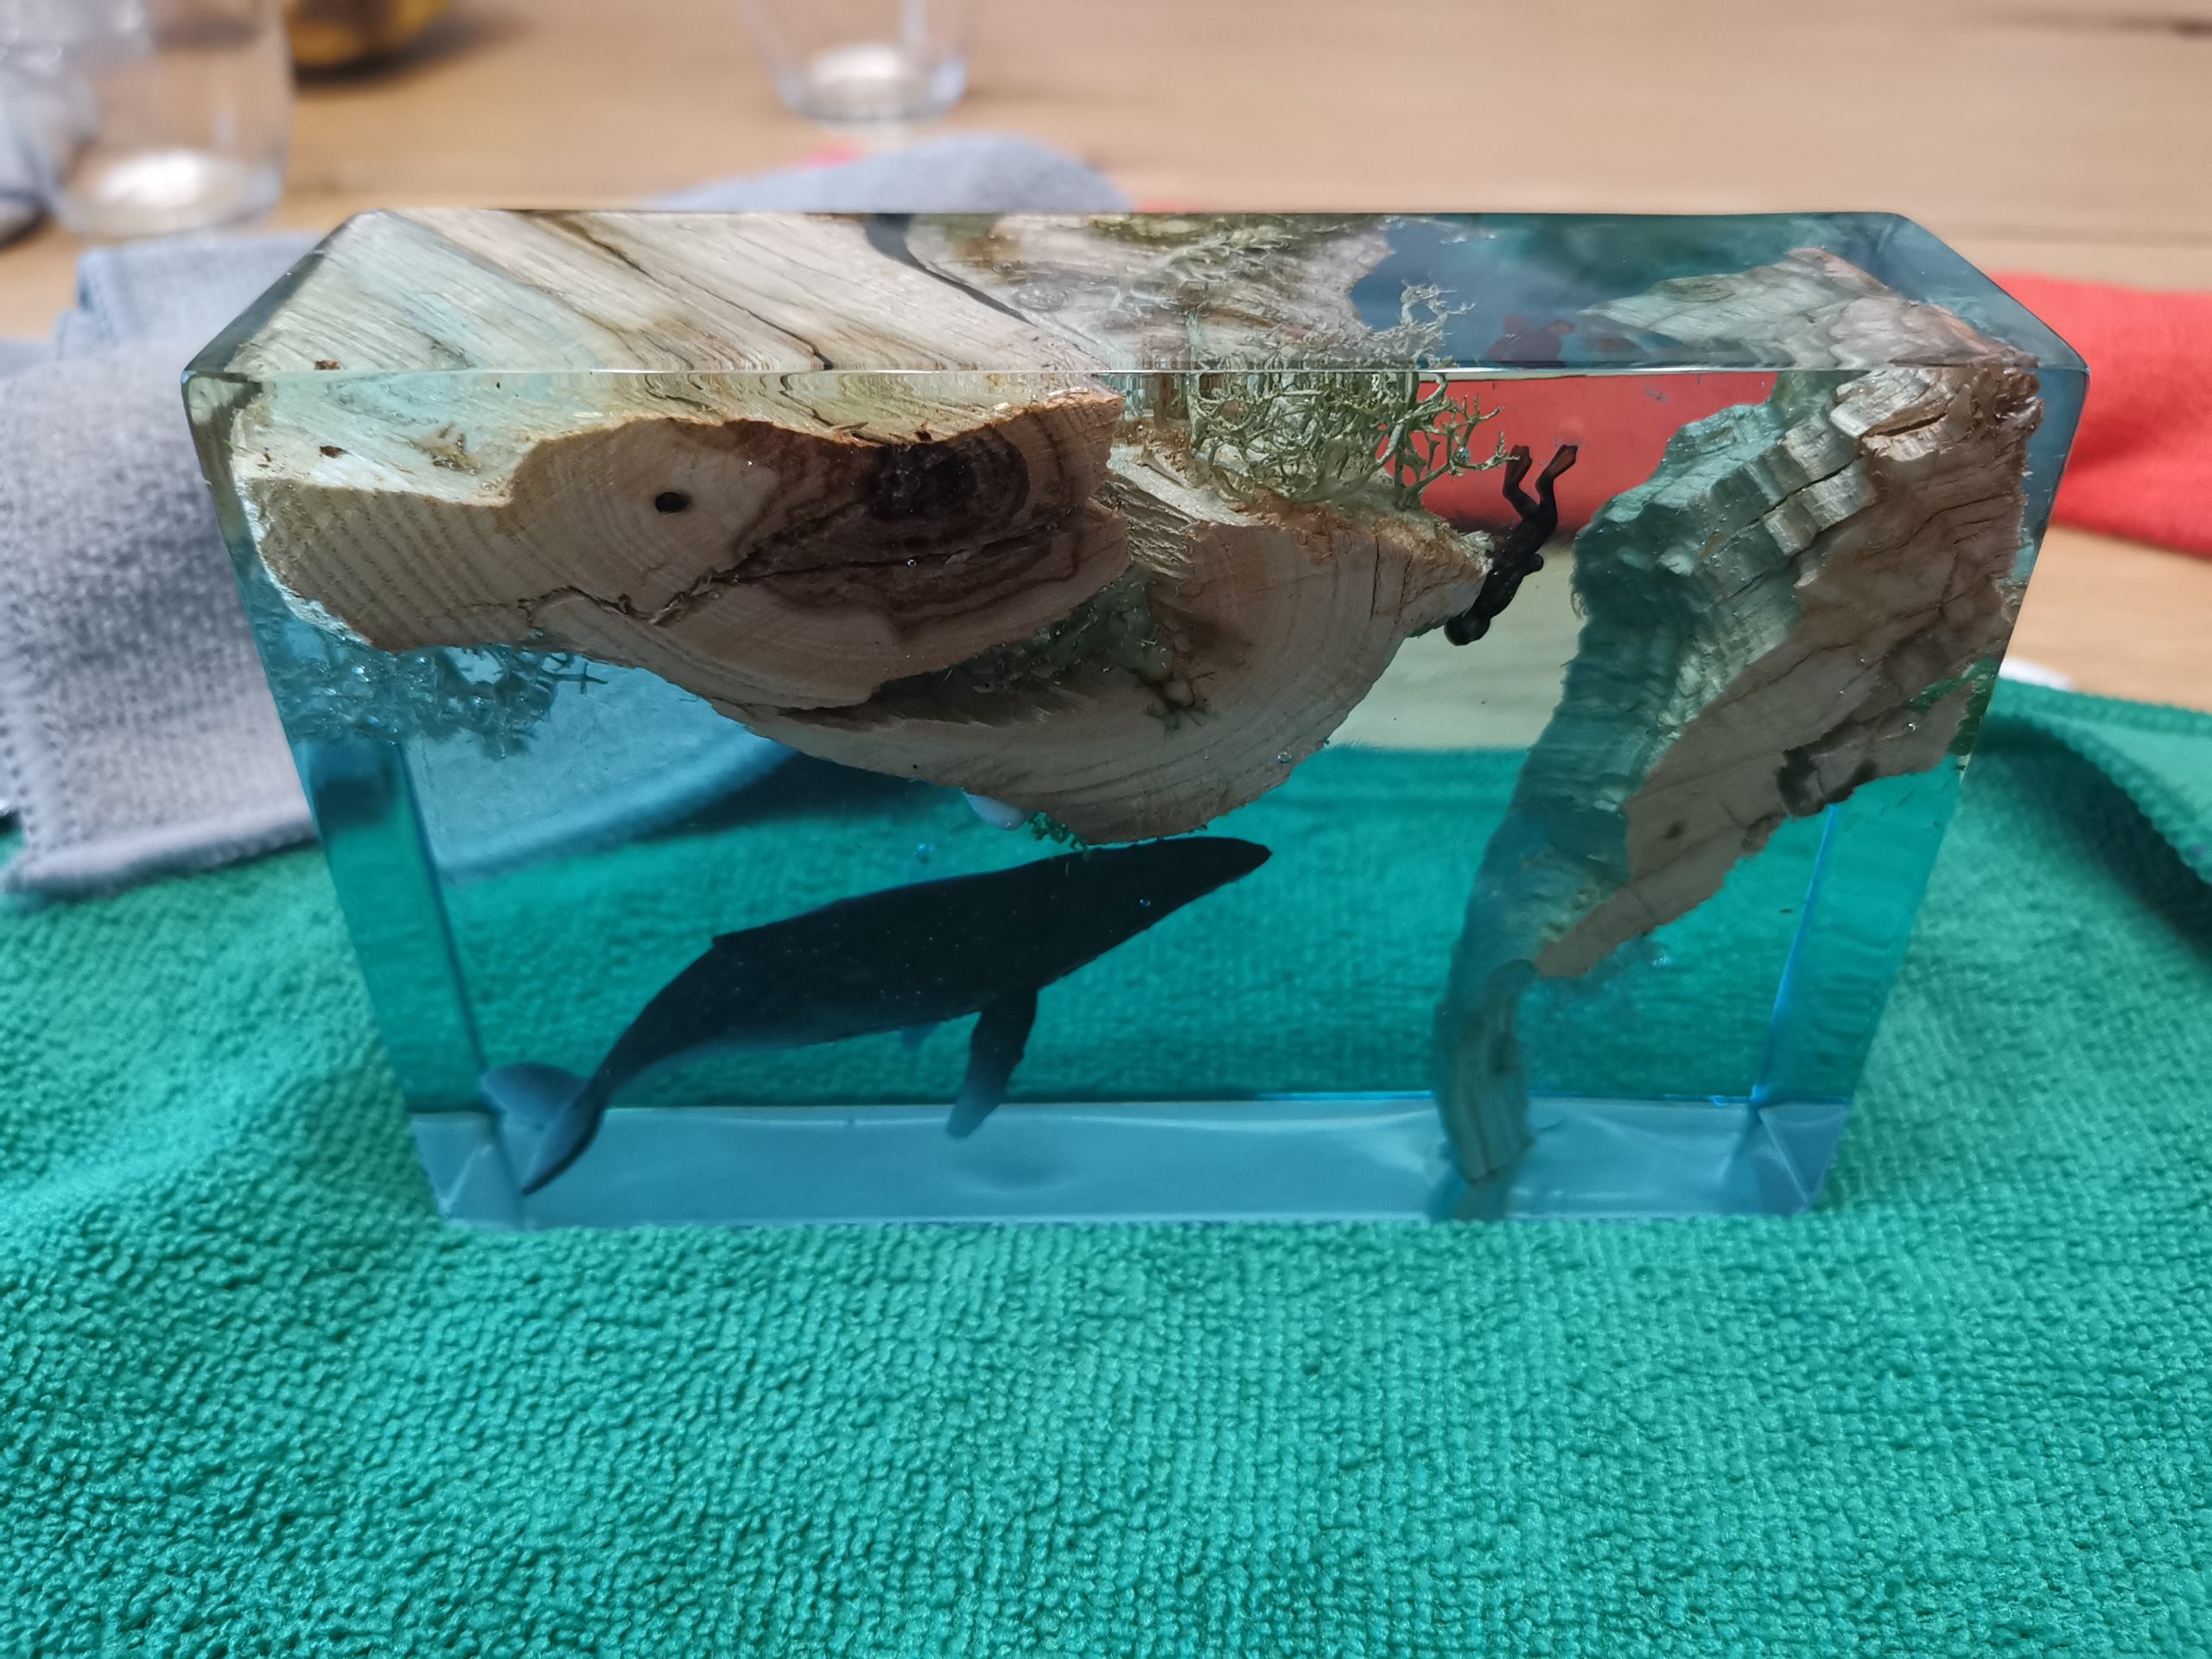
I started with reclaimed wood, a miniature diver I 3D-printed myself, a plastic whale, and a mold from Temu. For the pour, I used Mr Boat epoxy with liquid resin dye. I first fixed the parts in place with letsresin UV resin so I could pour in one go.
I still really like the final result. At the same time, sanding and polishing did not go the way I hoped. I never fully removed those hairline scratches and pigtails, even after trying different polishing compounds, including Epodex. That is why I never put this lamp up for sale.
Materials for this epoxy lamp
- Mr Boat epoxy
- Liquid resin dye
- letsresin UV resin
- Temu mold
- Reclaimed wood base
- Miniature diver (3D-printed by me)
- Plastic whale
- Sandpaper up to grit 5000 + polishing compounds
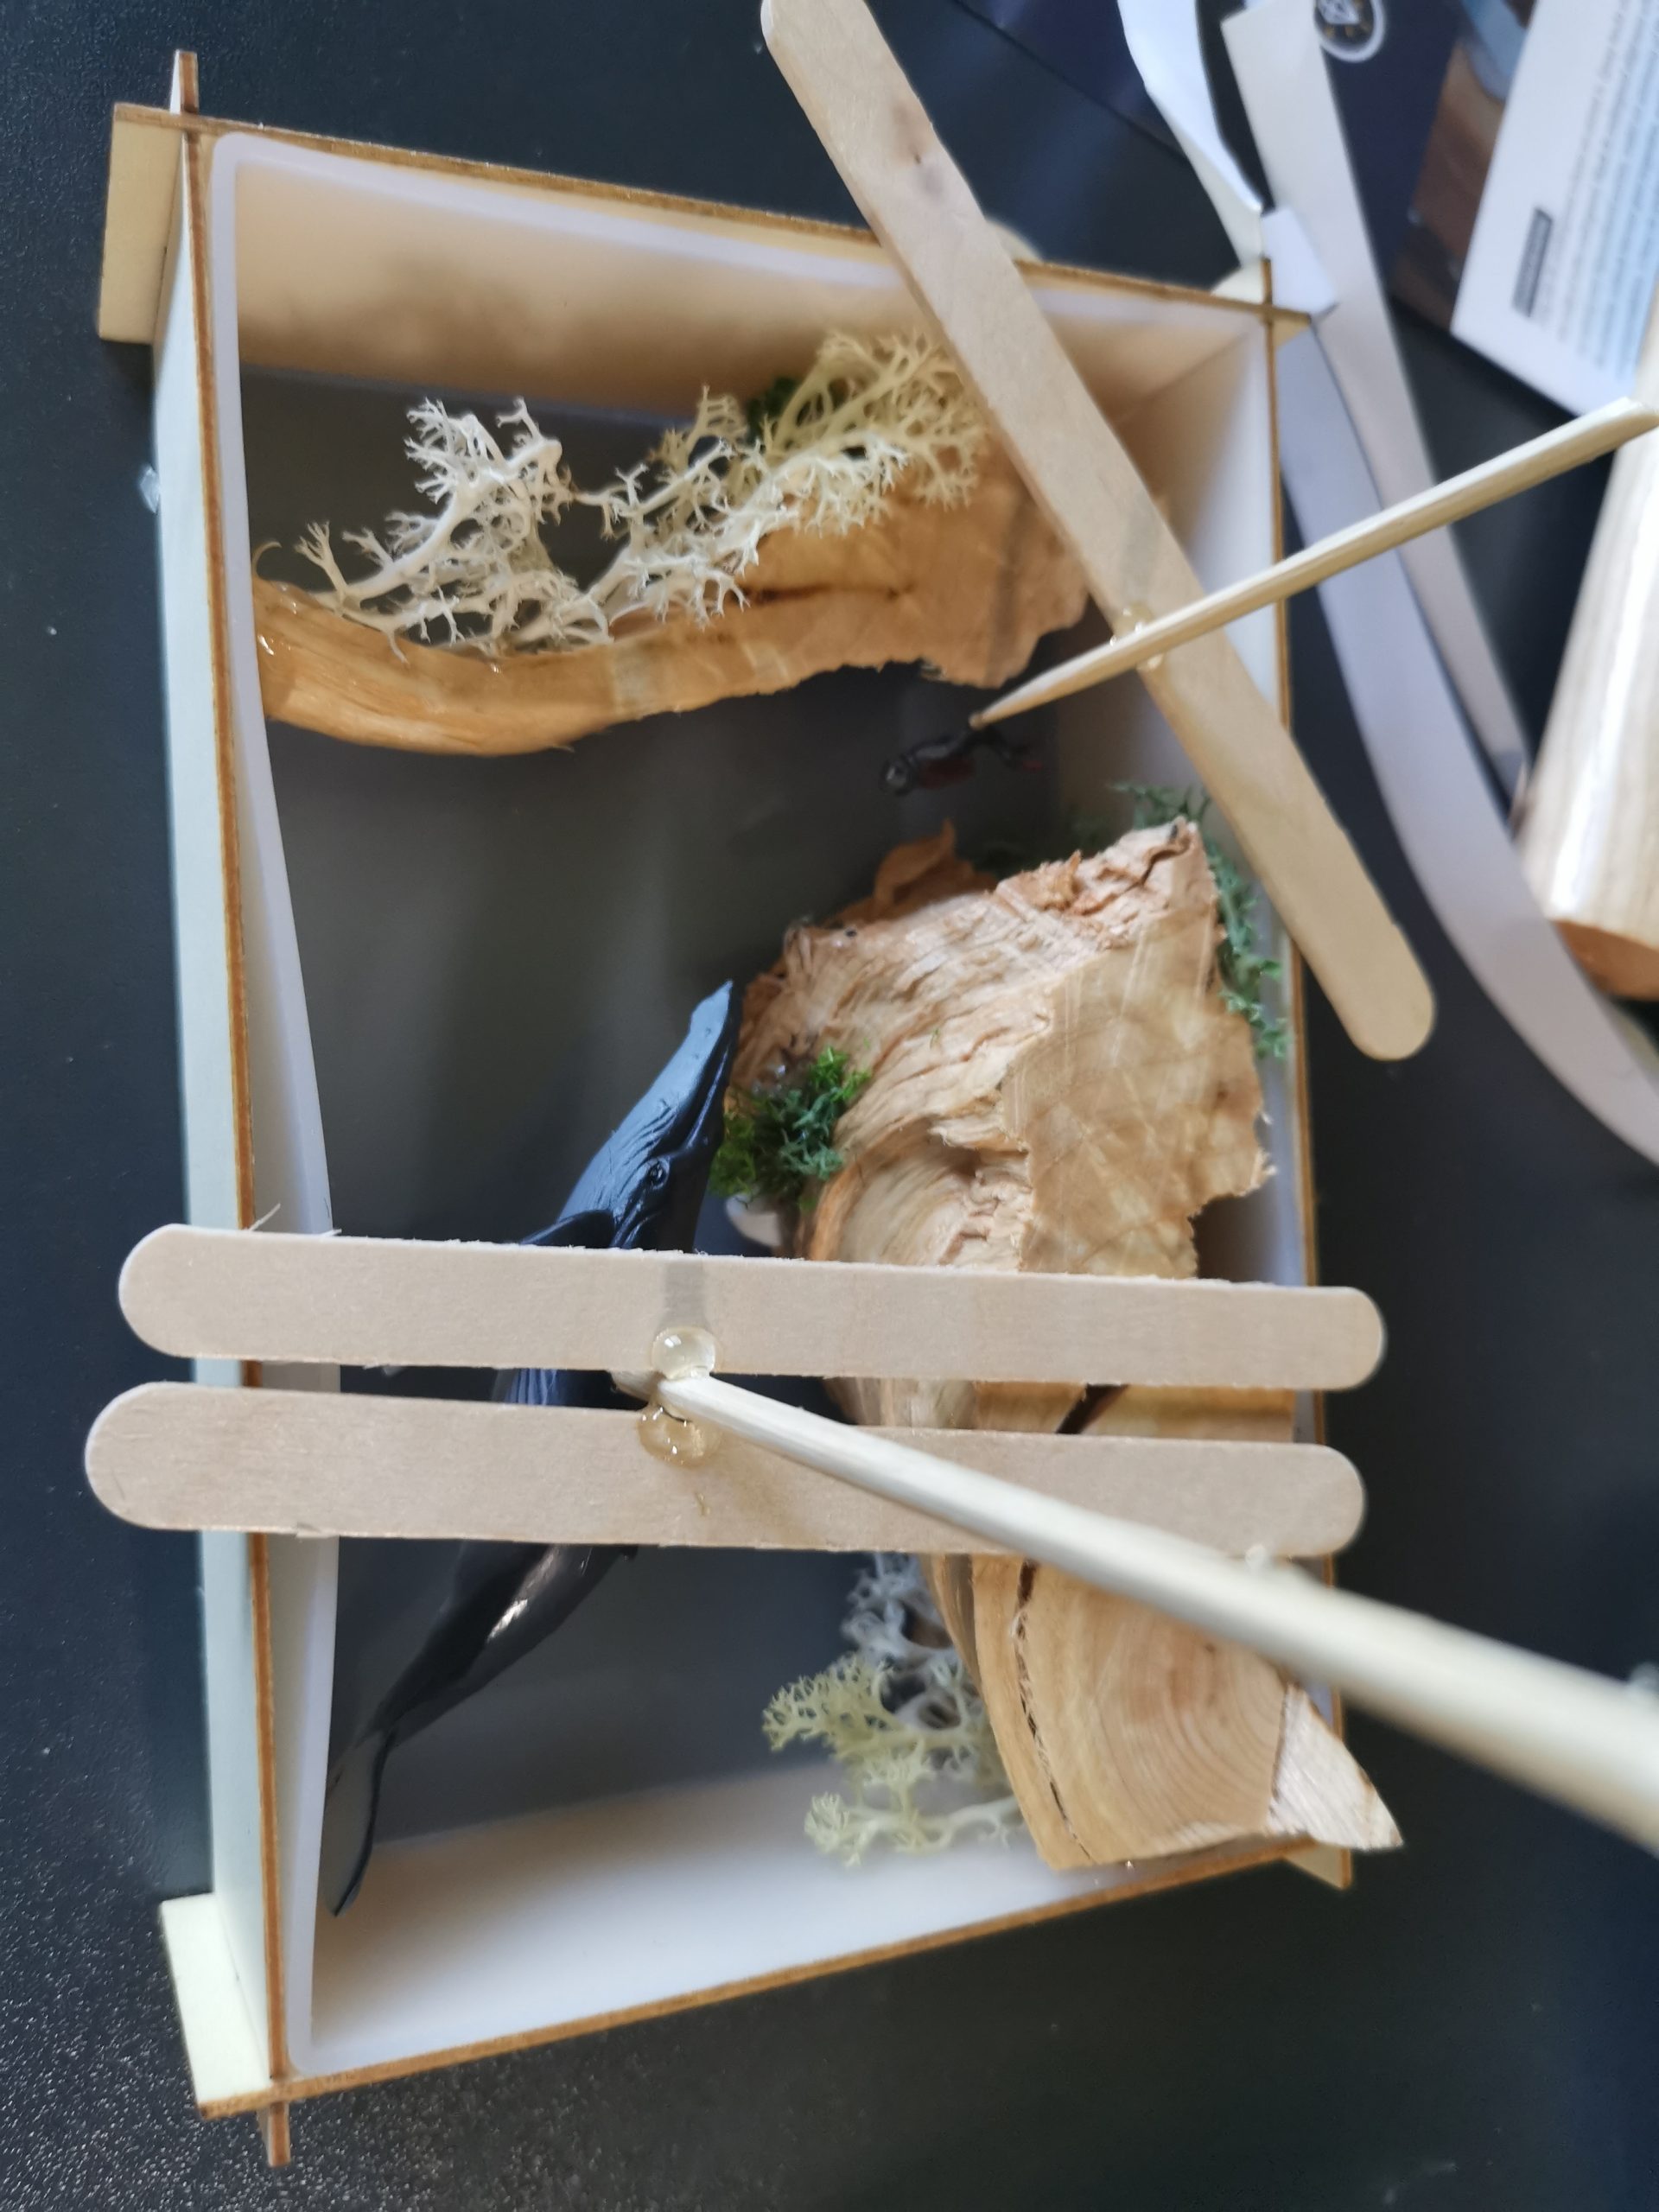
Step 1. Making an epoxy lamp: from rough wood to composition

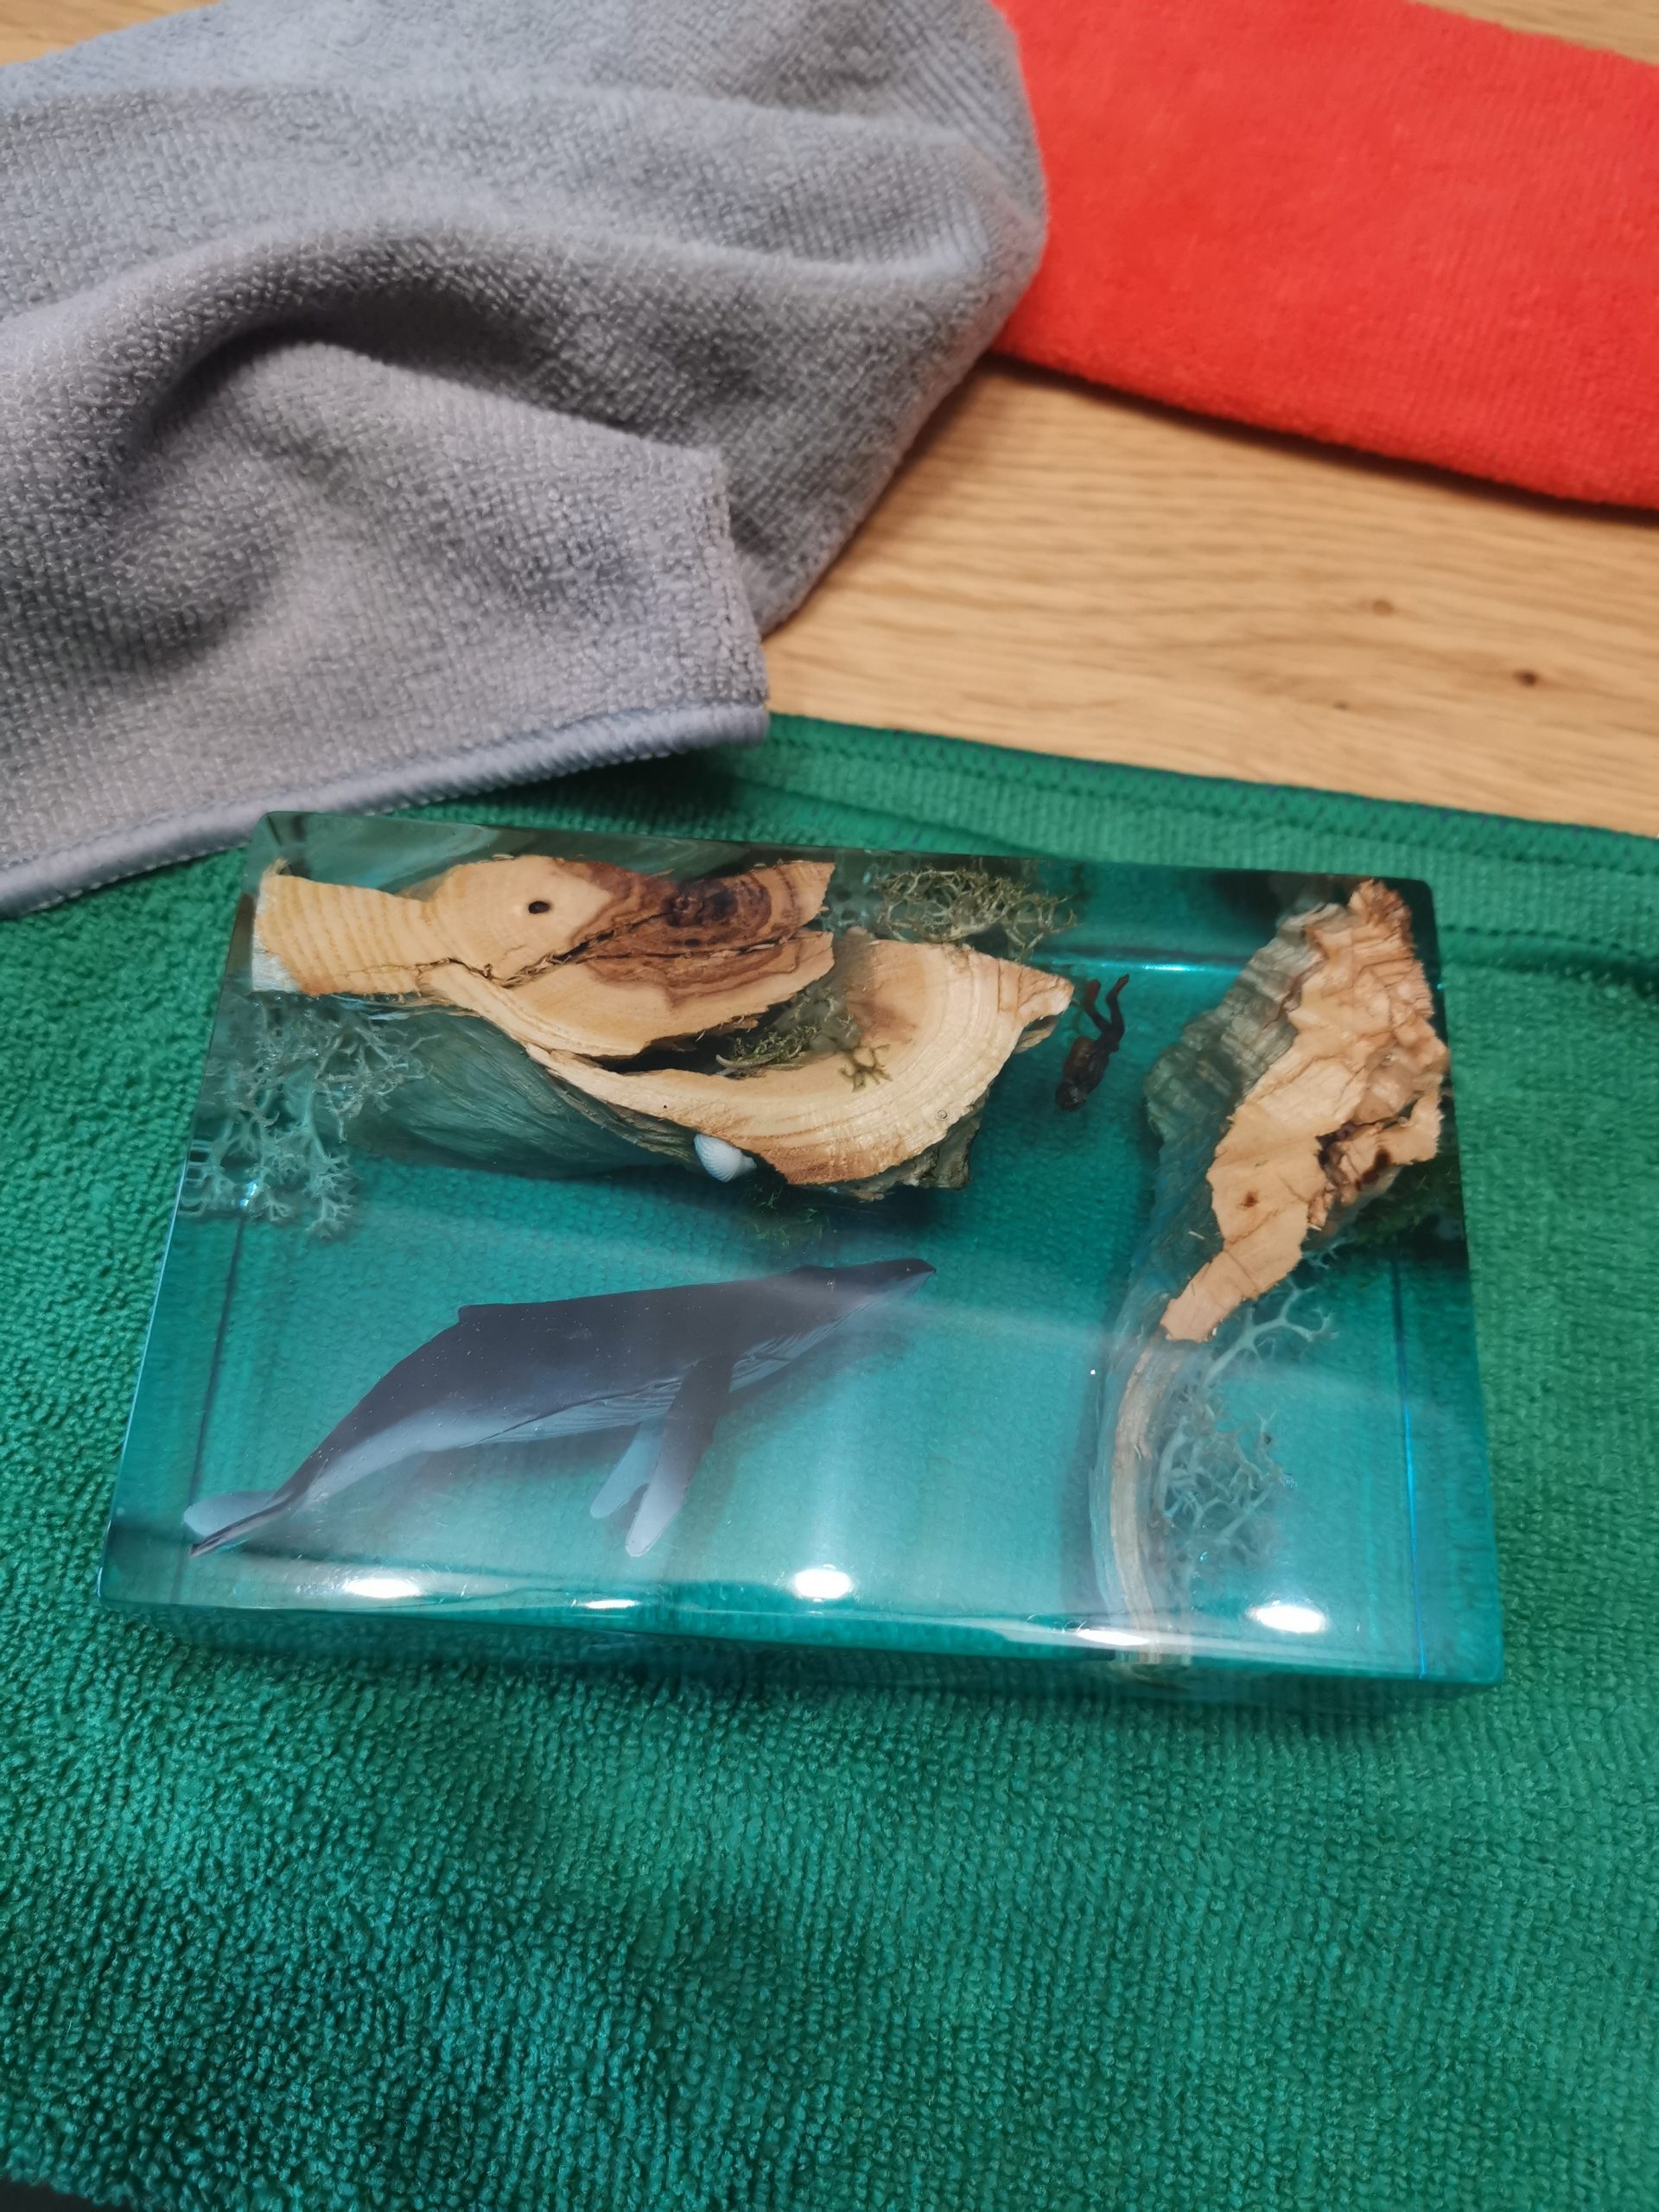
I started with a rough reclaimed wood base and shaped the form first. In this stage, I focus on balance in the composition: where the whale goes, where the diver goes, and where the light should look best later on.
That preparation takes time, but it makes pouring much less stressful later on.
Step 2. Fixing parts with UV resin
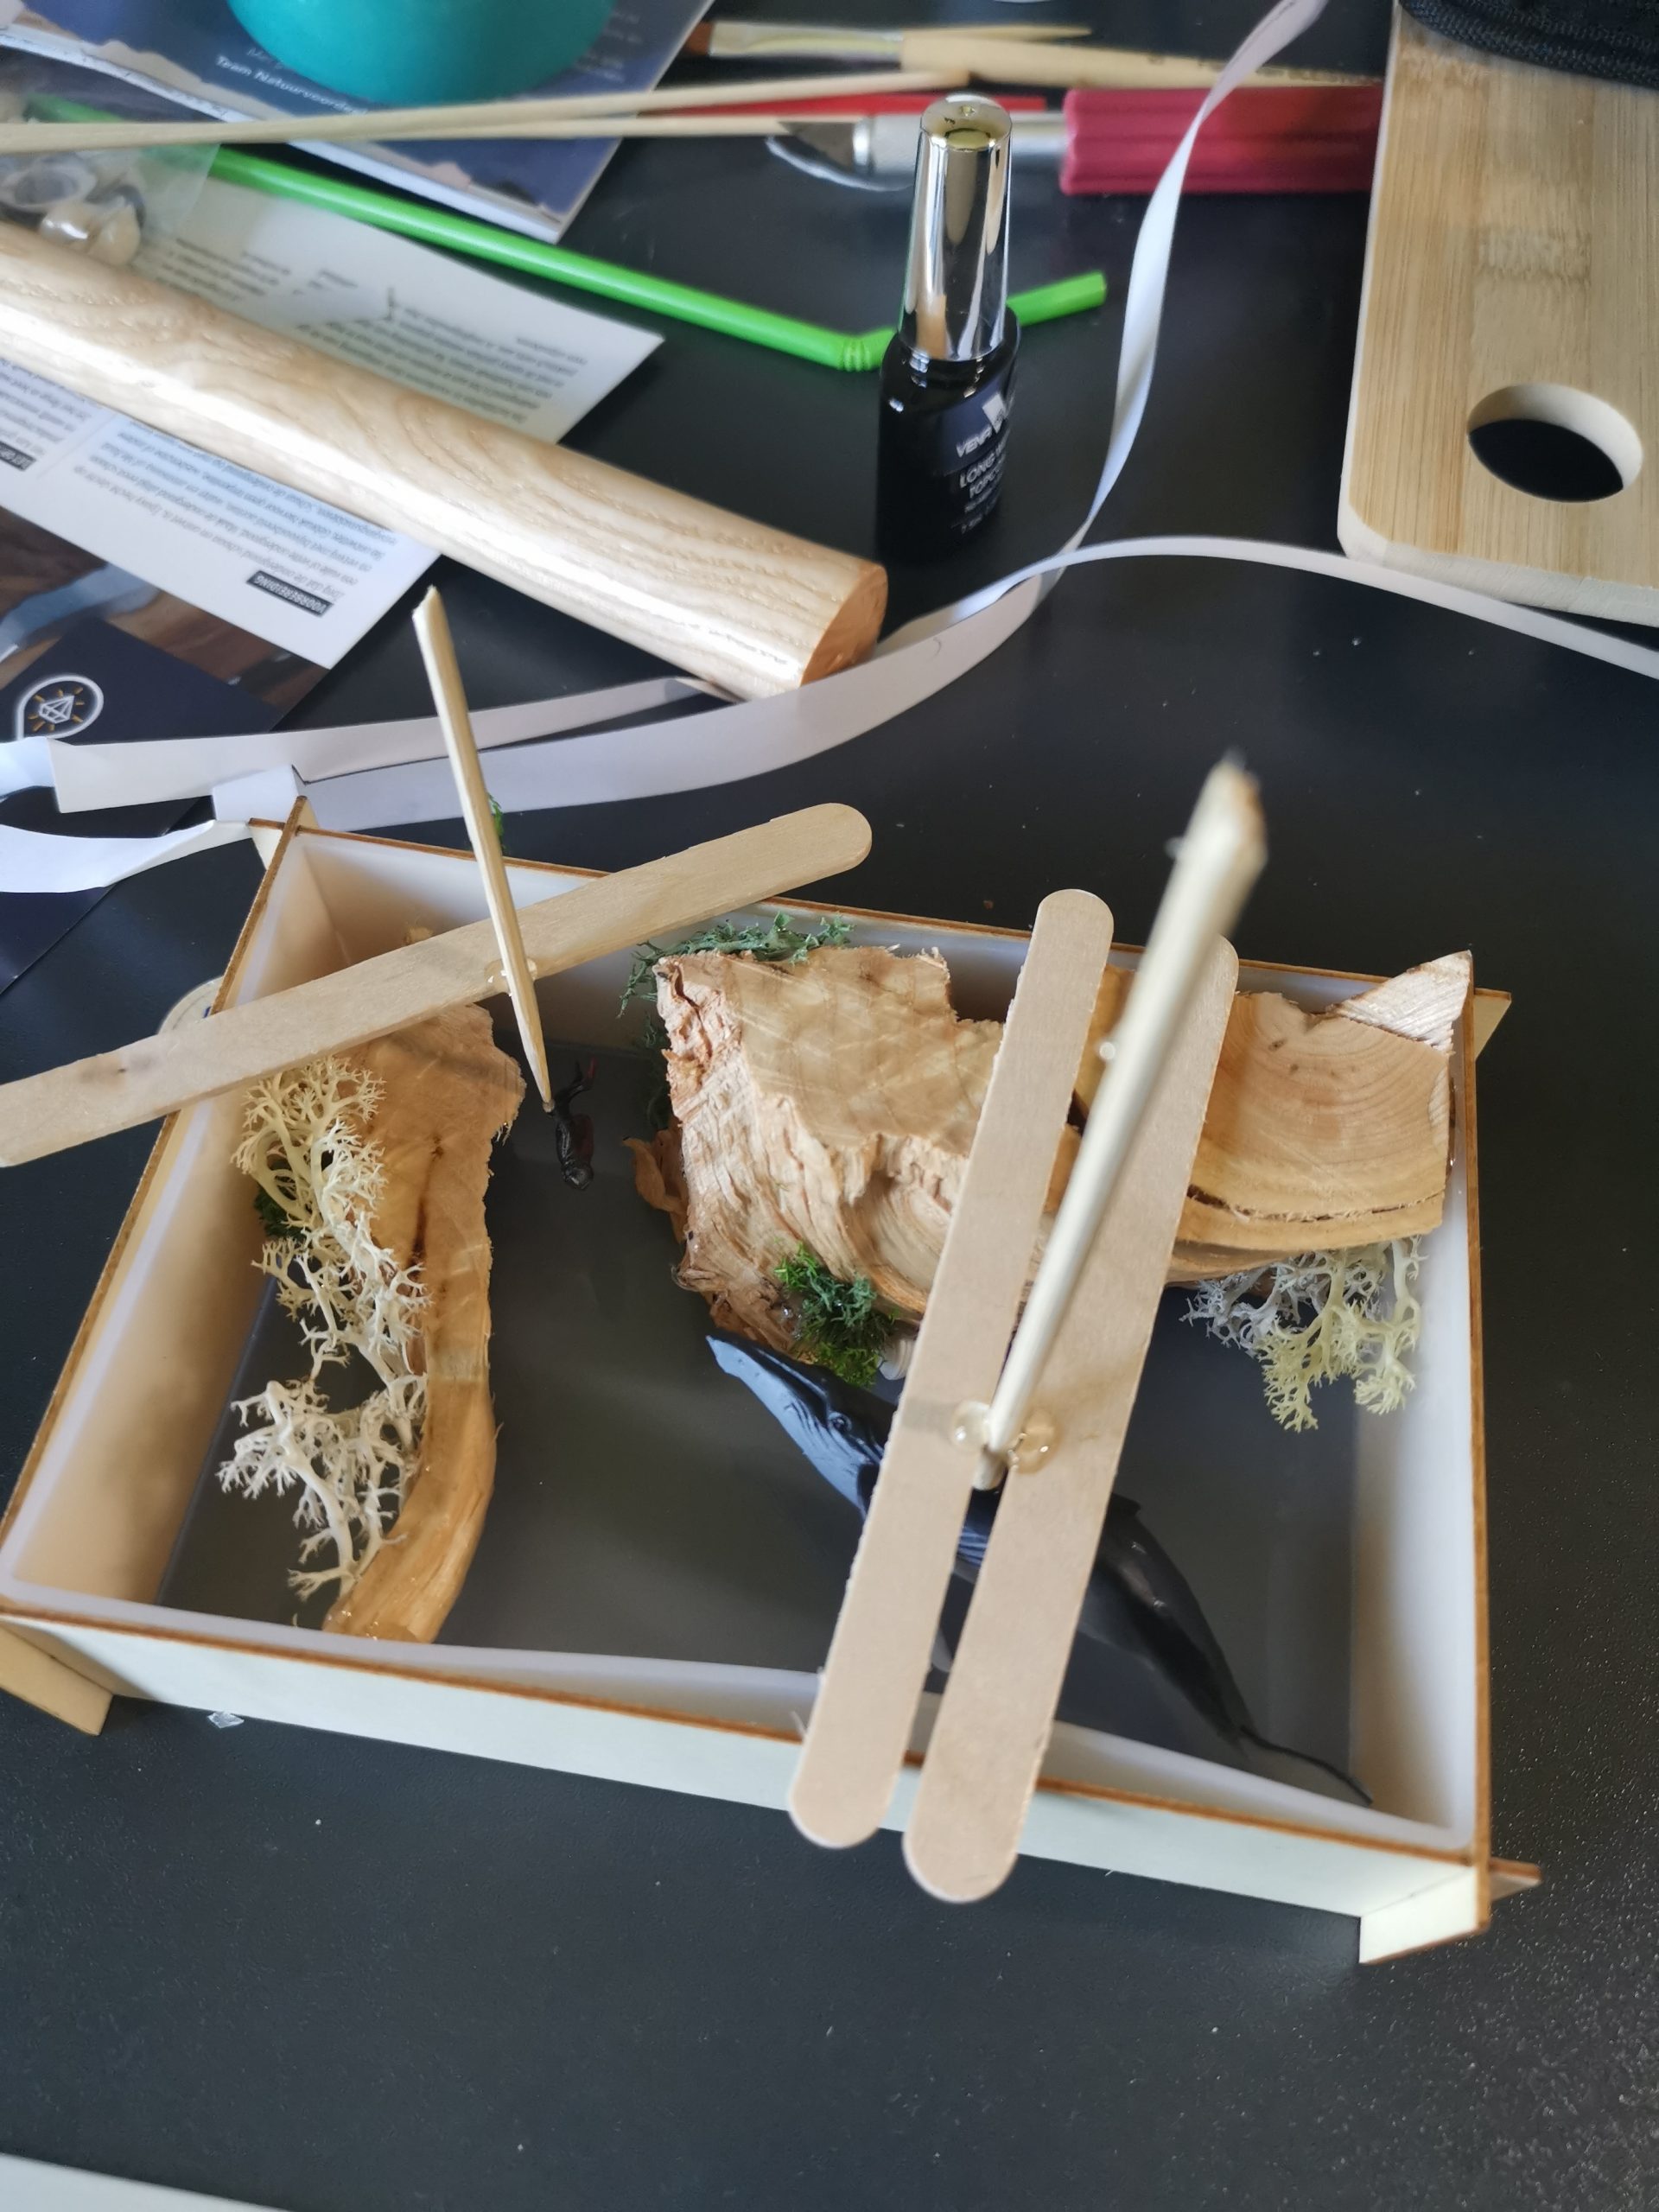
I fixed all parts first with Let’s resin UV resin. That gave me enough control to pour in one go later, without the miniatures floating or shifting.
Looking back, I should have removed some supports a bit earlier. I come back to that below, because it affected air bubbles.
Step 3. Pouring and curing

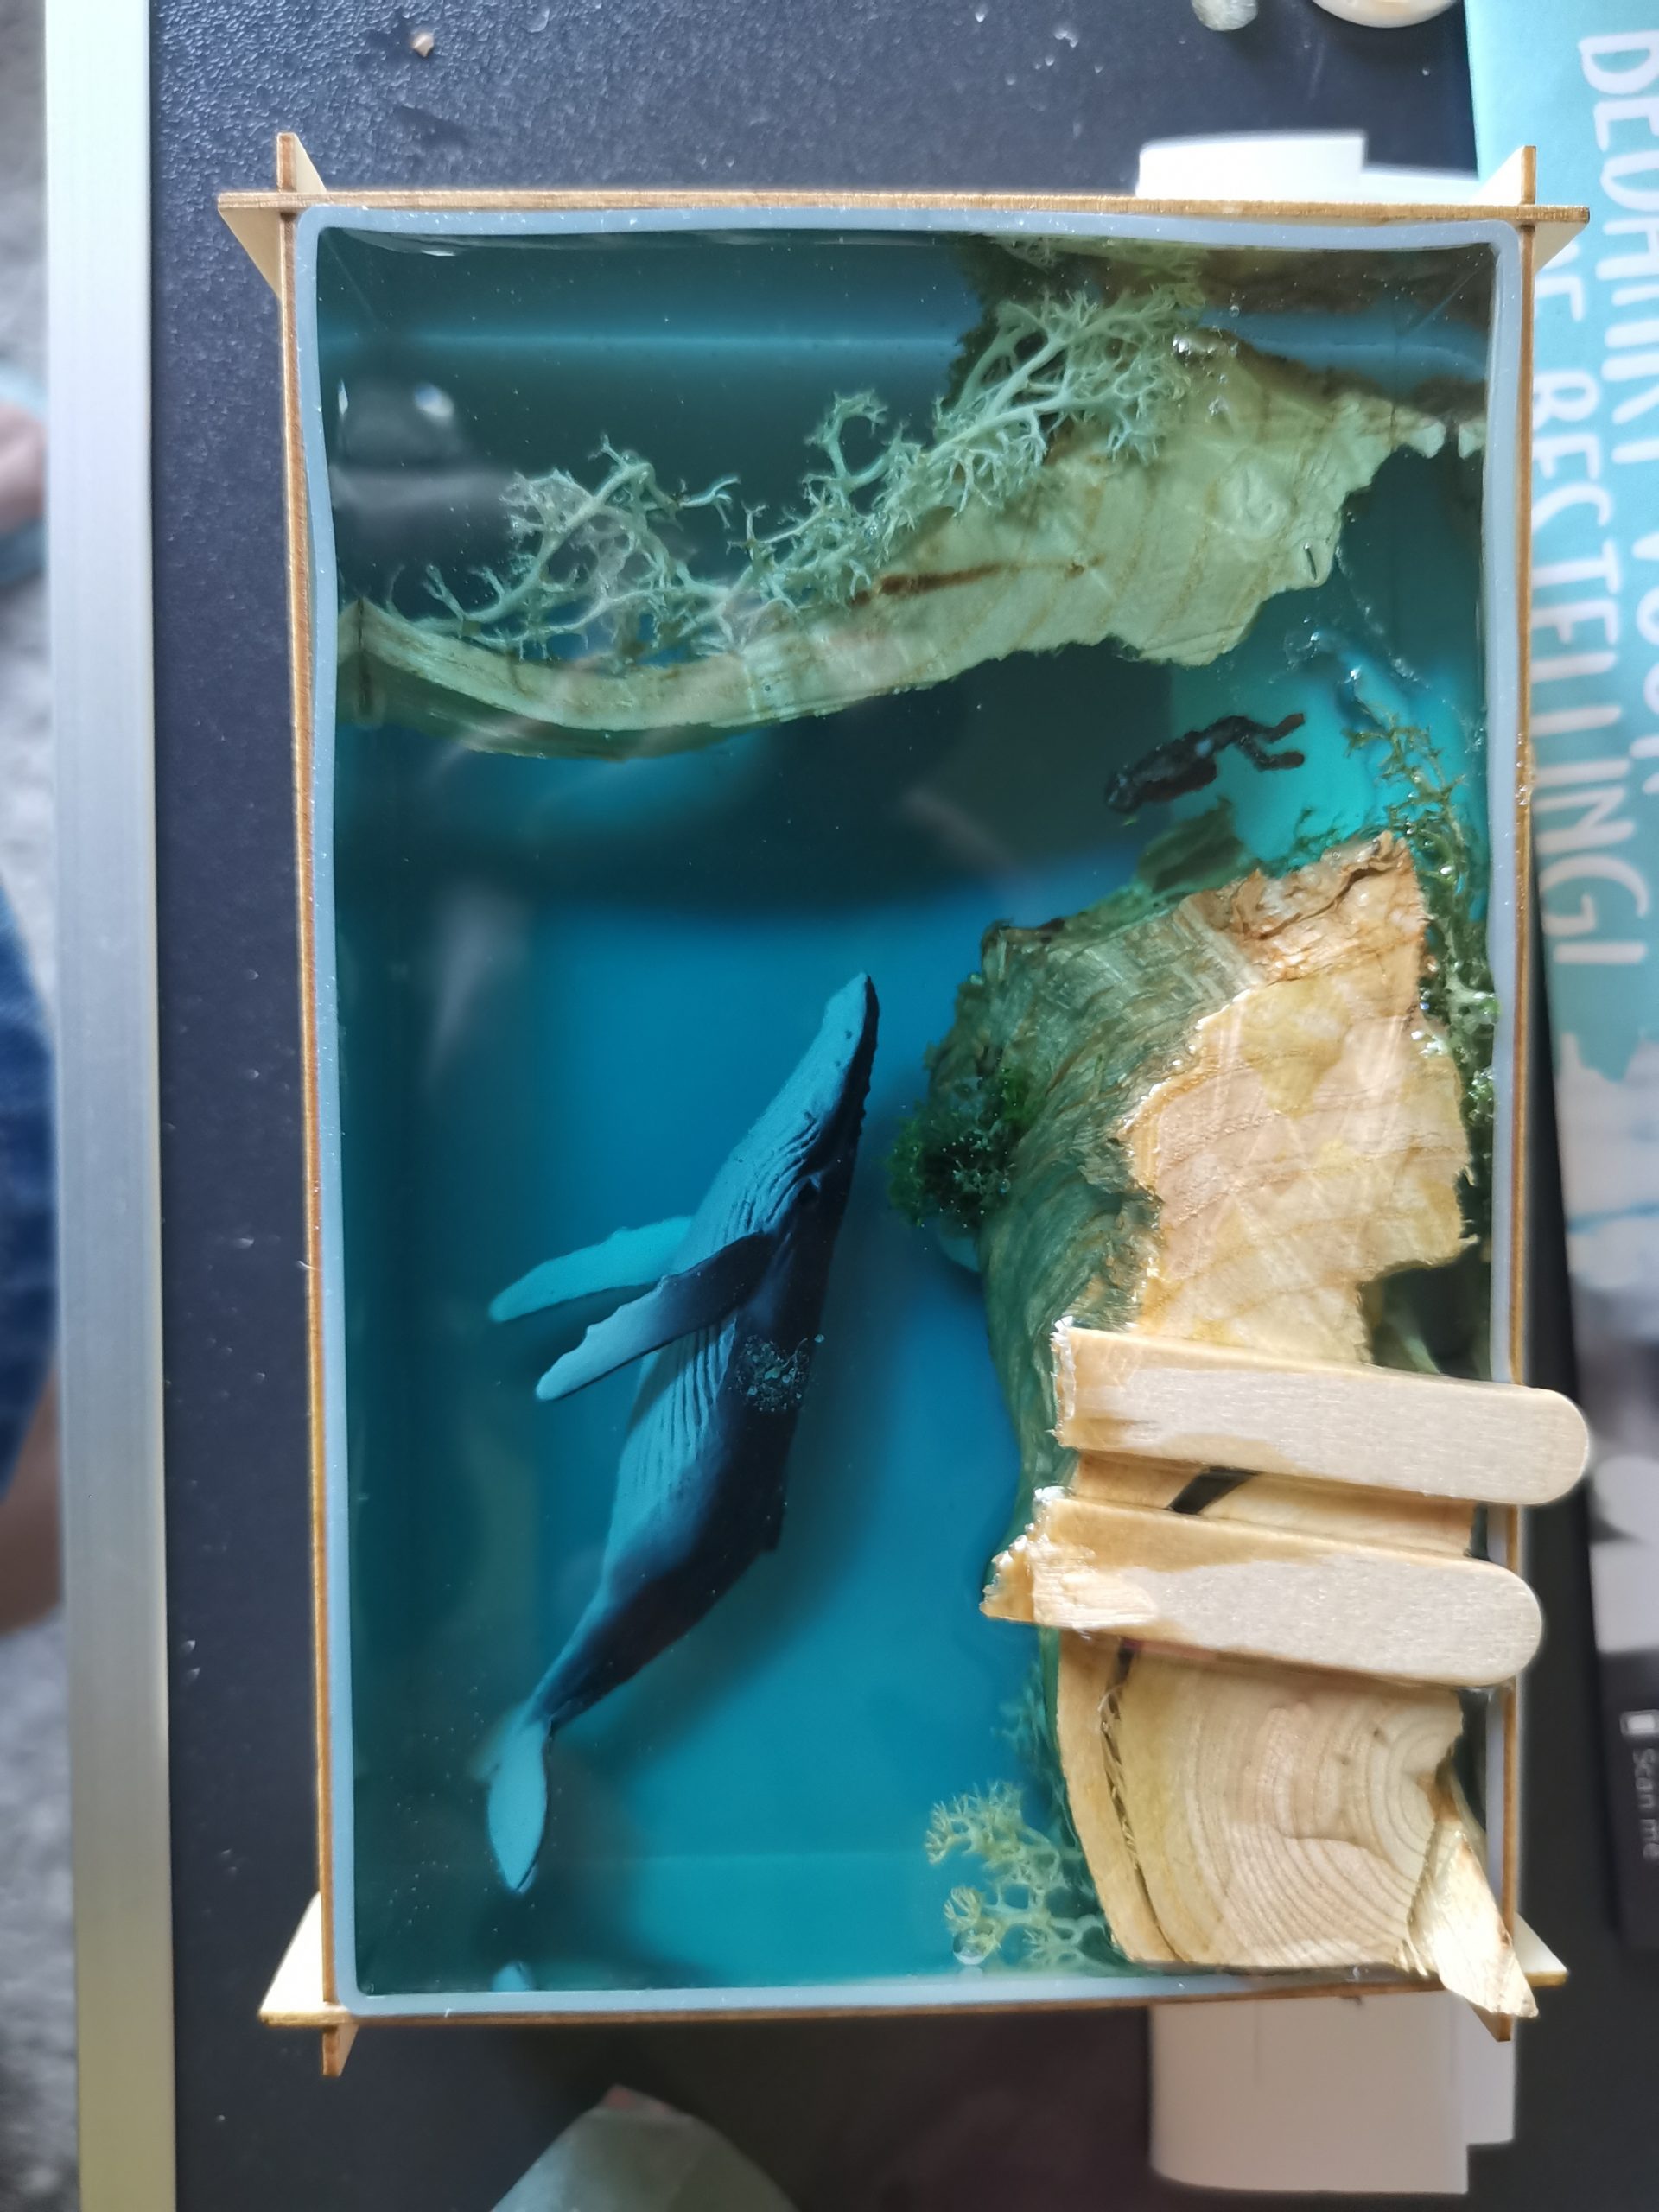
For color, I used liquid resin dye with Mr Boat epoxy. While removing a few supports, I noticed the resin was already less fluid. That caused small local air bubbles.
Not ideal, but that is part of testing and learning in real projects.
Step 4. Sanding and polishing: the hardest part
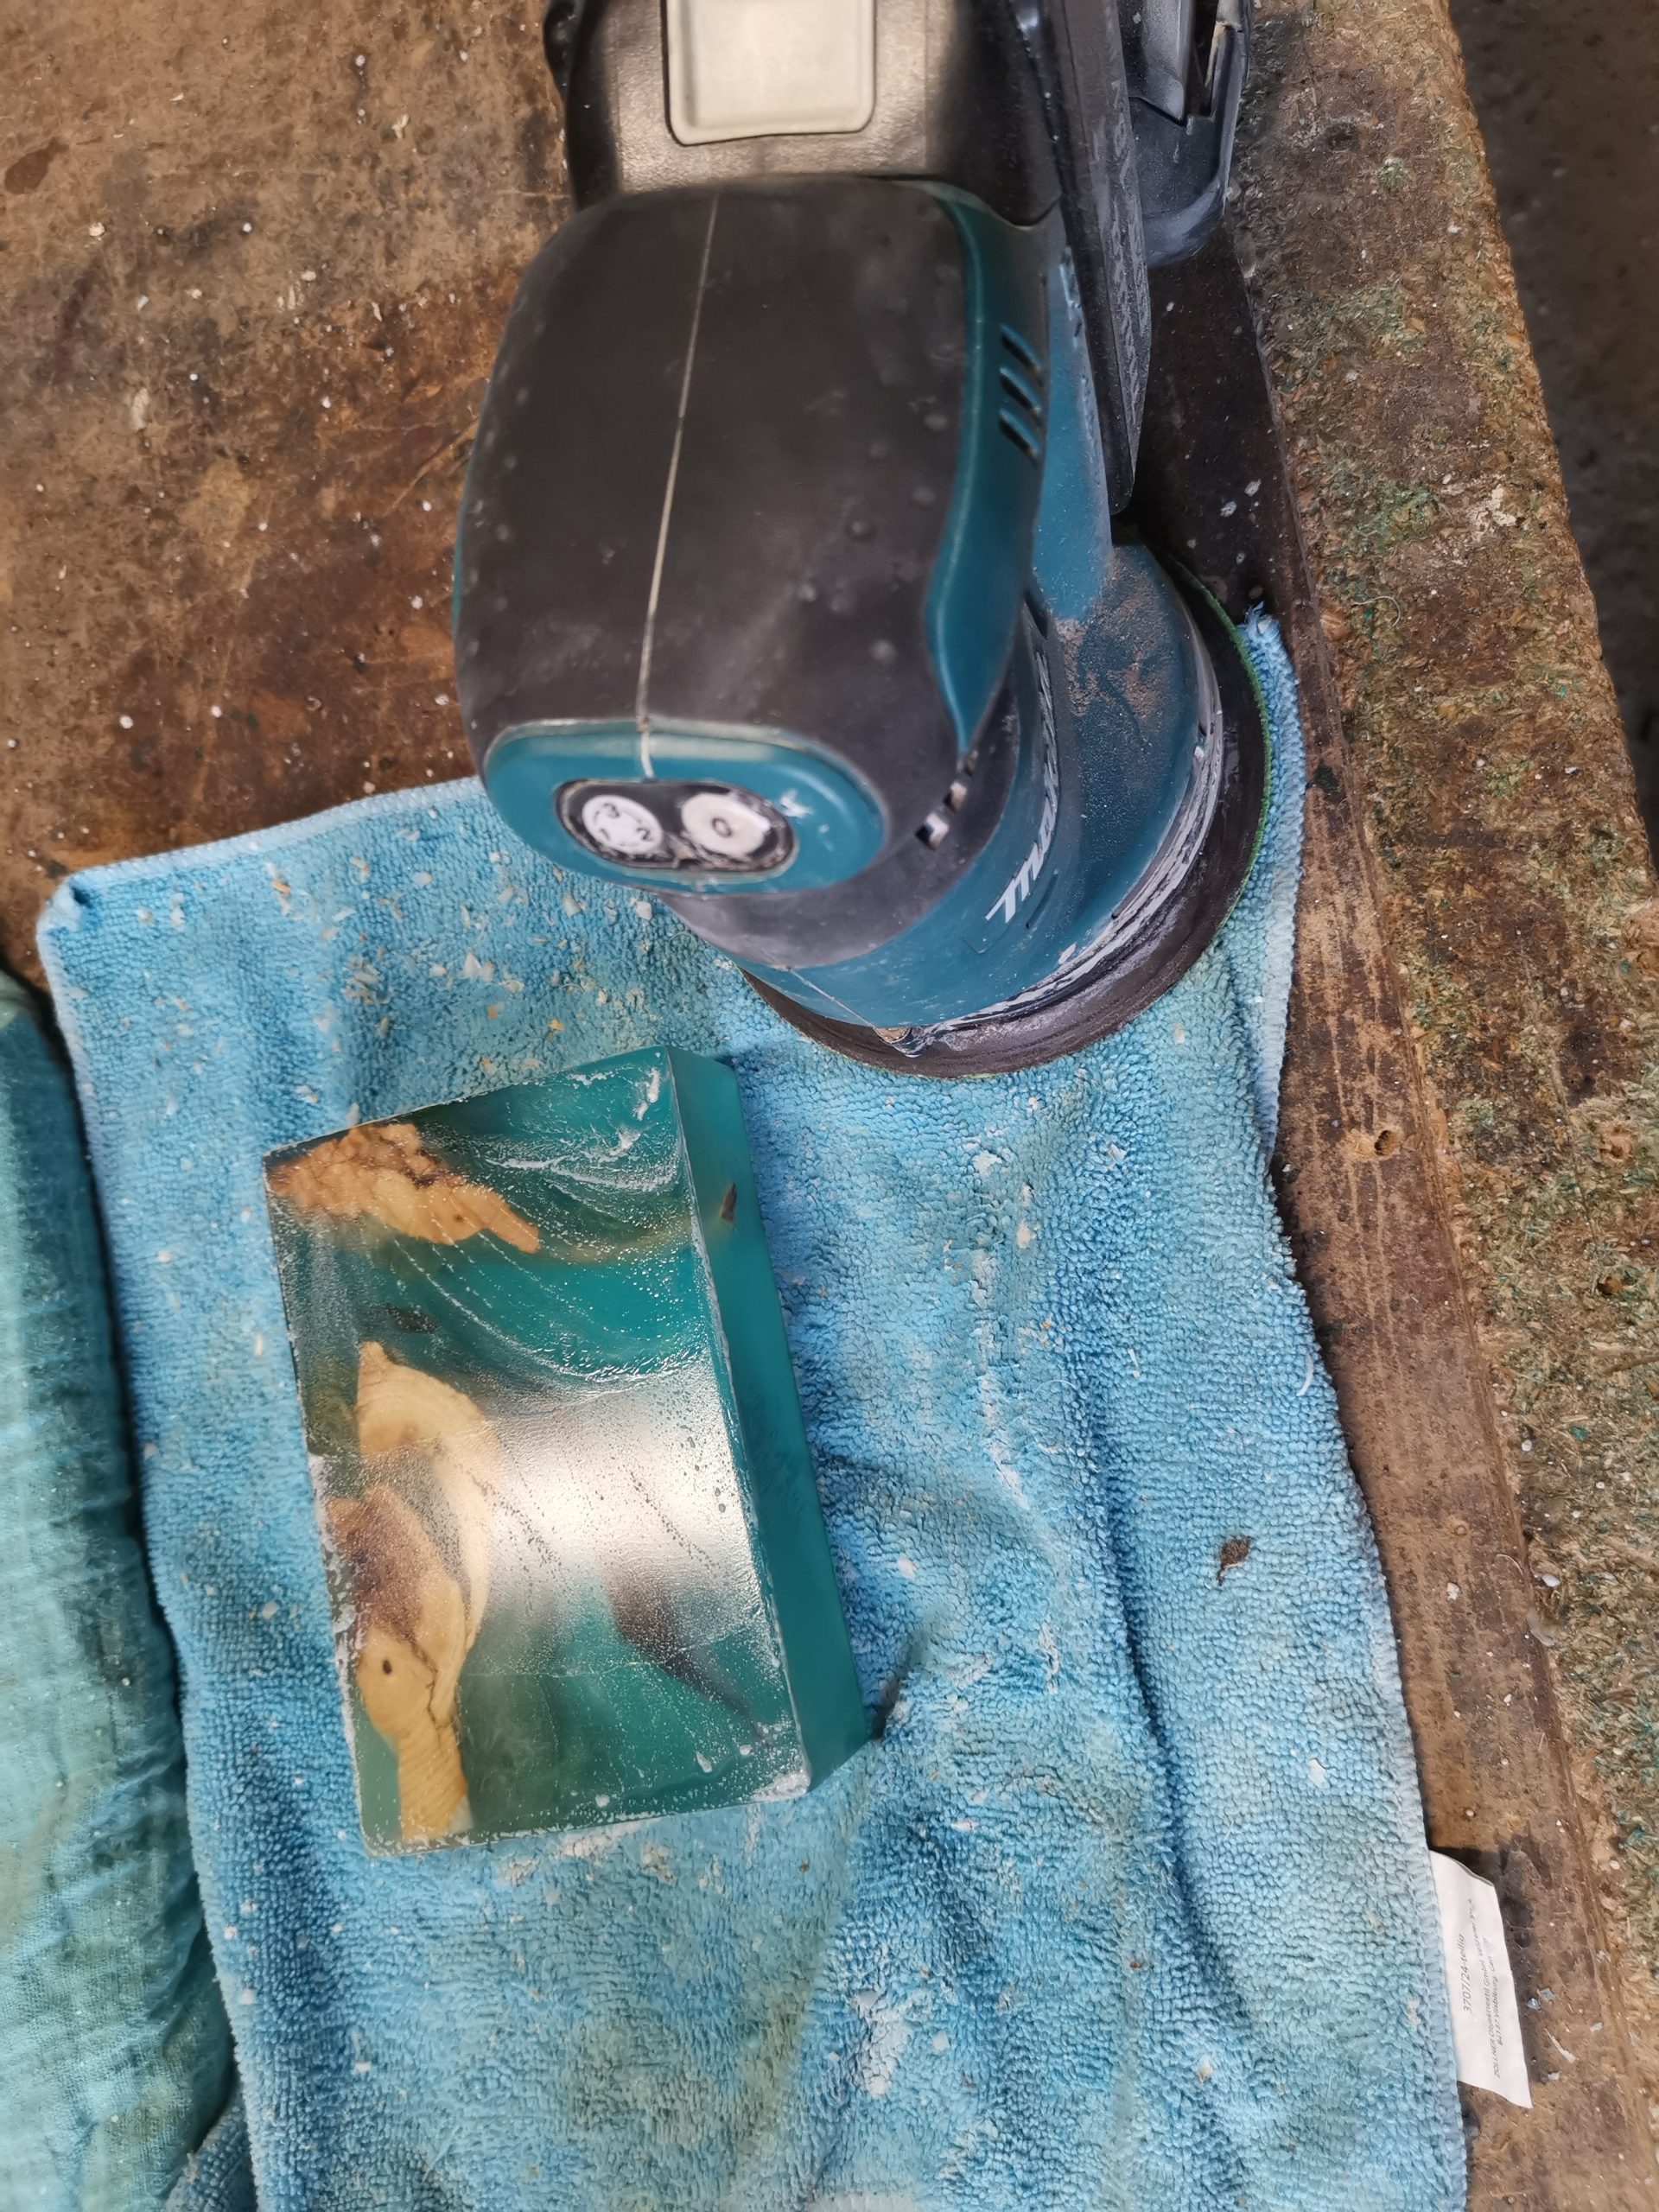
This was the biggest frustration for me. I moved through finer grits and tested several polishing compounds, including Epodex. Still, very fine scratches and pigtails remained visible under certain light.
Because I could not get it to the level I consider sale-ready, I decided not to put this lamp up for sale. That felt disappointing at first, but I am still glad I made that choice. For me, a piece has to feel truly right before I let it go.
What I am taking into the next project: tighter setup before pouring, better support-removal timing, and a more consistent polishing process per step.
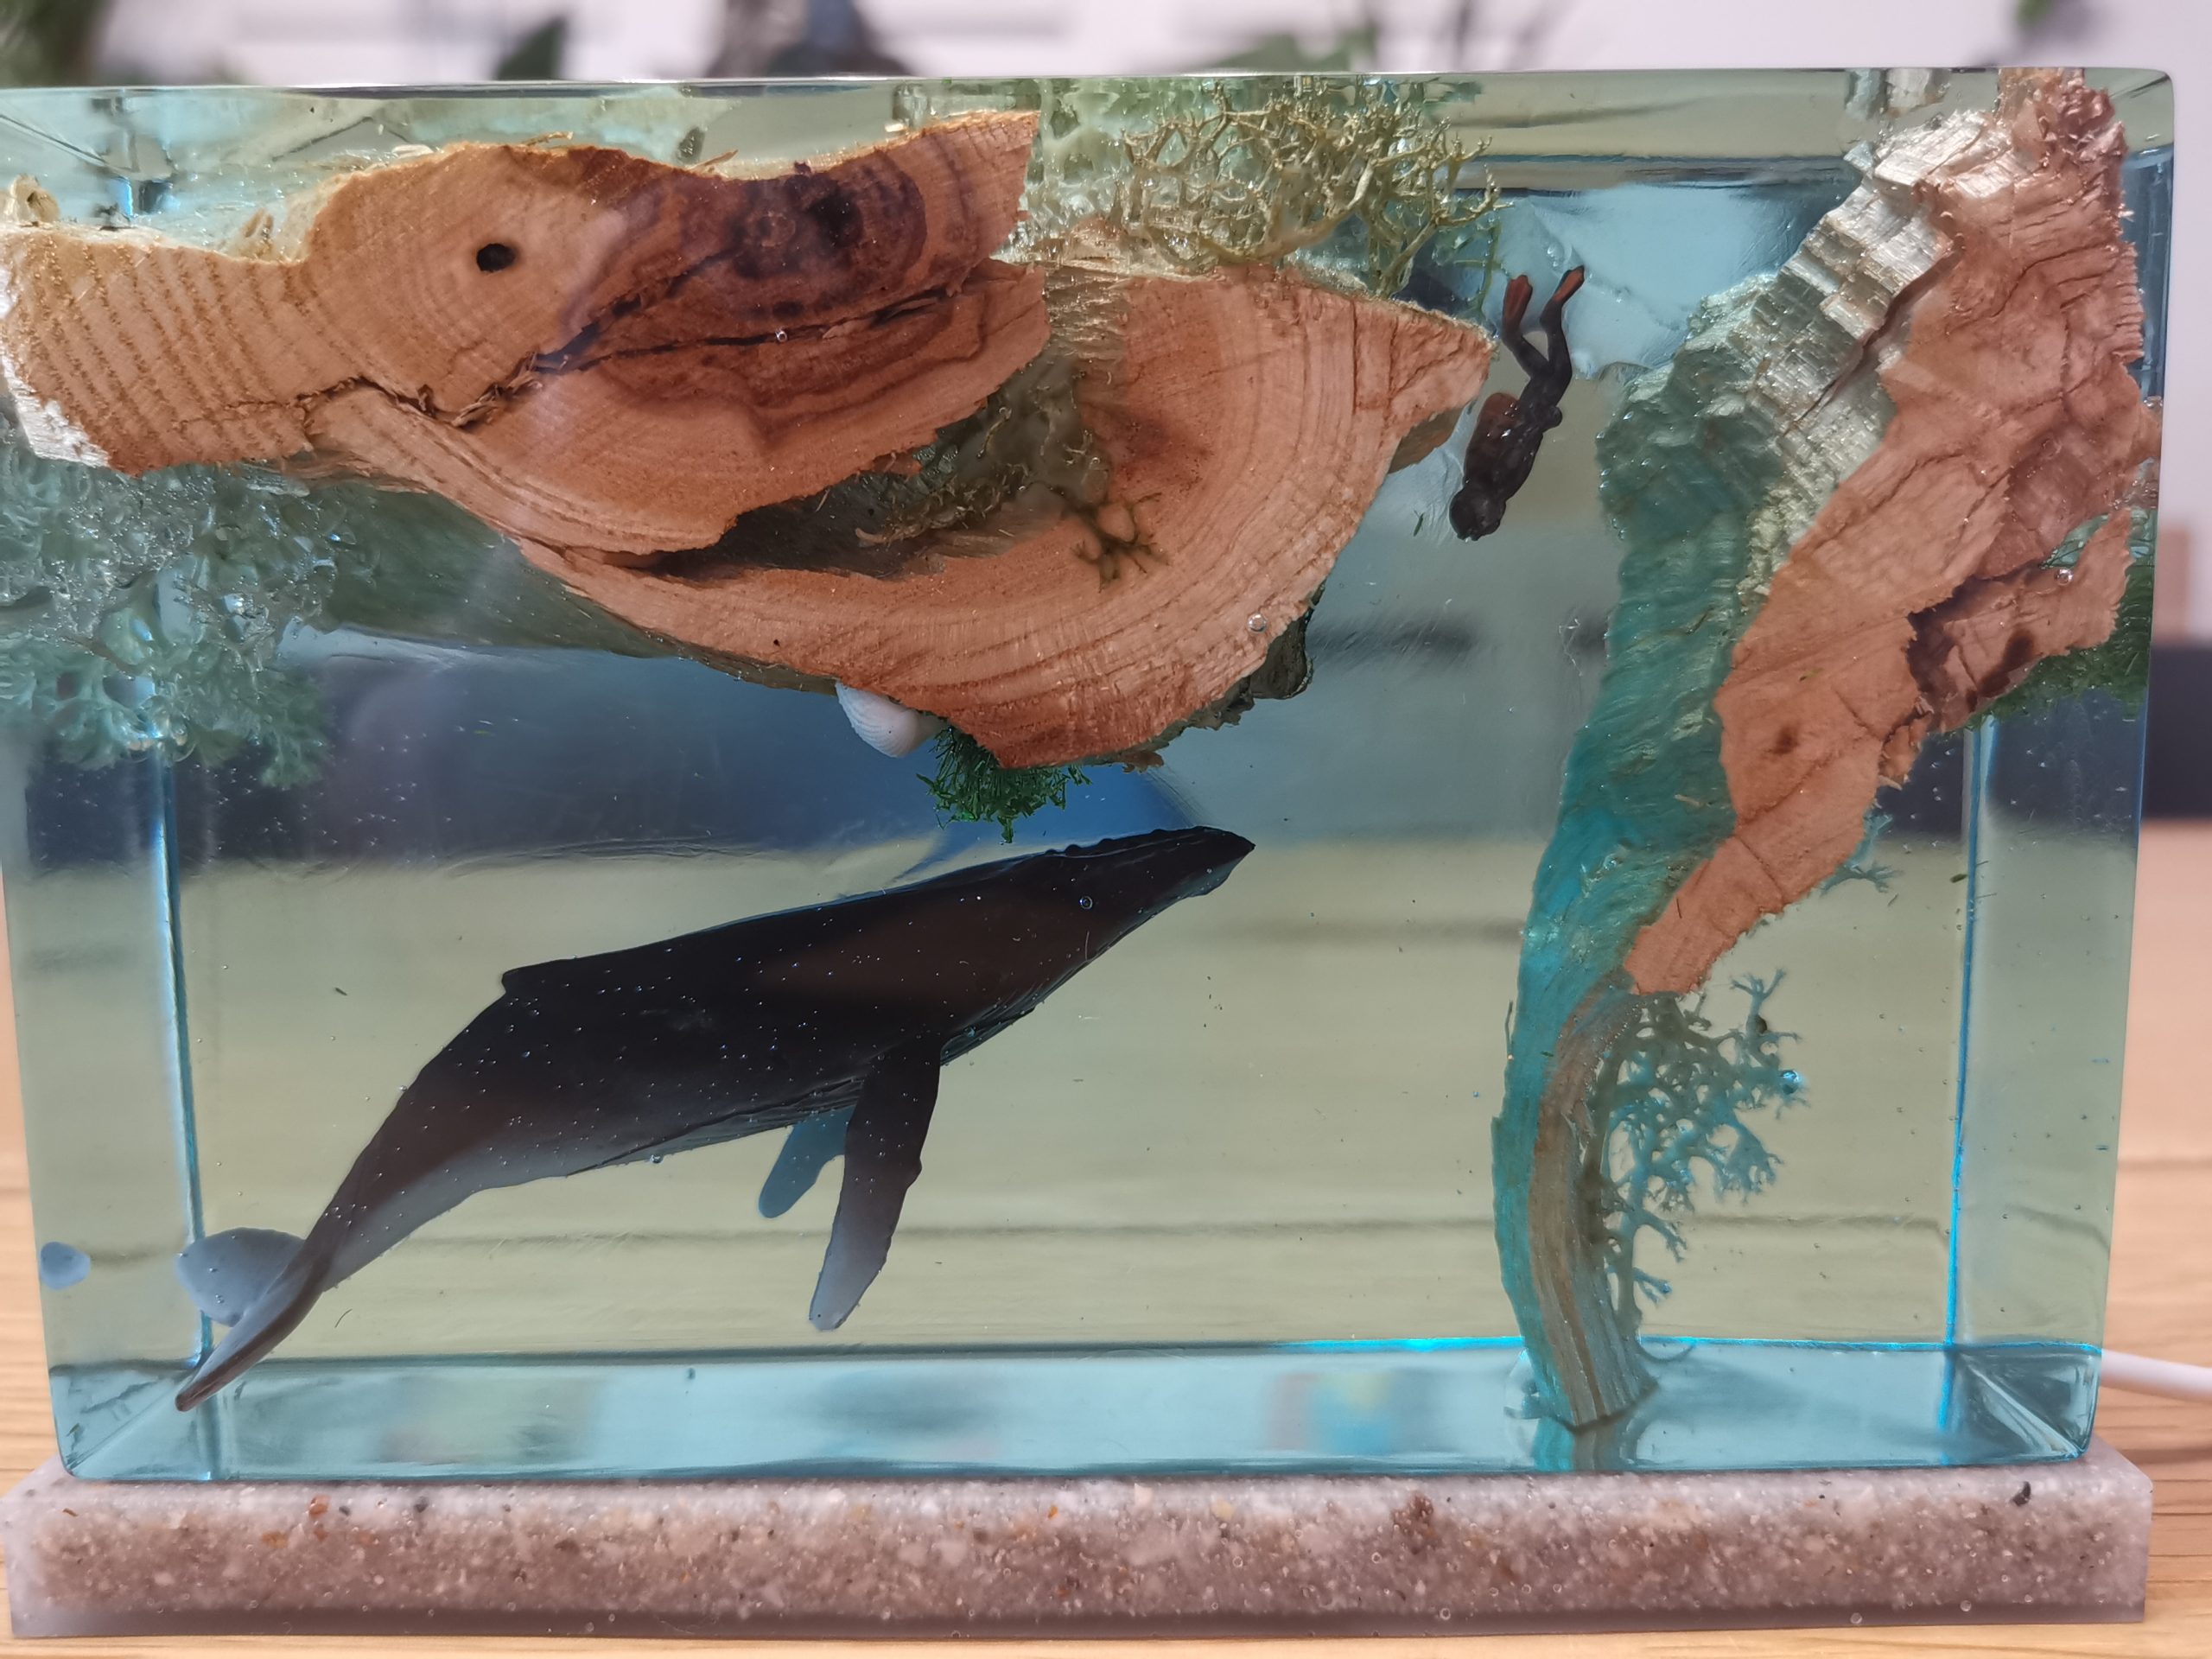
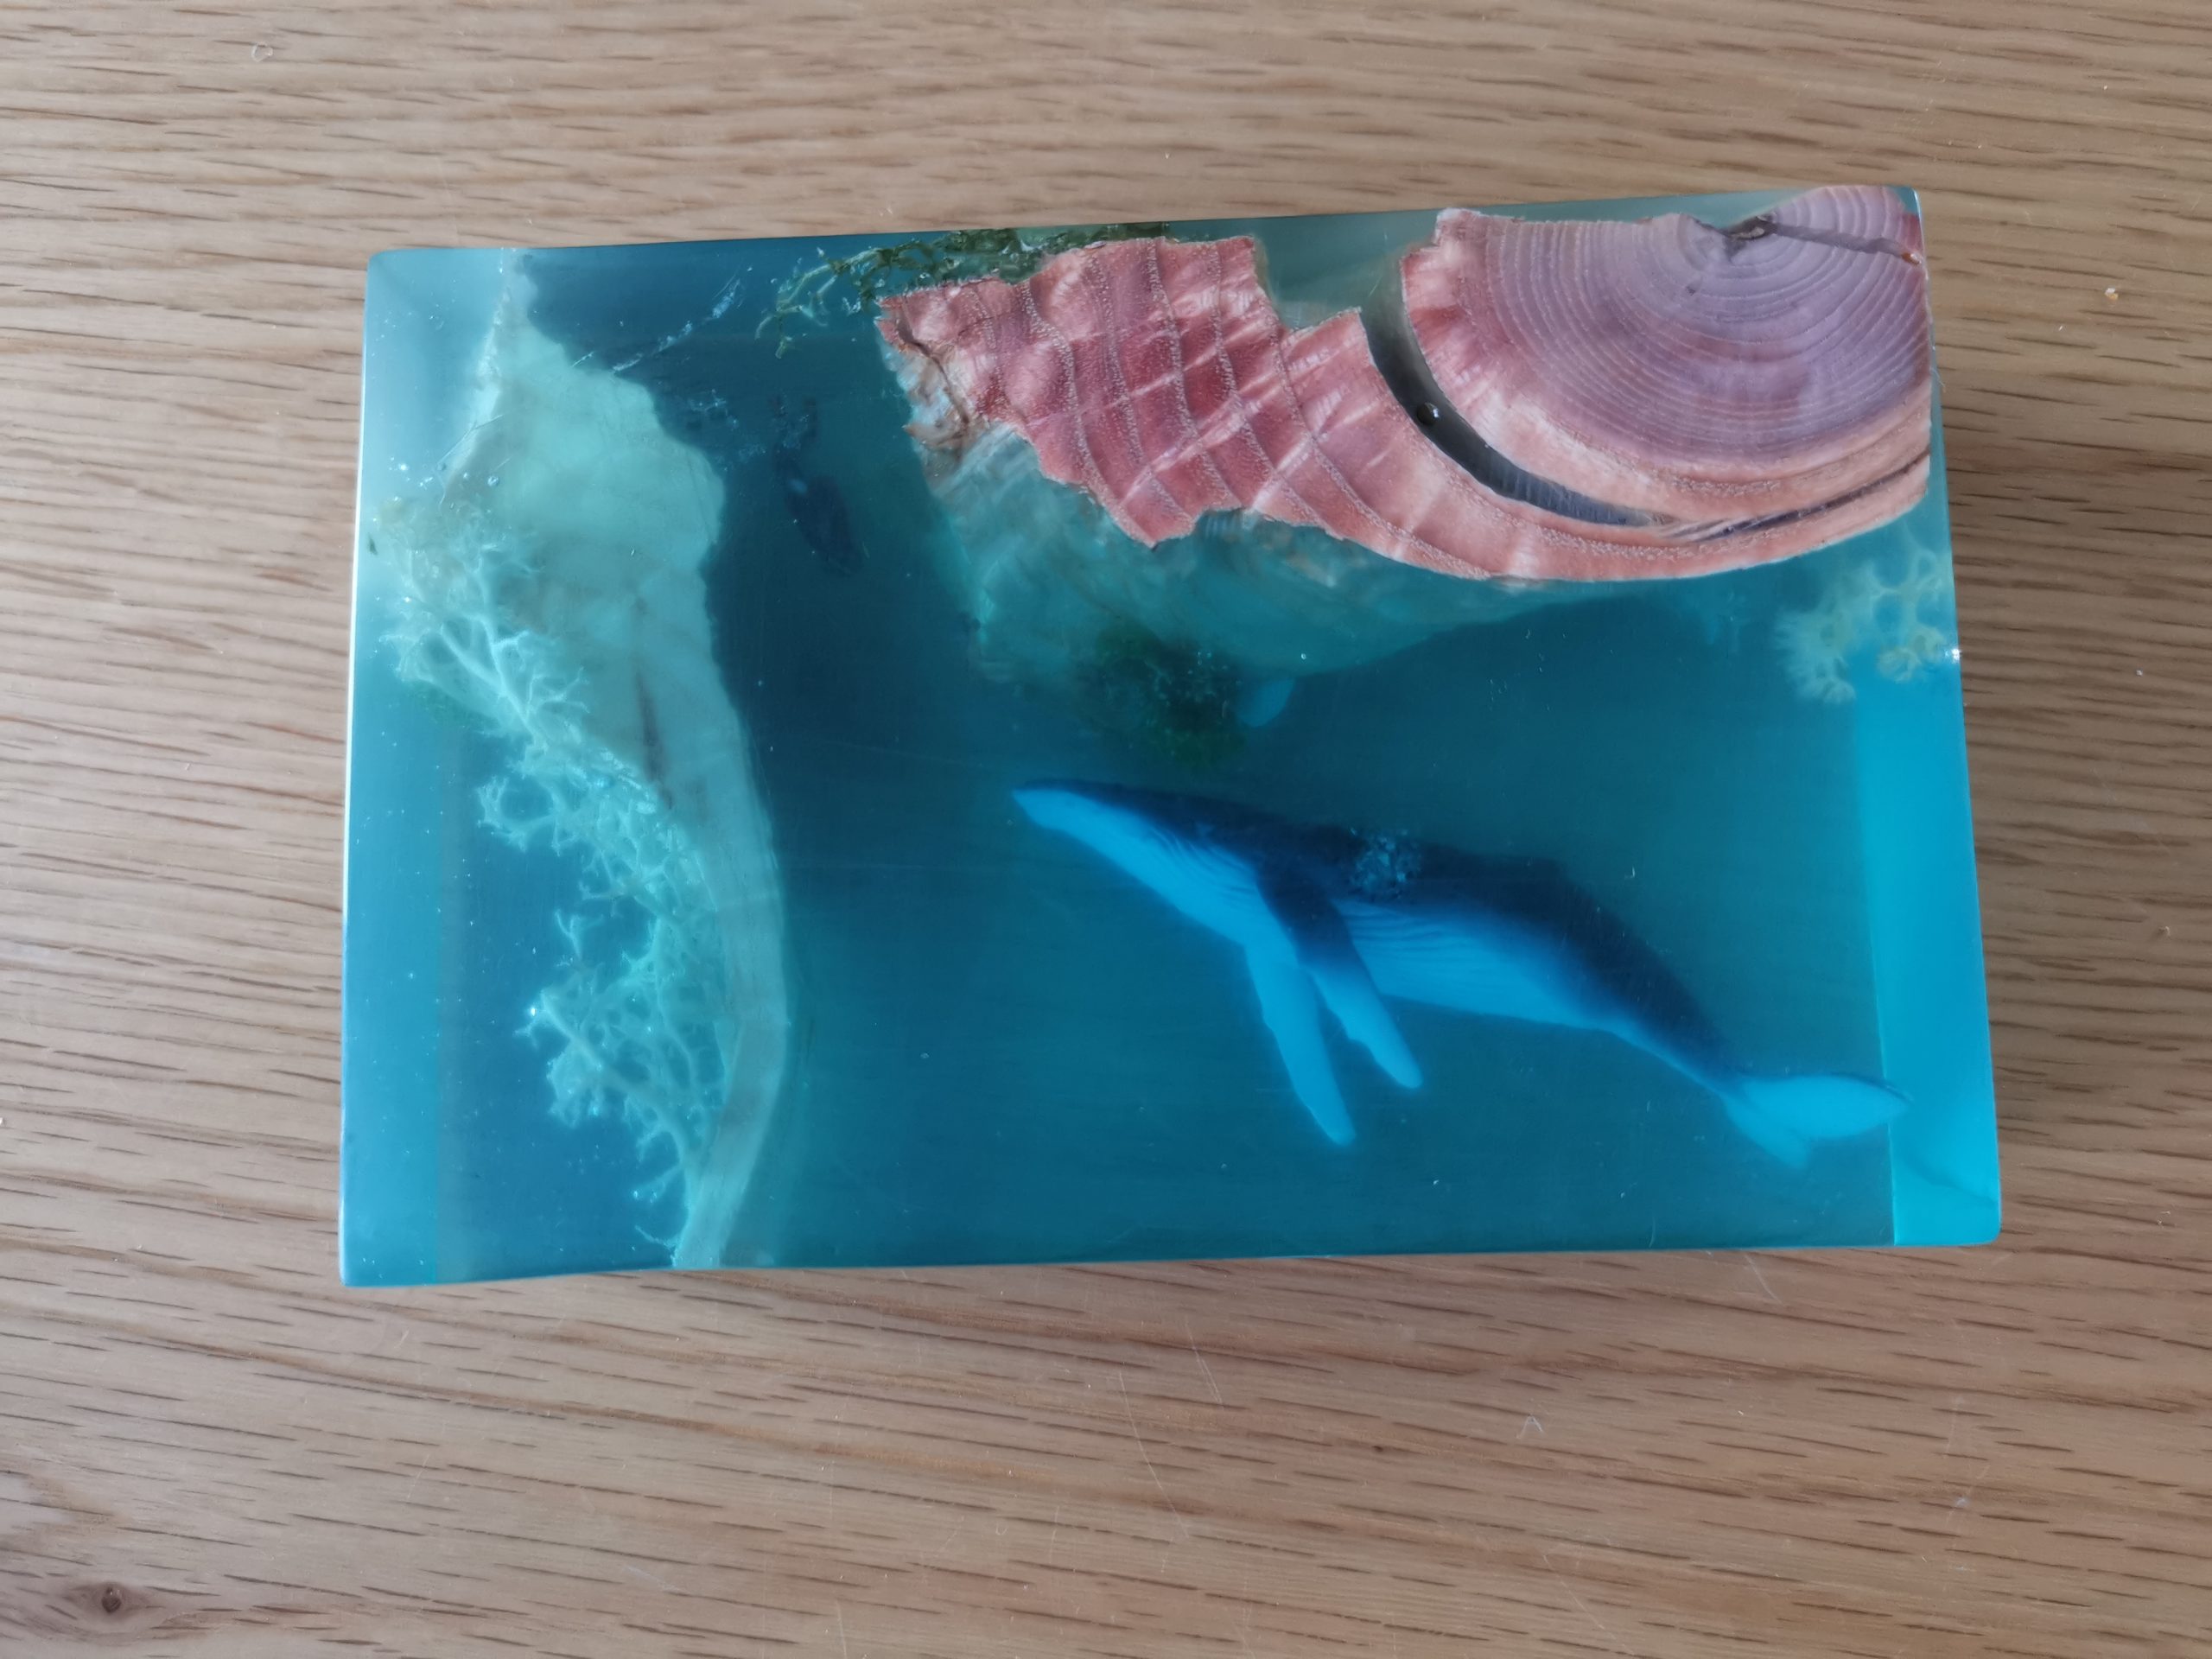
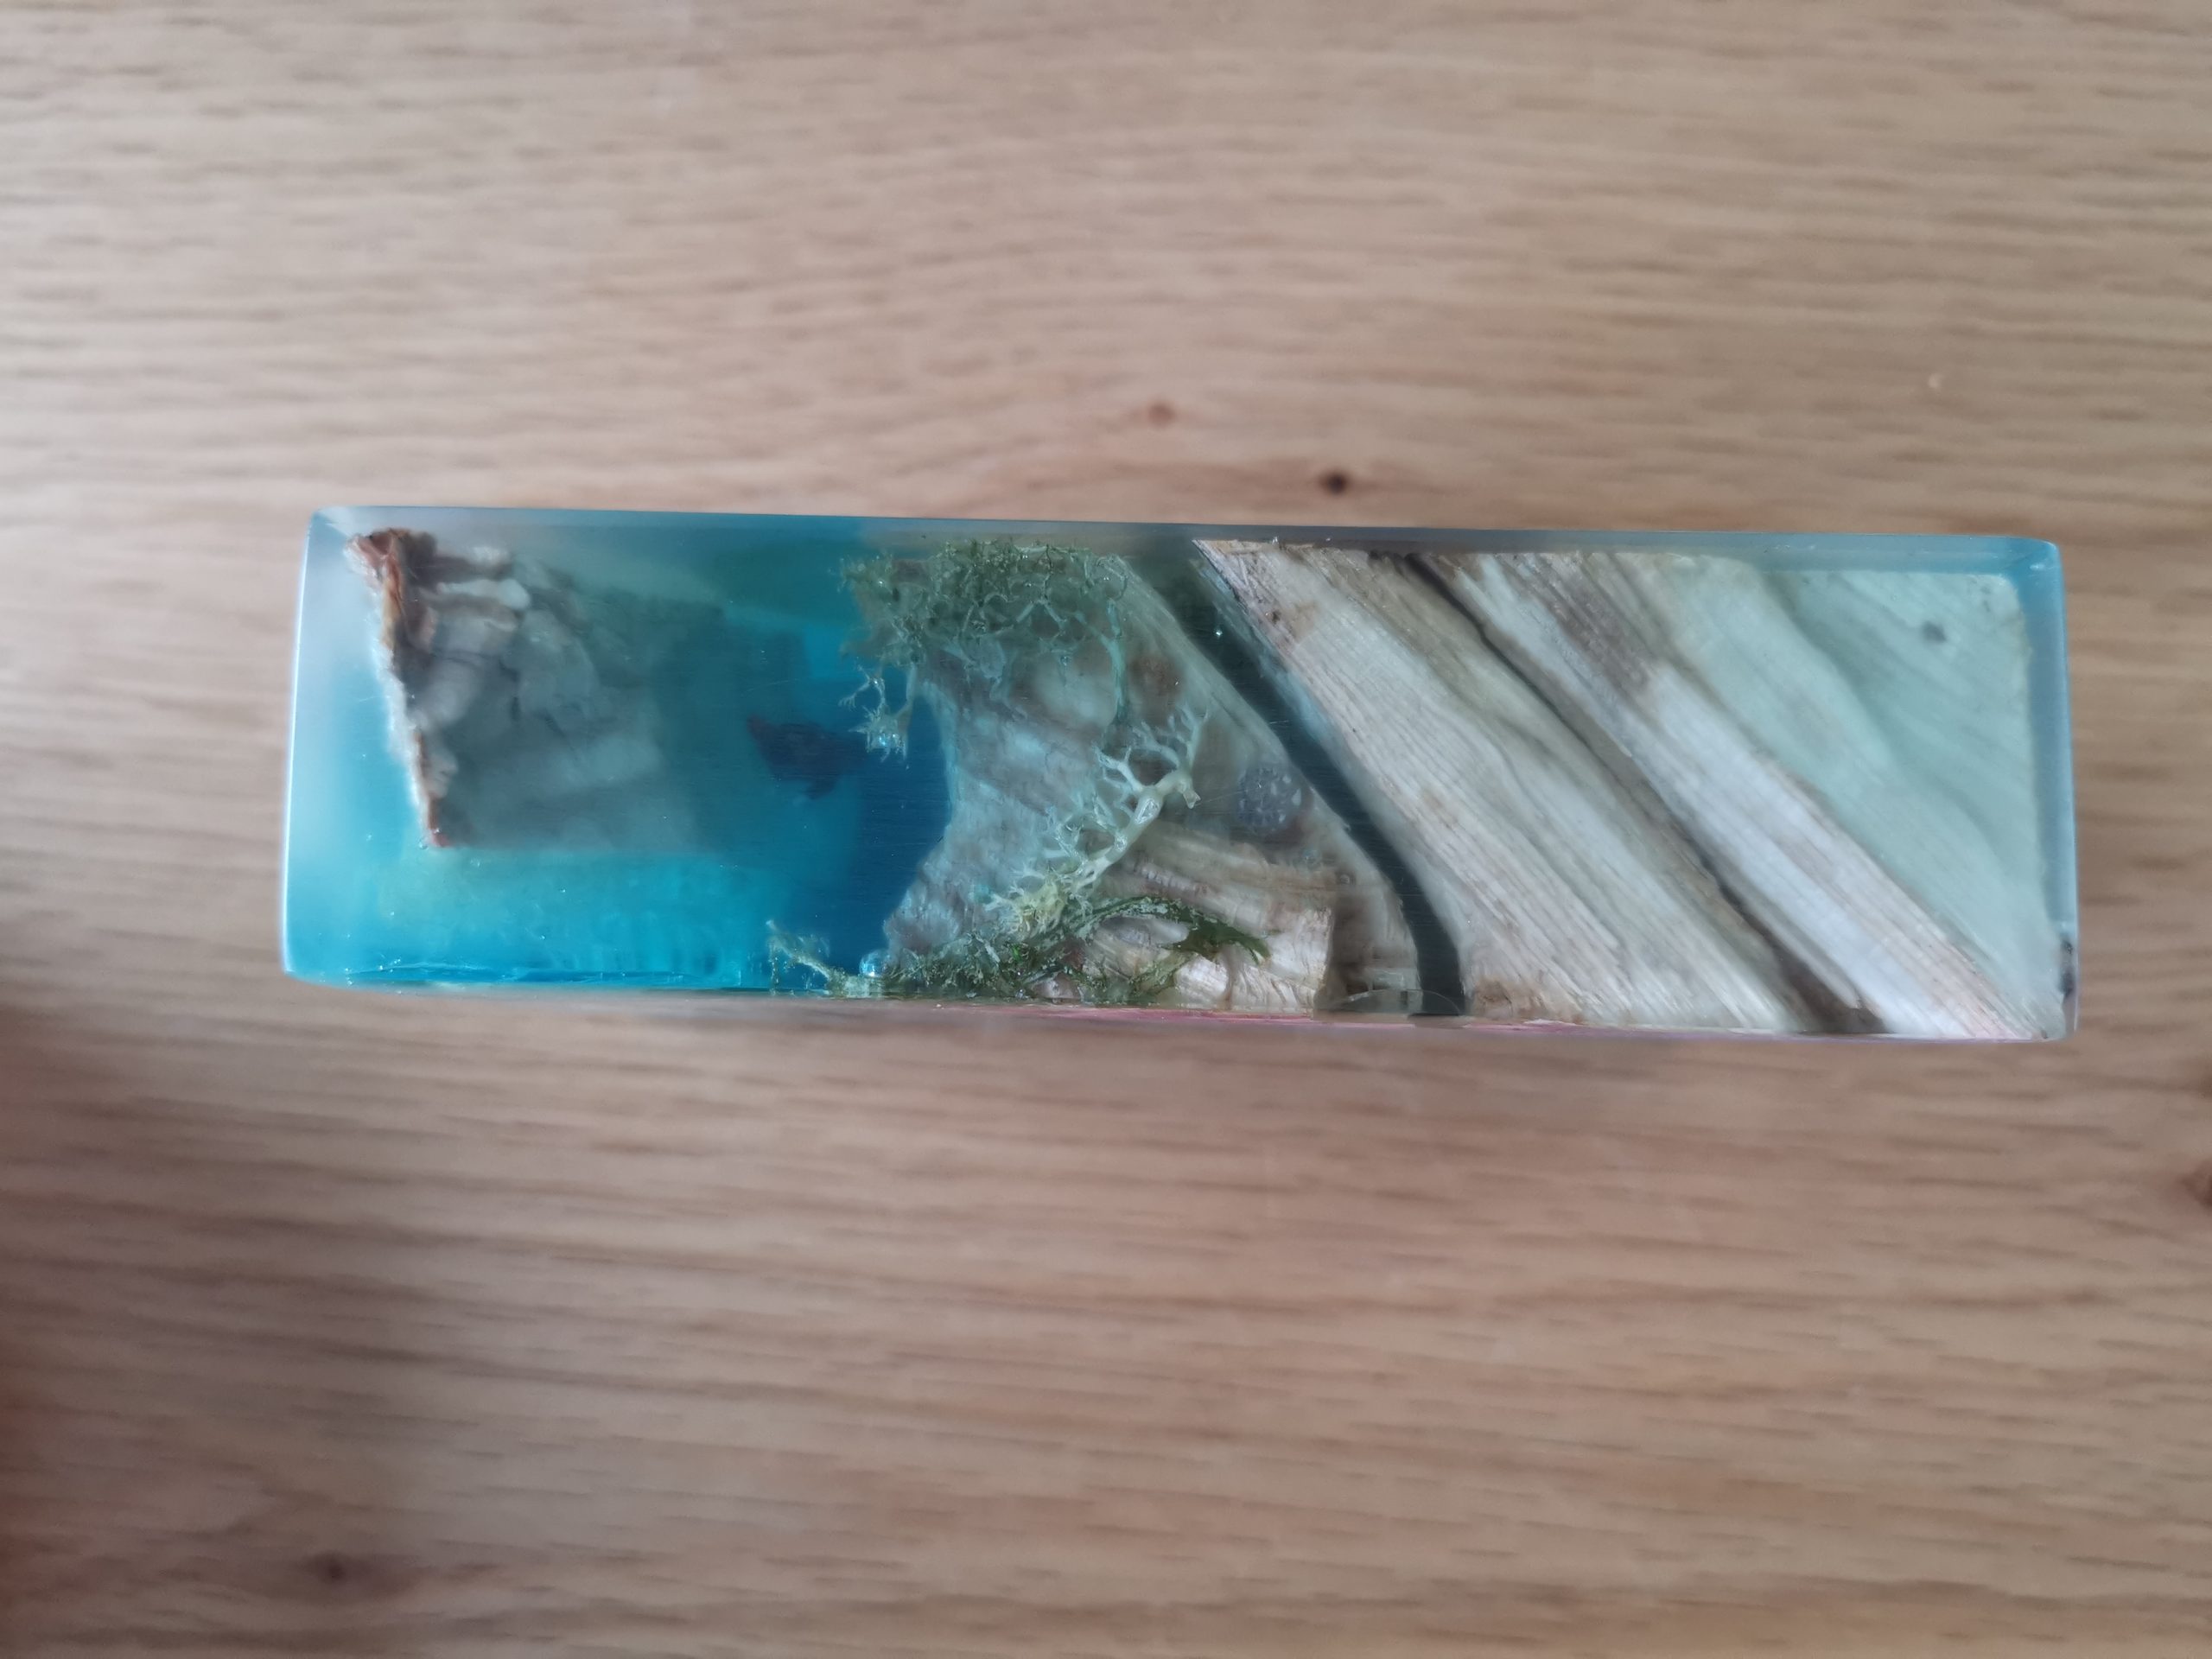
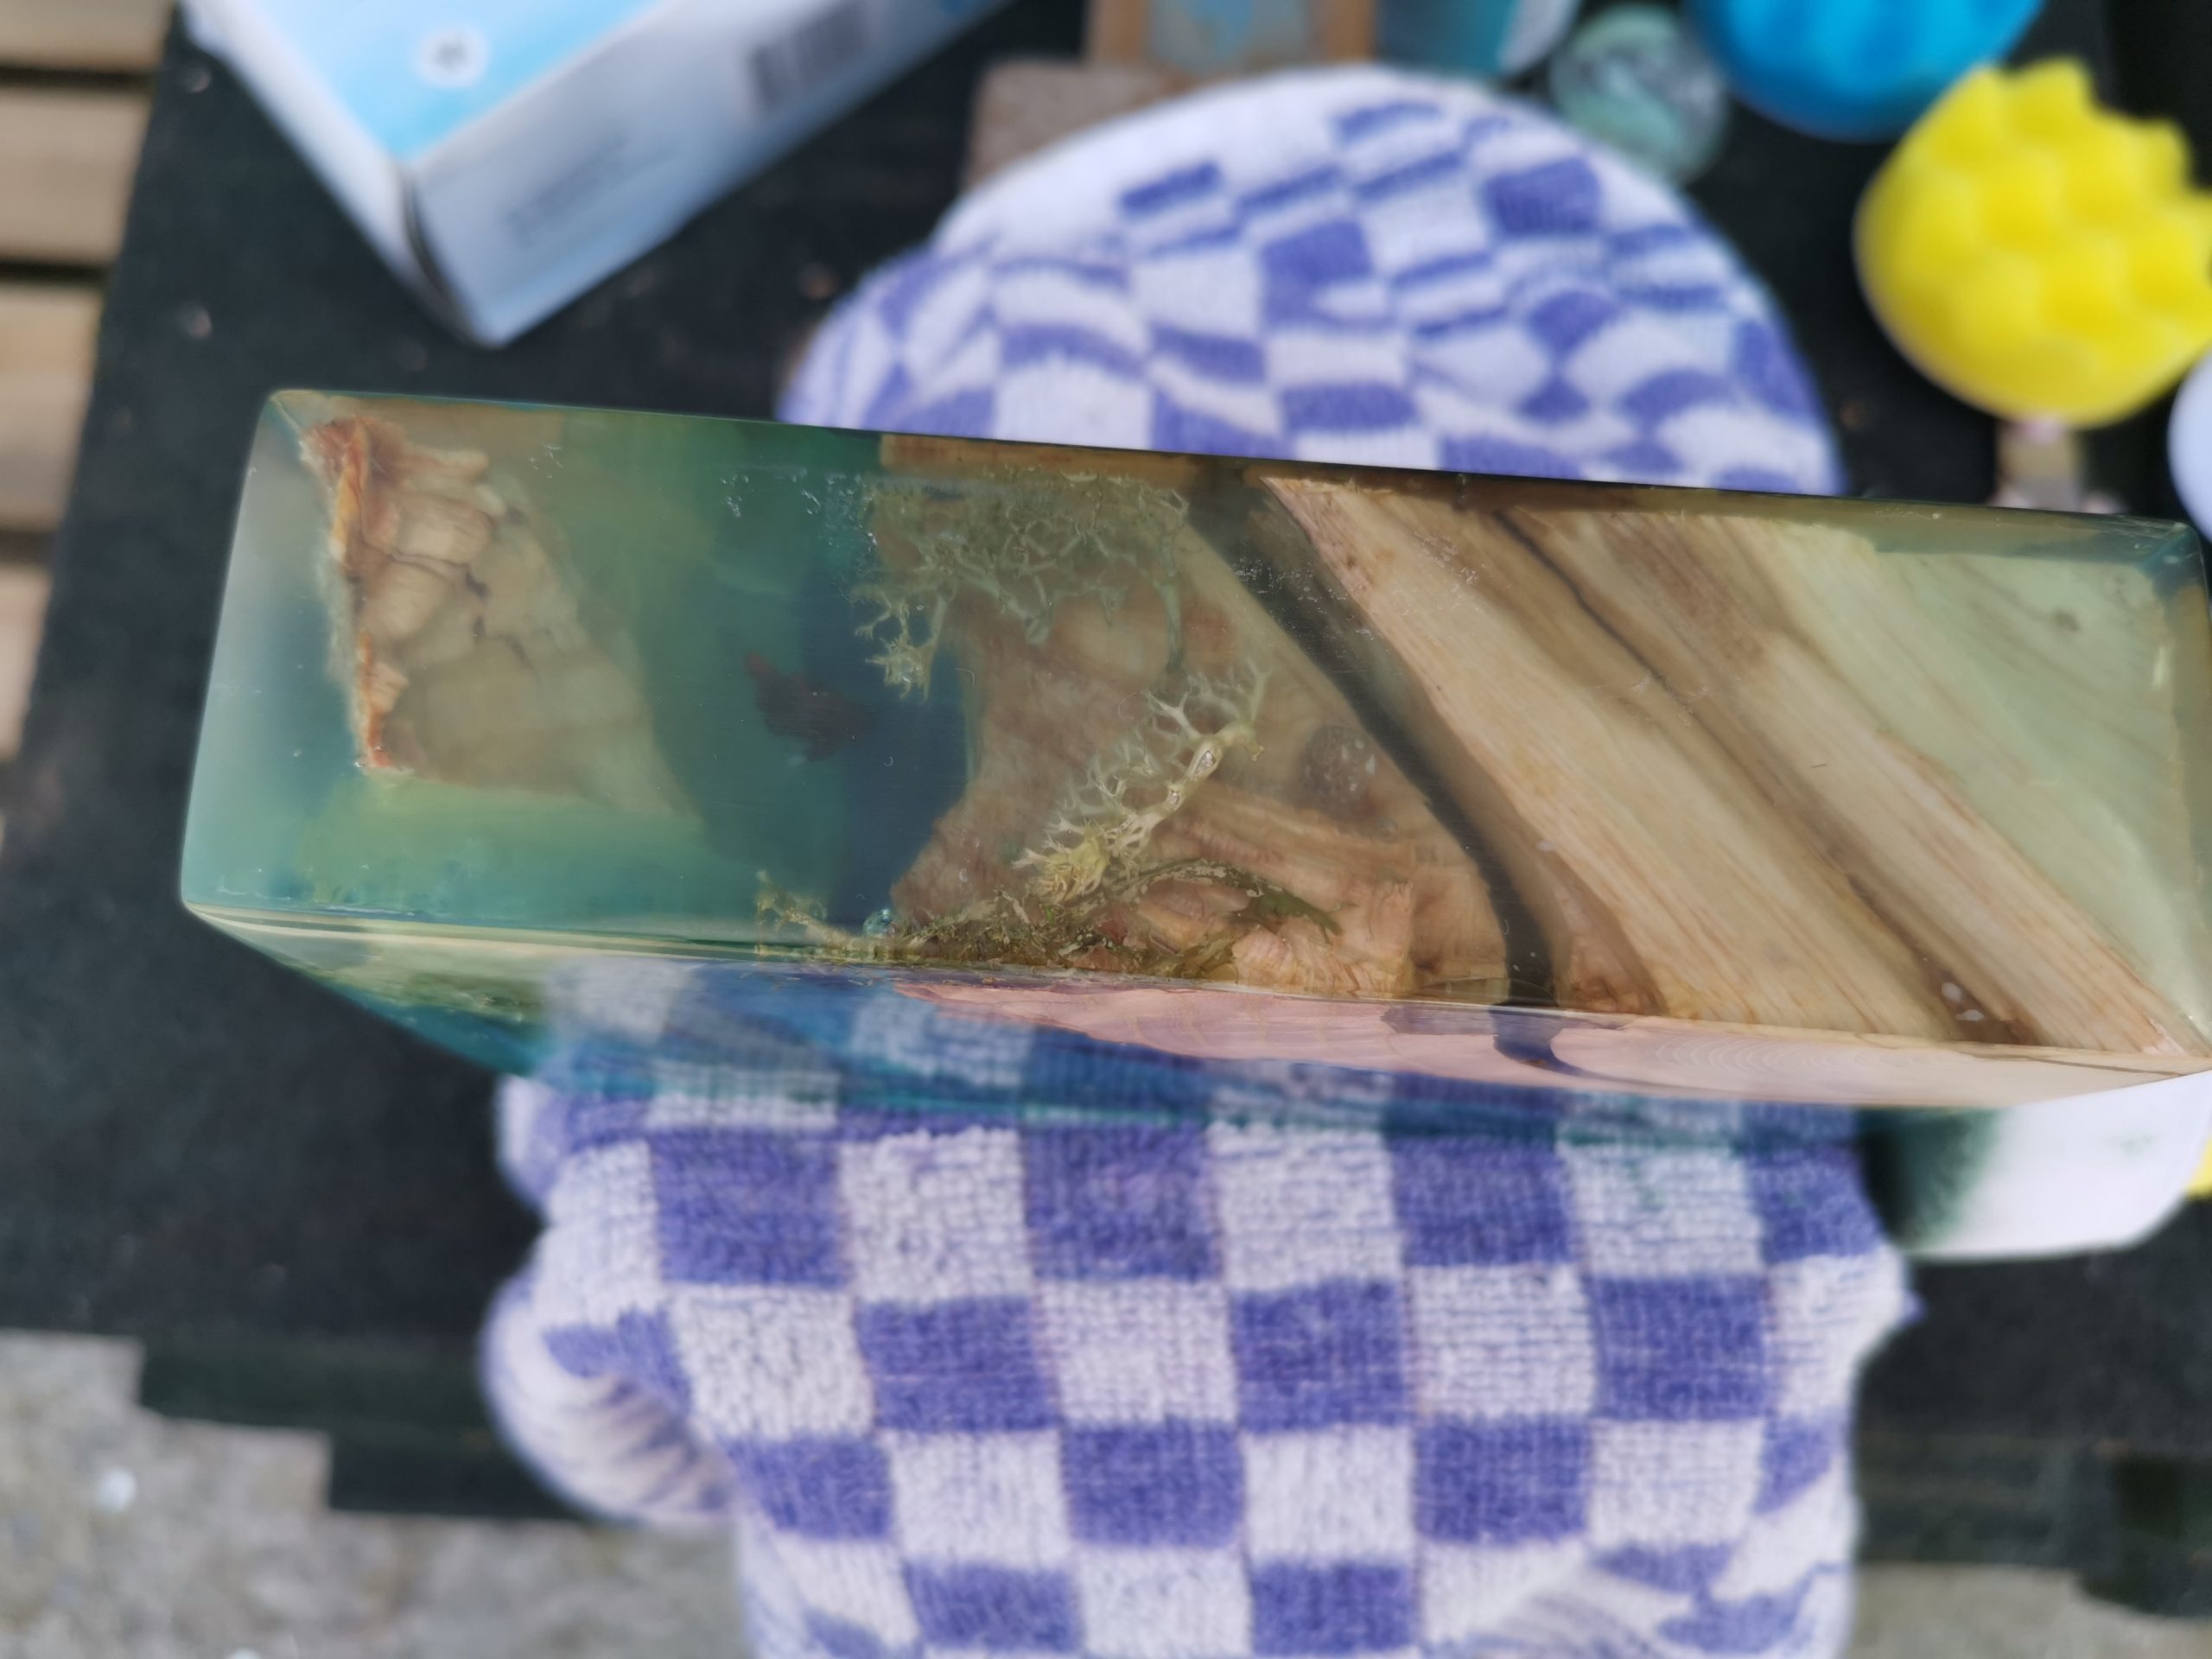
Final result from multiple angles
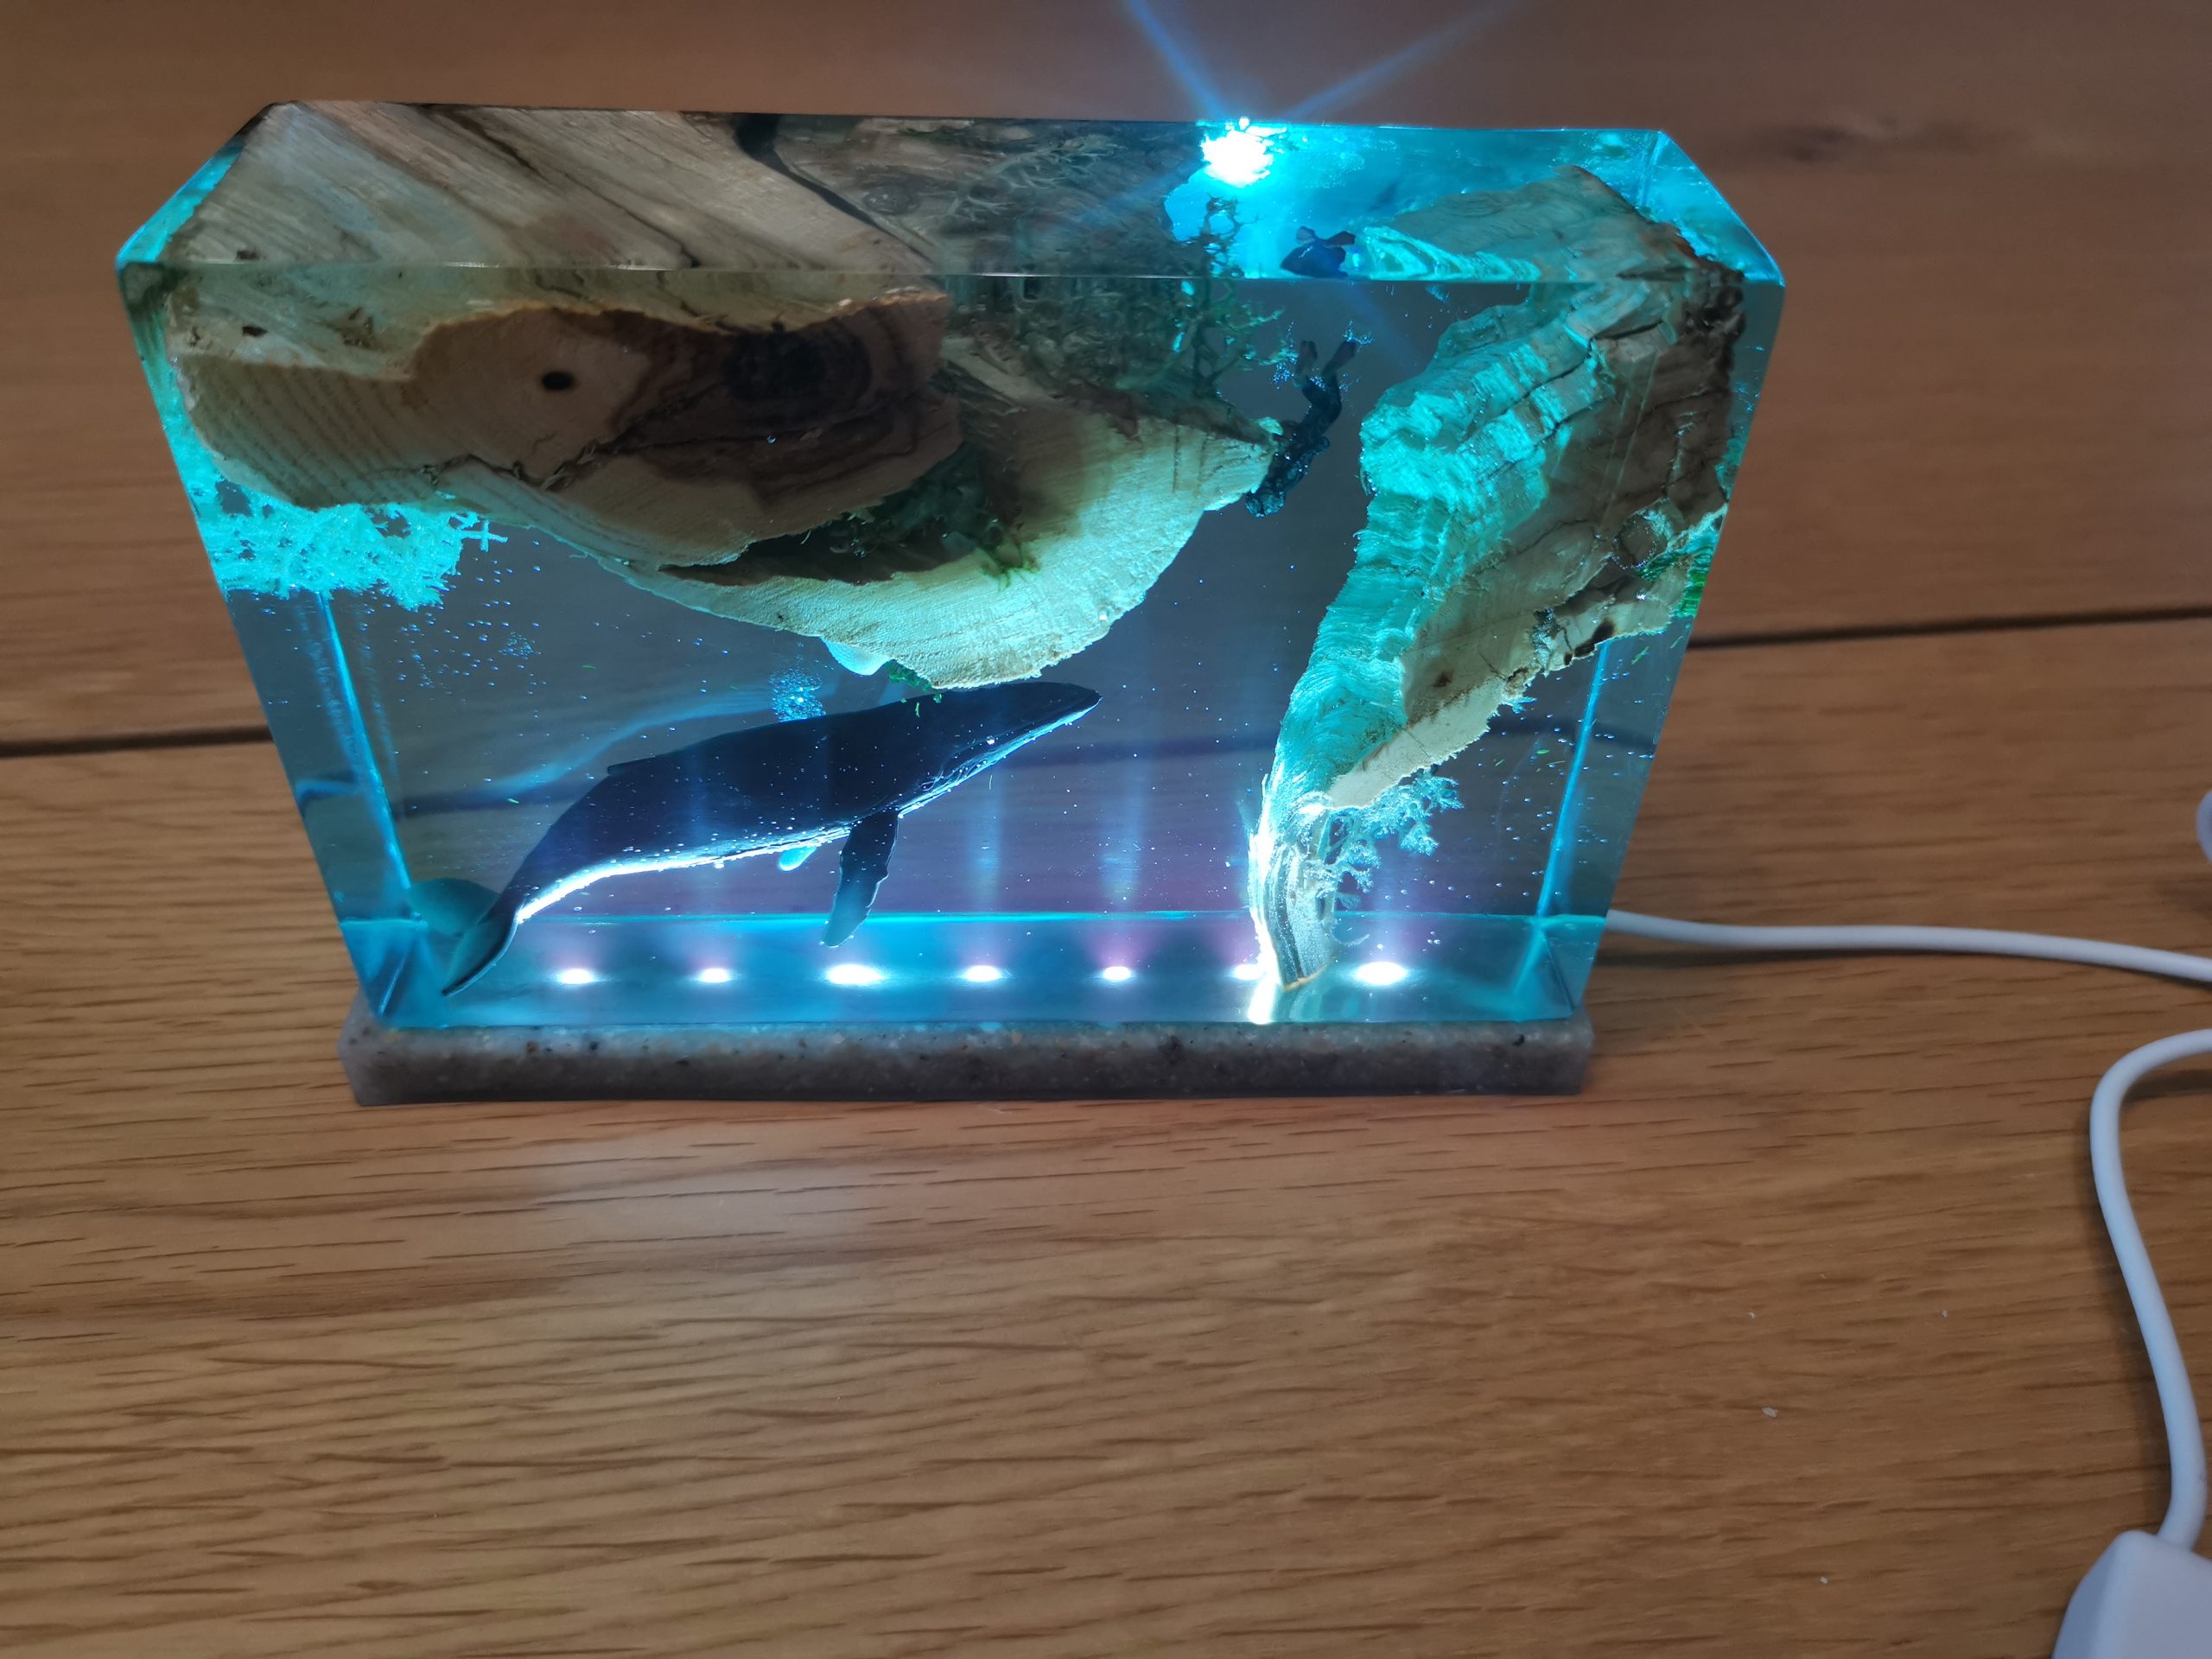
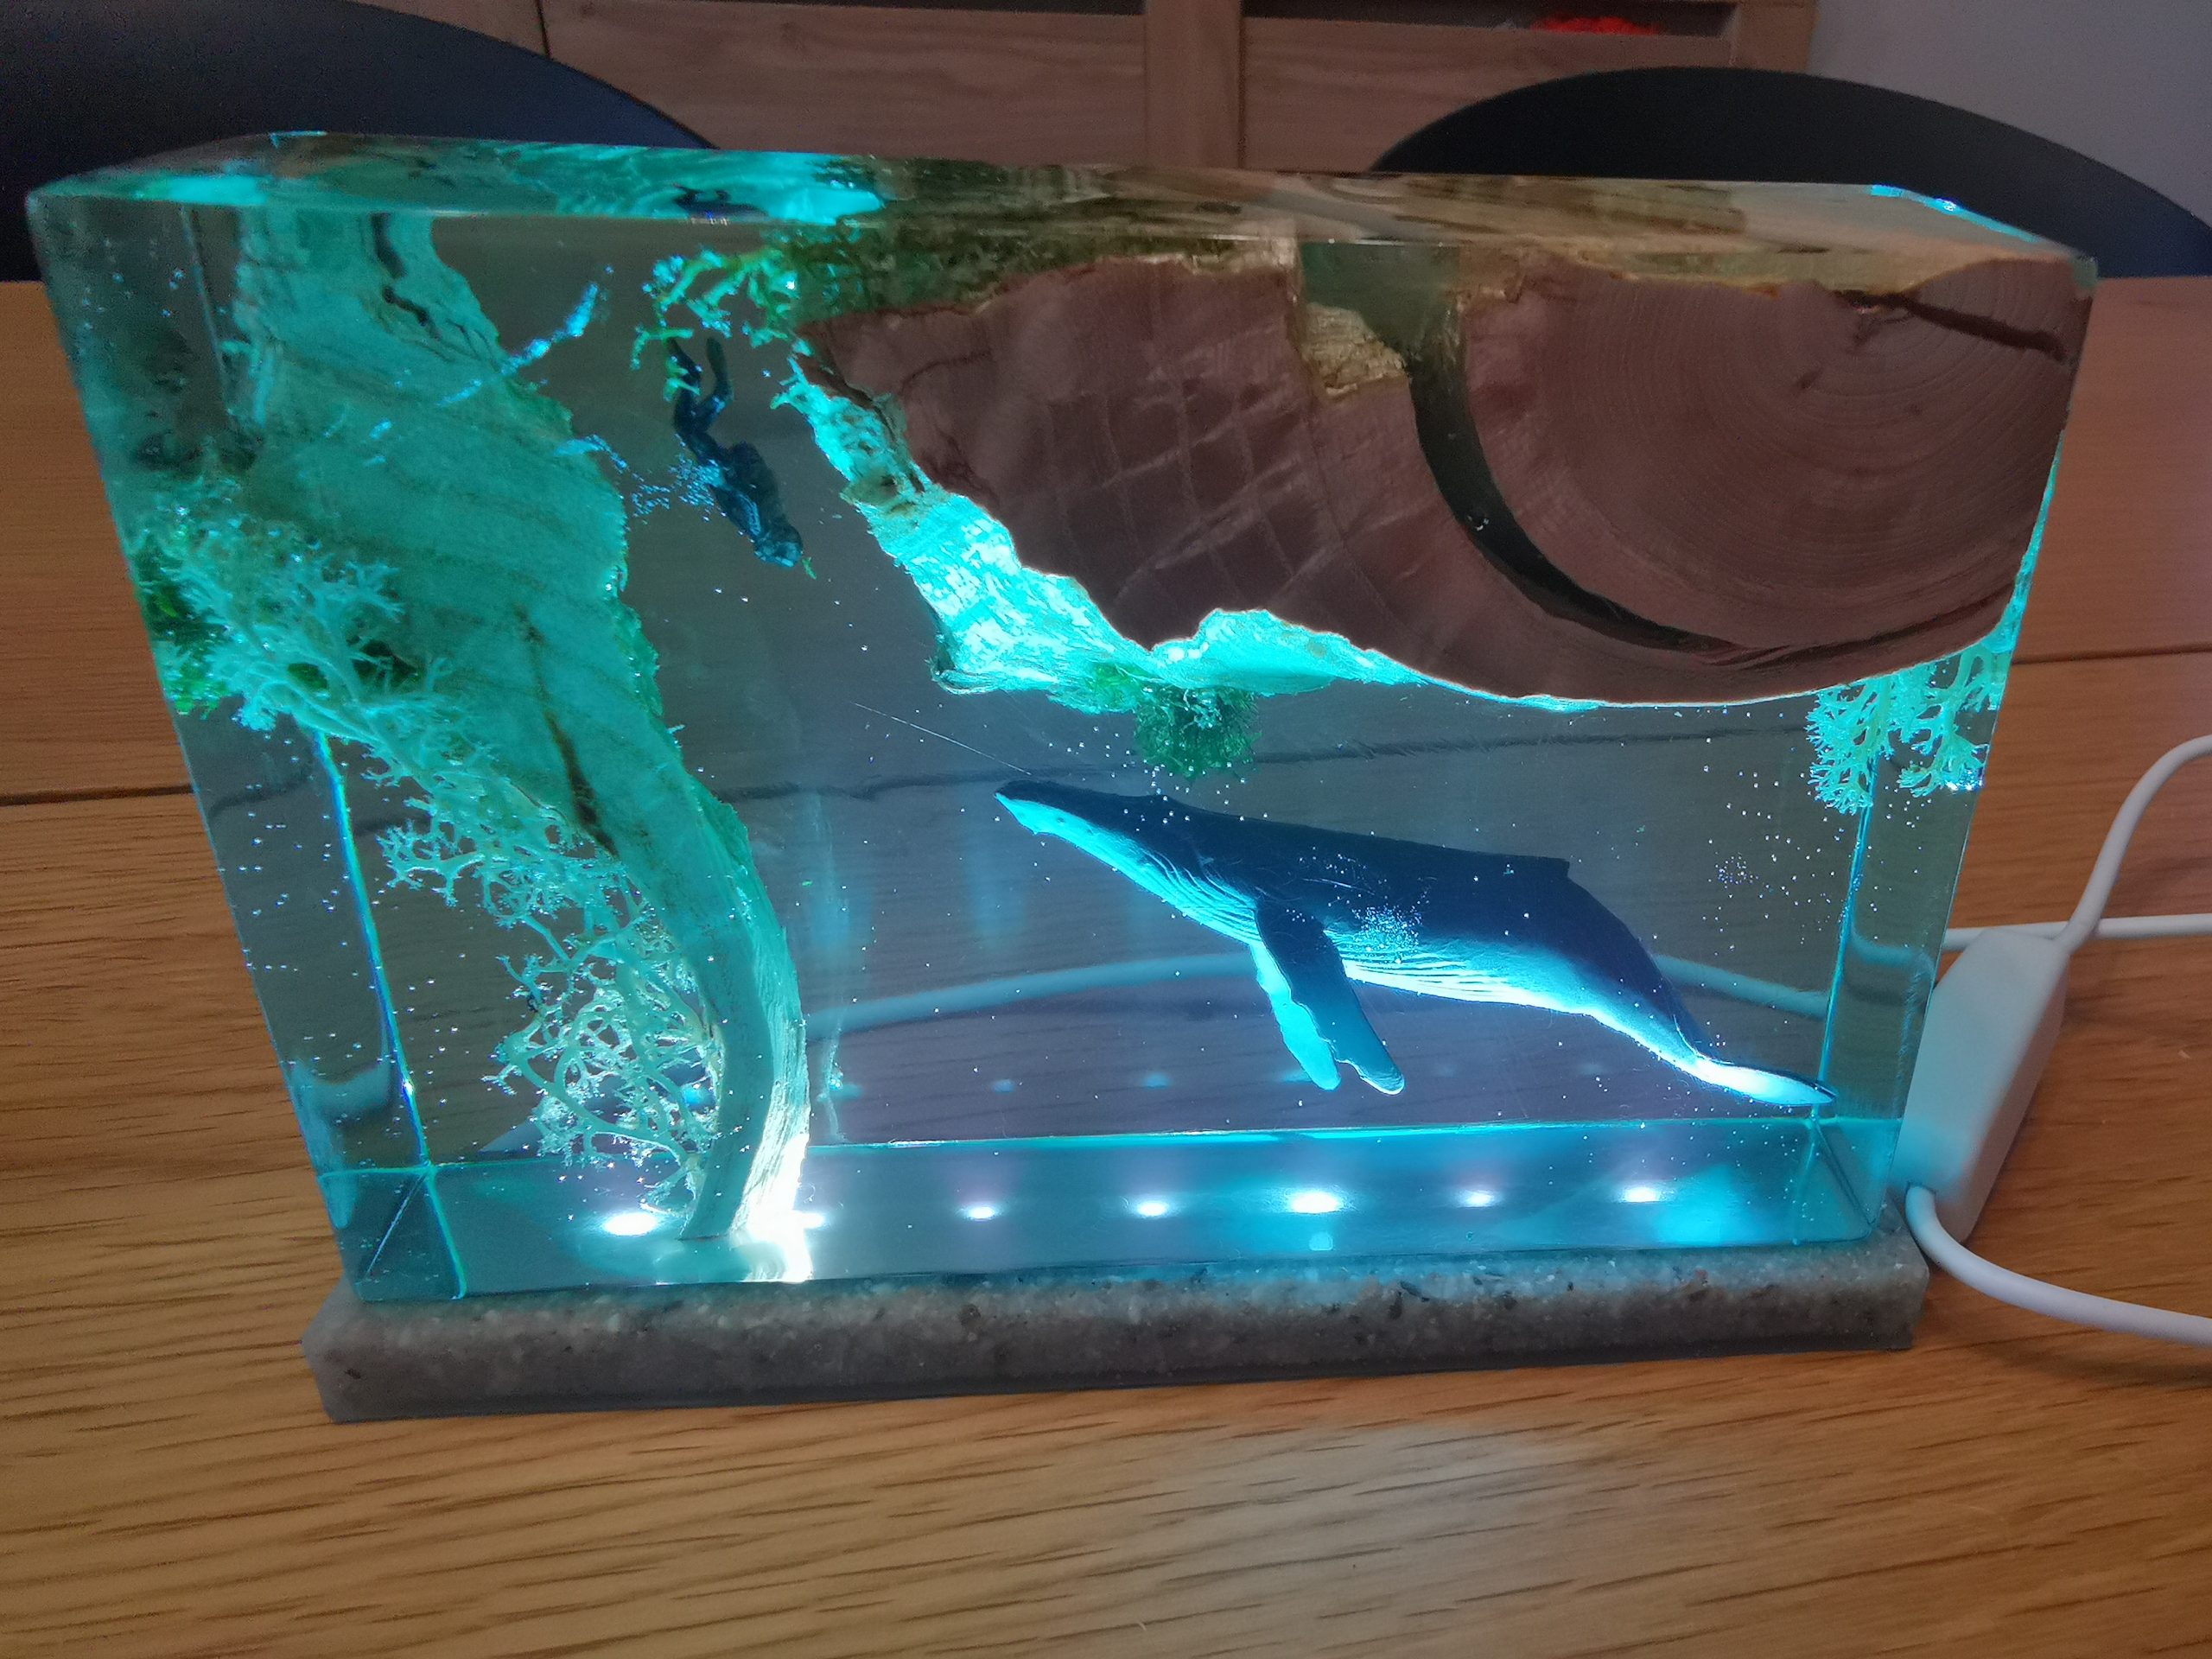
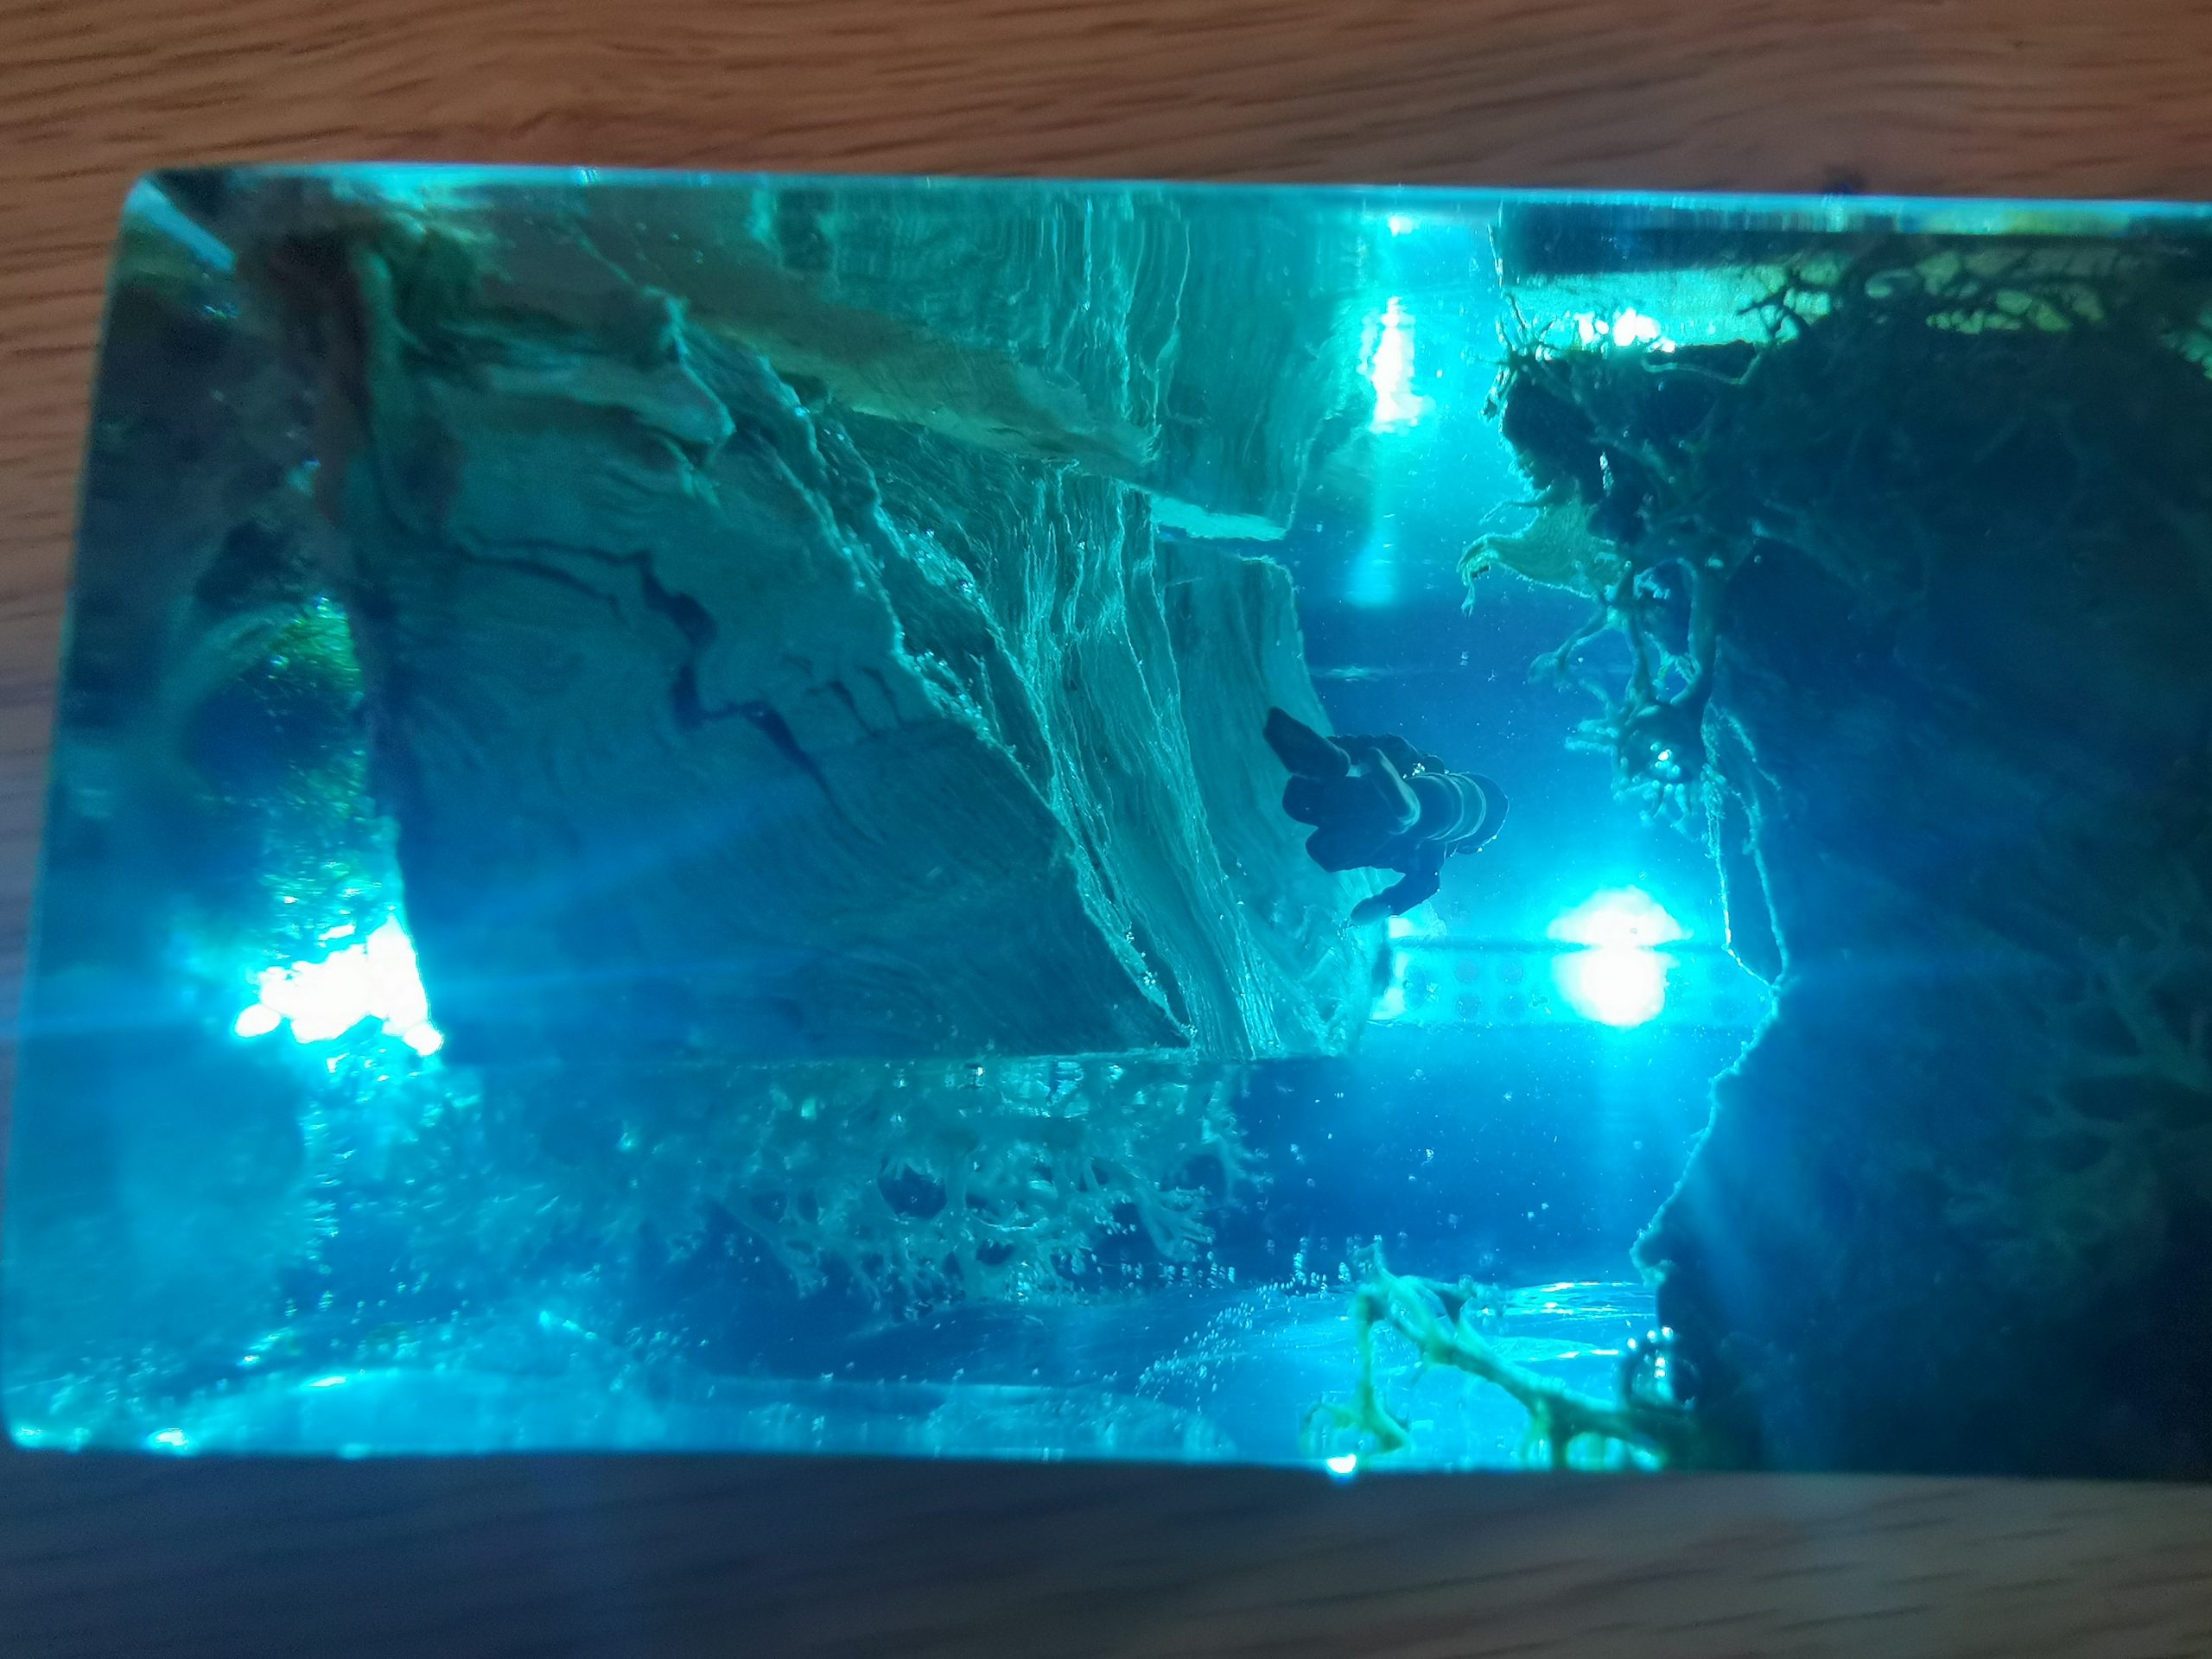
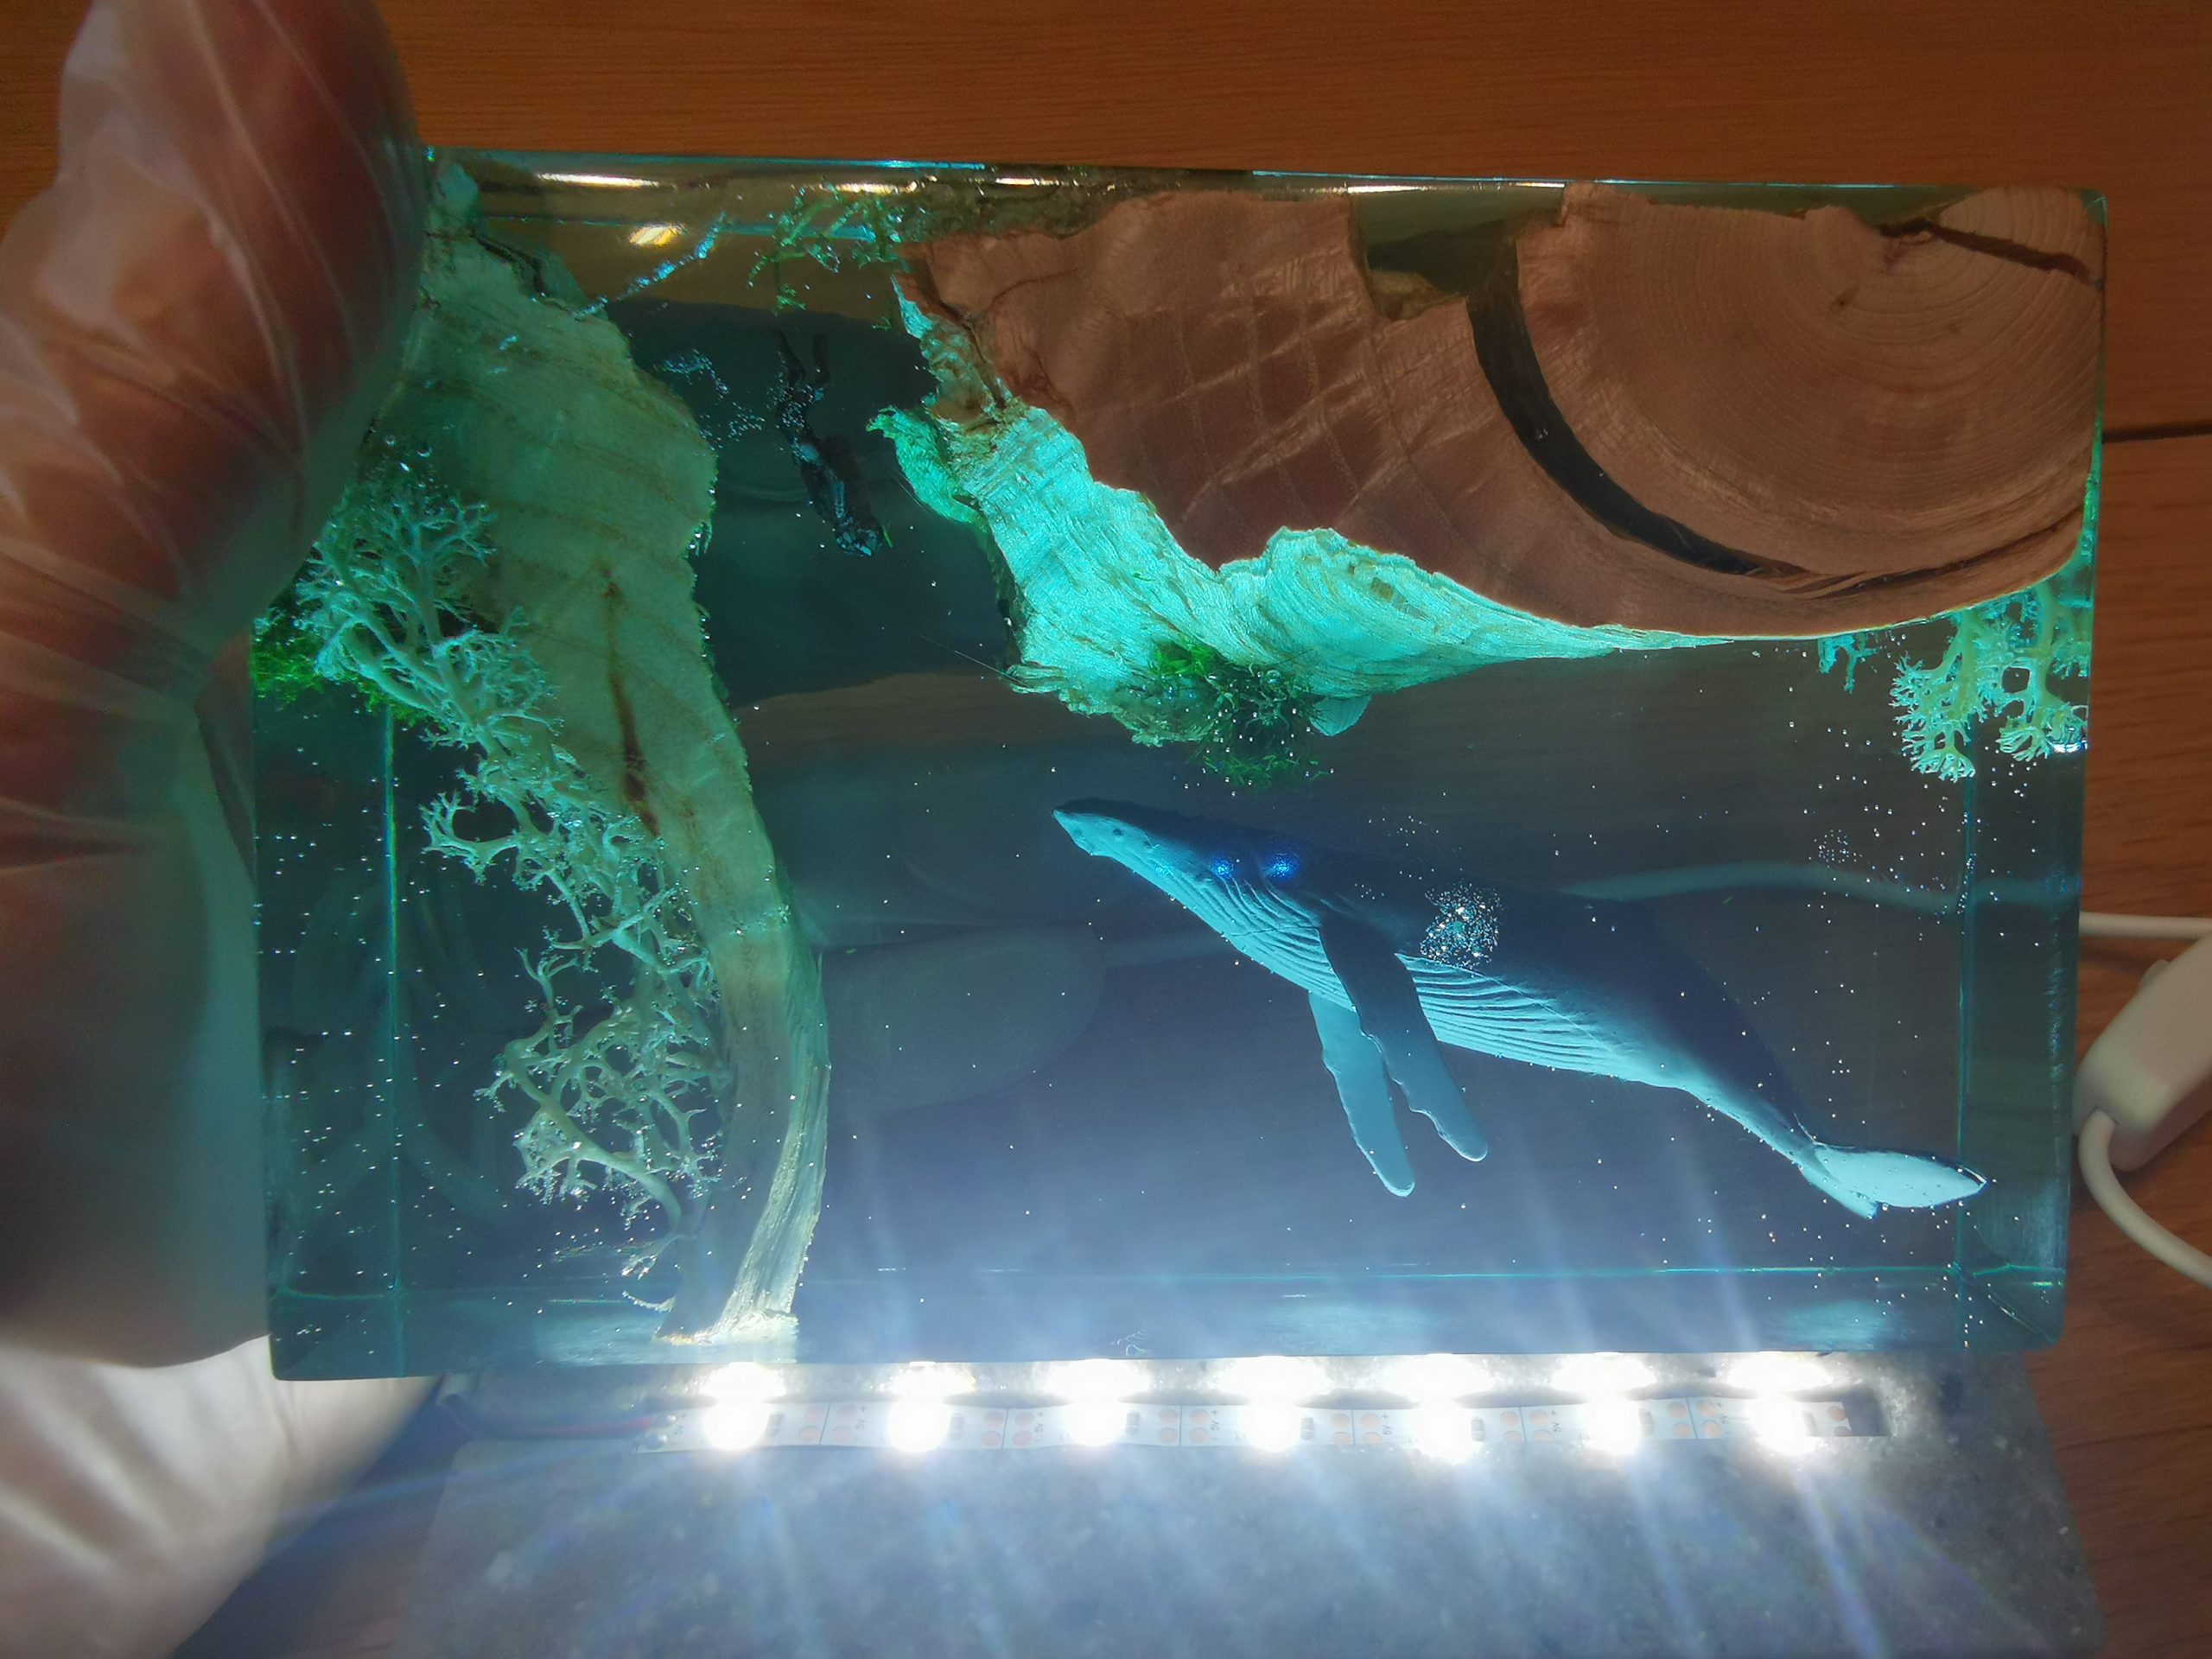
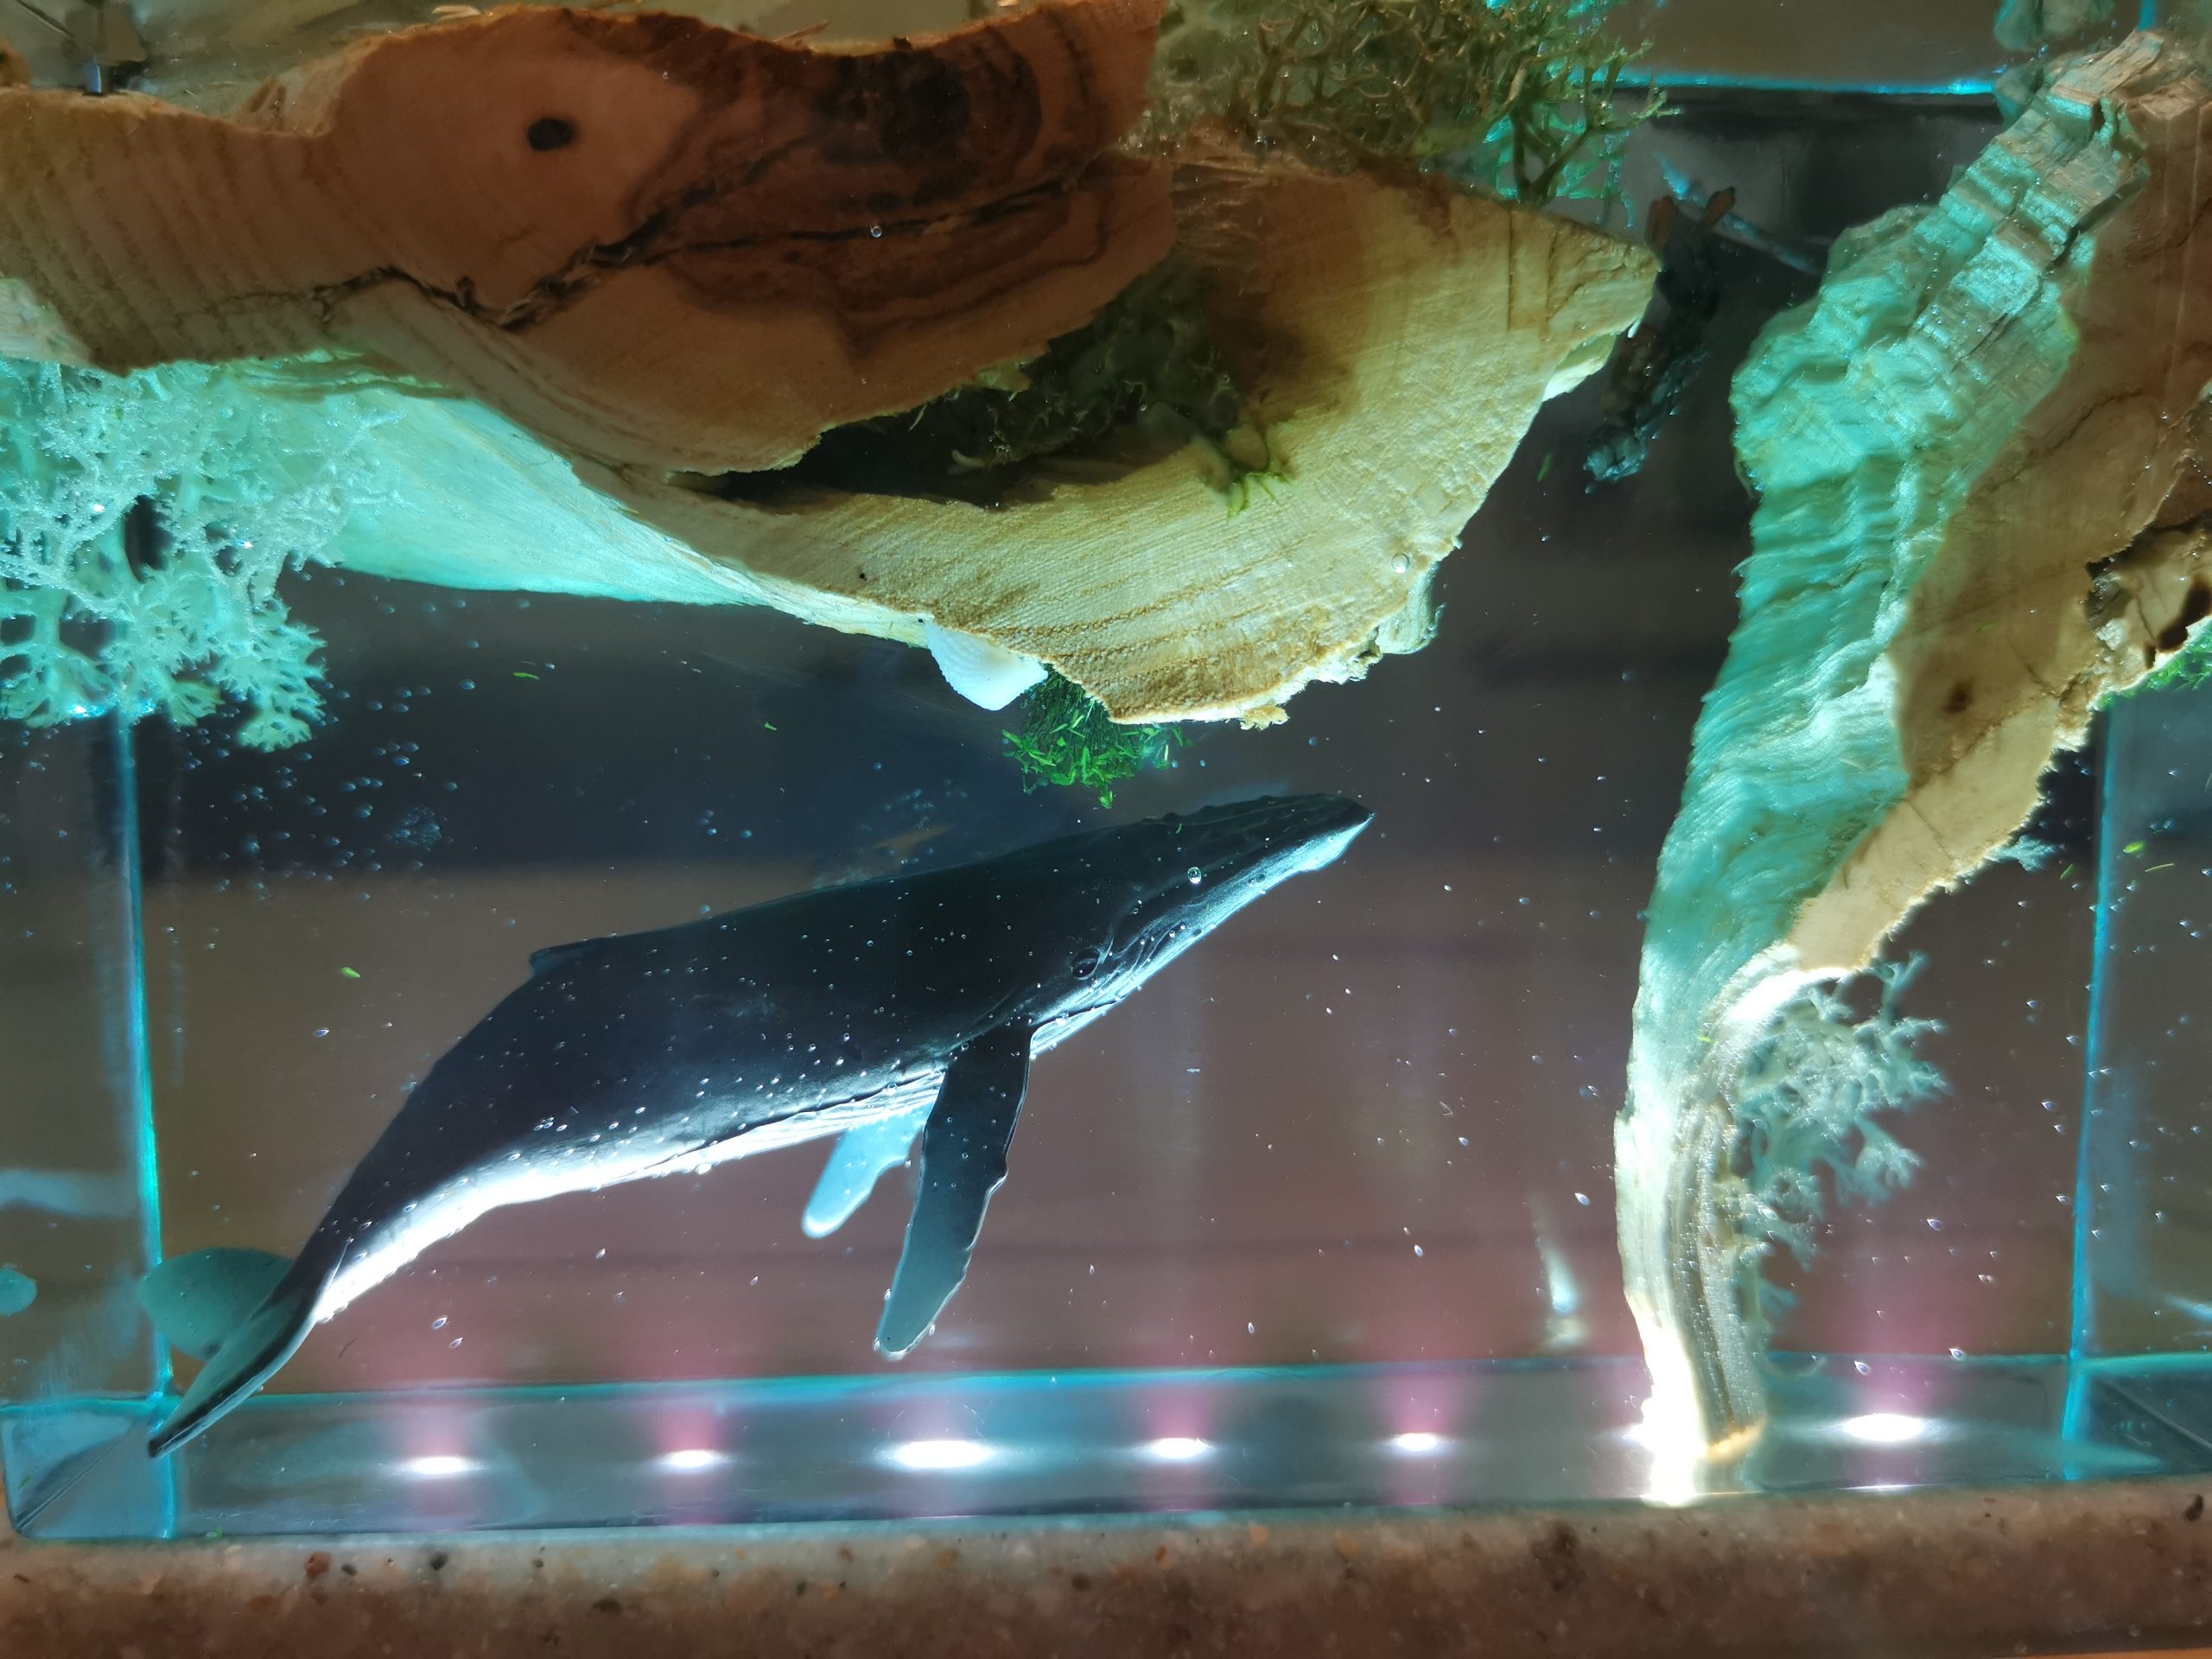
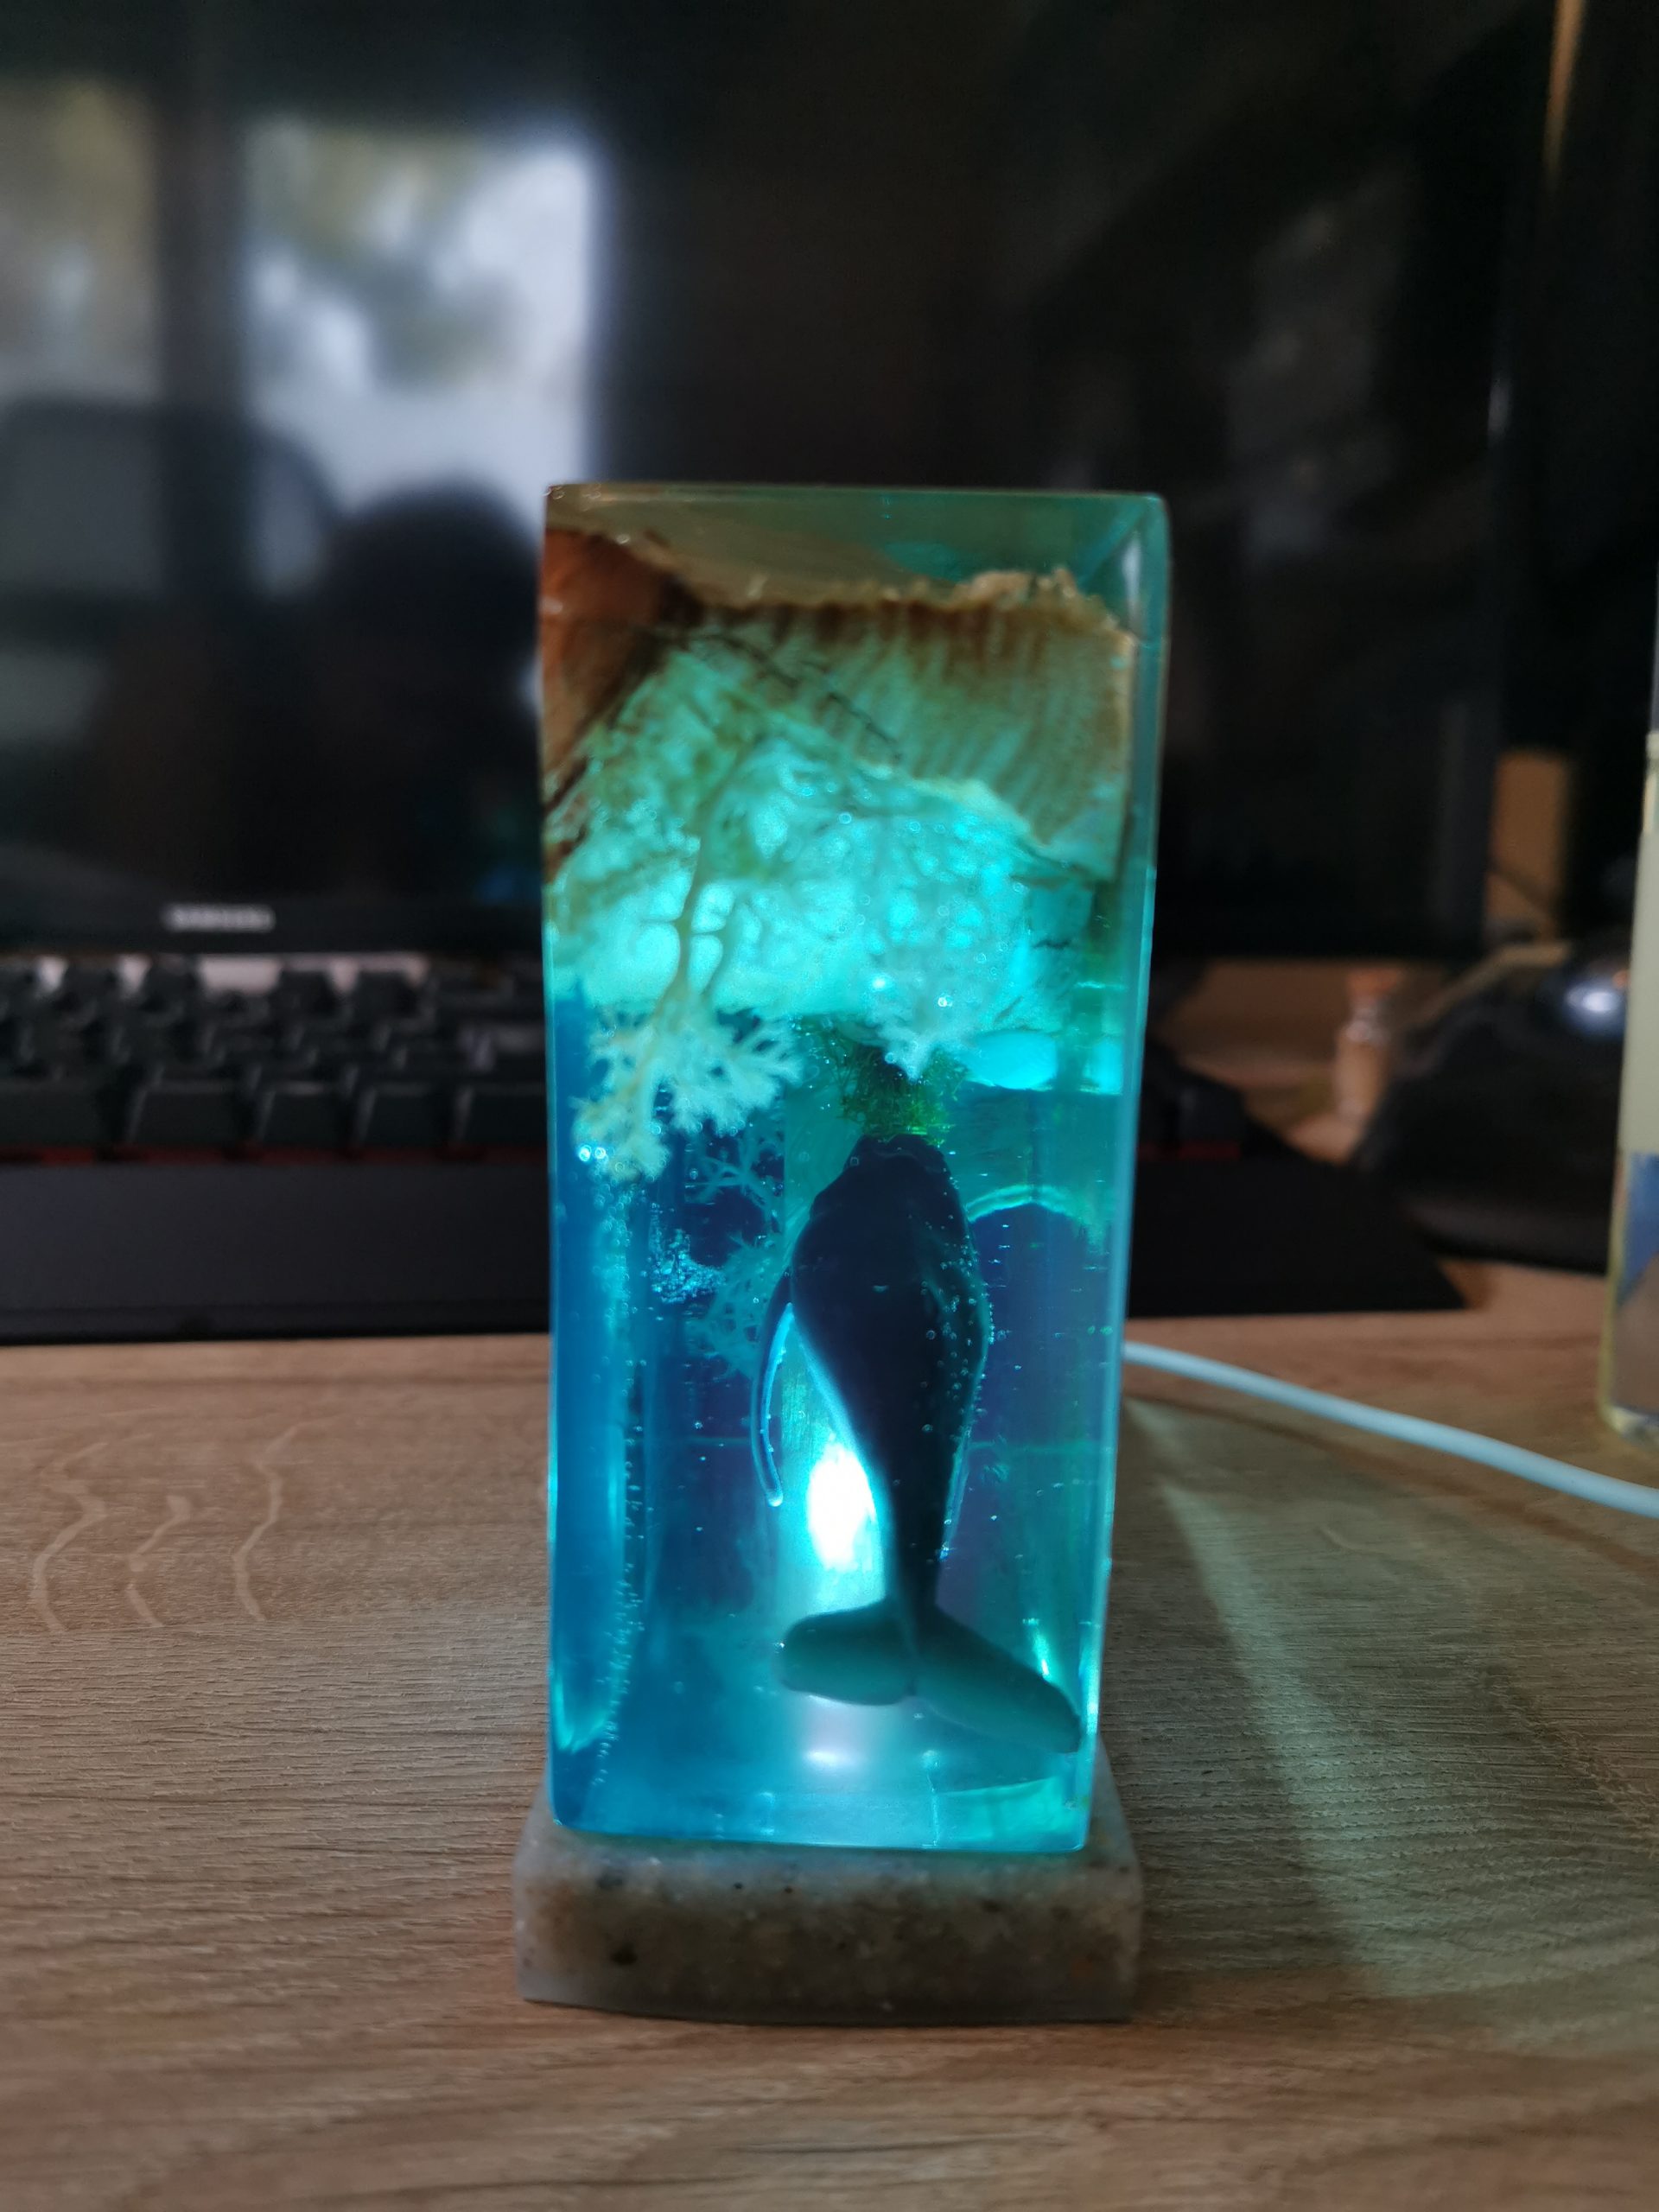
Despite the small imperfections, I am genuinely happy with how this project turned out.
Do you work with epoxy and want to make an epoxy lamp yourself? Then these are also useful: epoxy colorants guide, prevent amine blush and which epoxy yellows the least.
Would you like me to share all steps again in my next pour, including what goes wrong and how I solve it? Feel free to let me know.
Mijn gebruikte materialen:
Let’s Resin epoxyhars set met mica poeder
Let’s Resin epoxyhars set met pompen en toebehoren
Affiliate disclaimer: some links are affiliate links. If you buy via such a link, I may receive a small commission at no extra cost to you.