Haarspelden van drijfhout en resin: van vakantievondst tot handgemaakt sieraad
Soms begint een project met een vakantievondst. Op het strand raapten we een hele zak vol drijfhout op — mooie,…
Lees tutorial →Praktische tutorials en kleurrijke projecten om zelf mee aan de slag te gaan.
Soms begint een project met een vakantievondst. Op het strand raapten we een hele zak vol drijfhout op — mooie,…
Lees tutorial →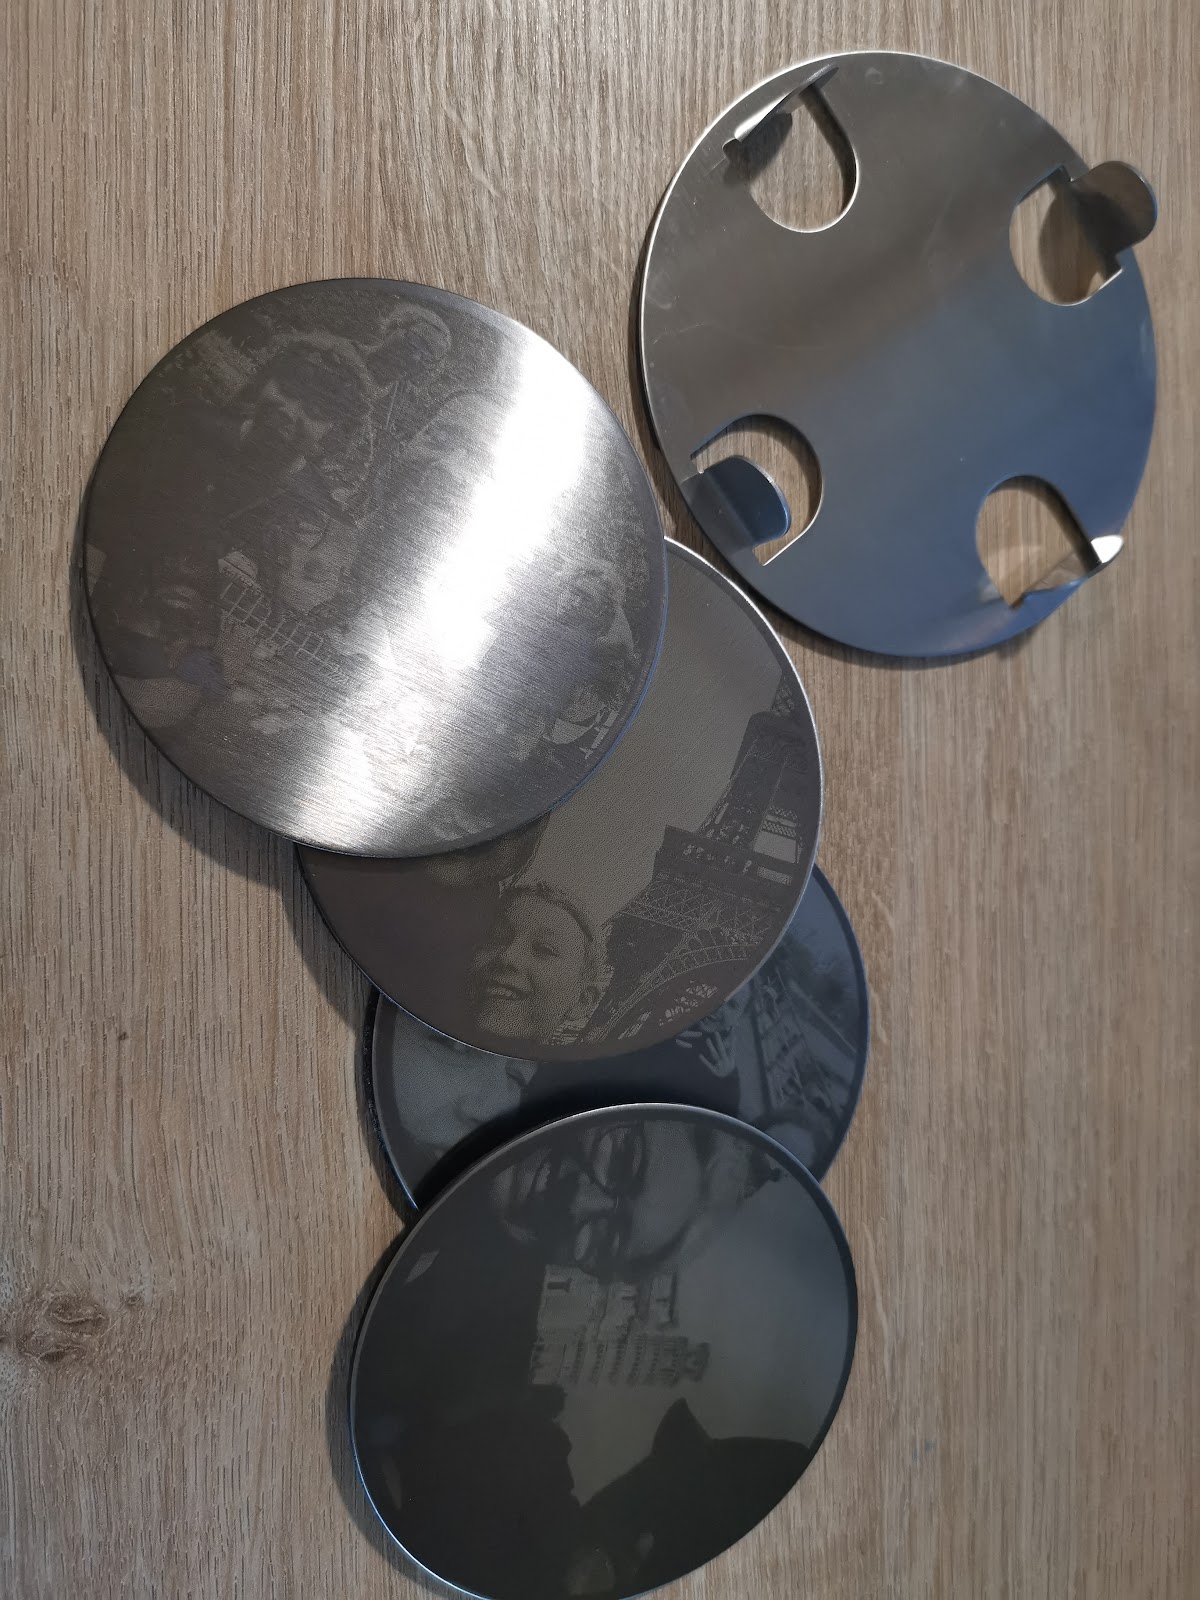
Van RVS coaster tot gepersonaliseerd cadeau in minder dan een uur. Stap voor stap: opmeten, focussen, placeholder mal in LightBurn,…
Lees tutorial →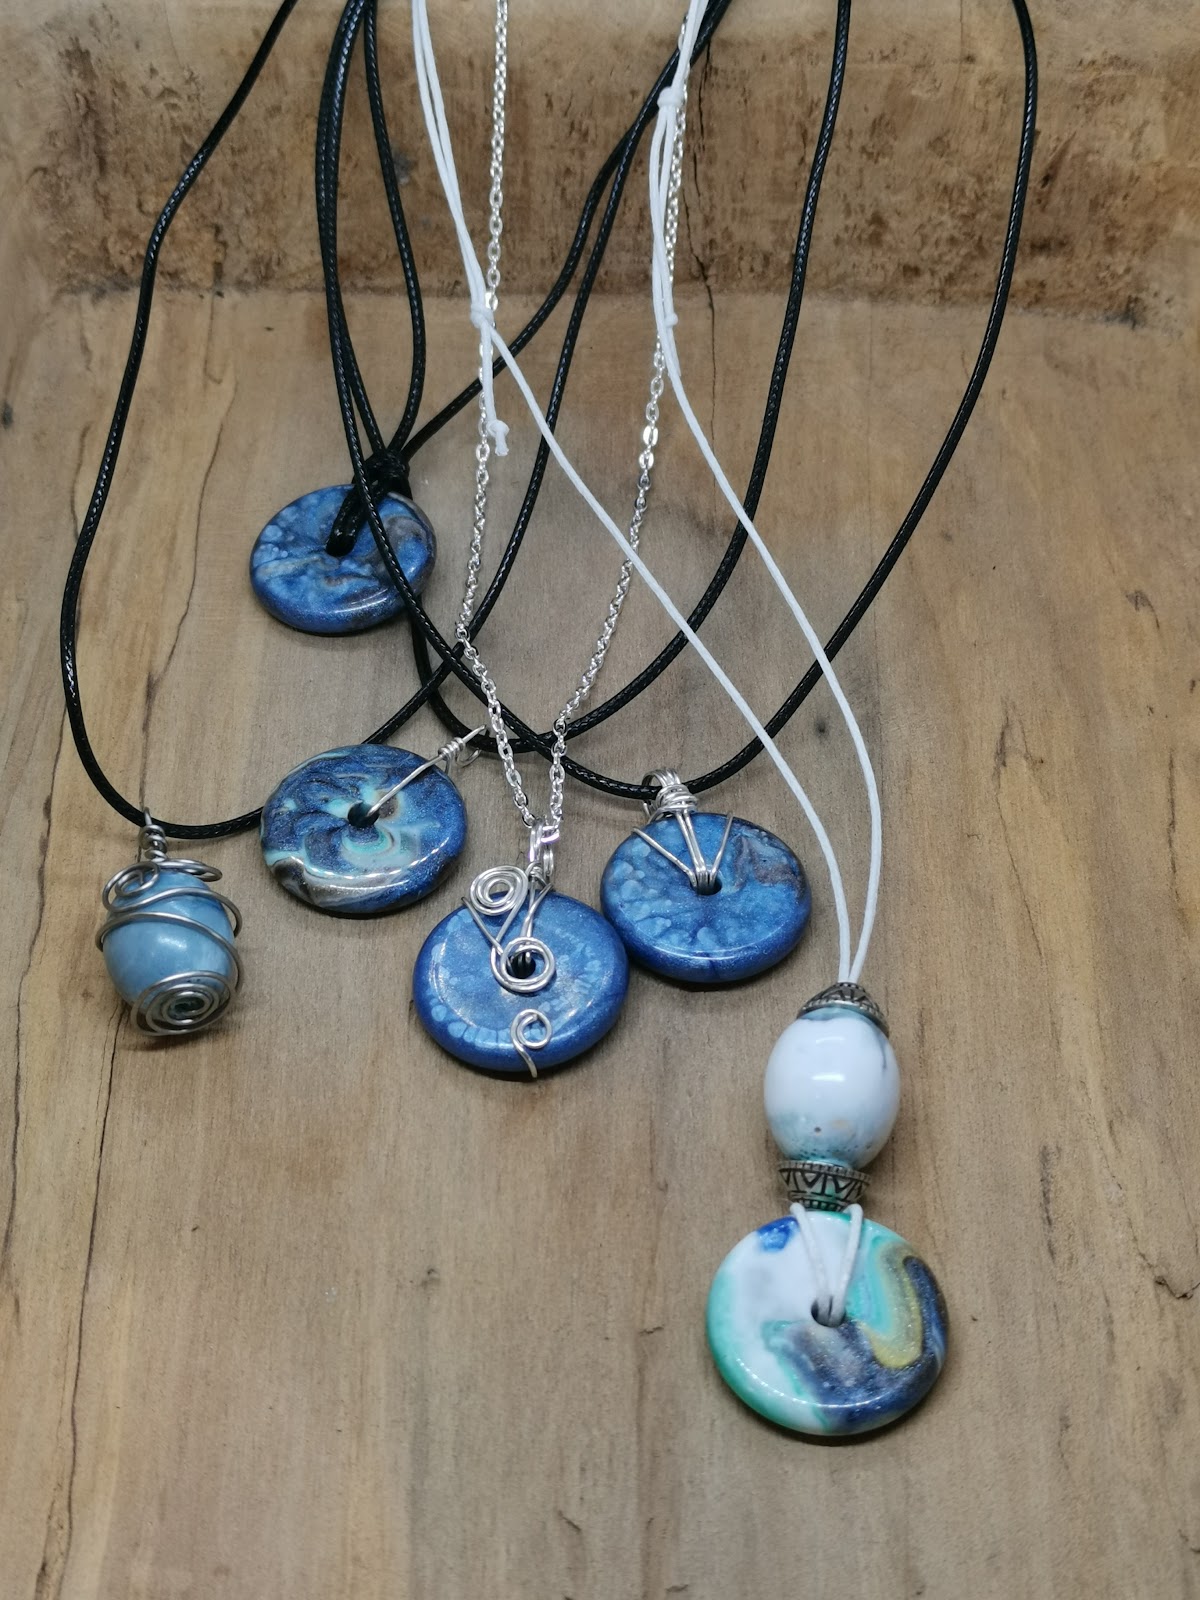
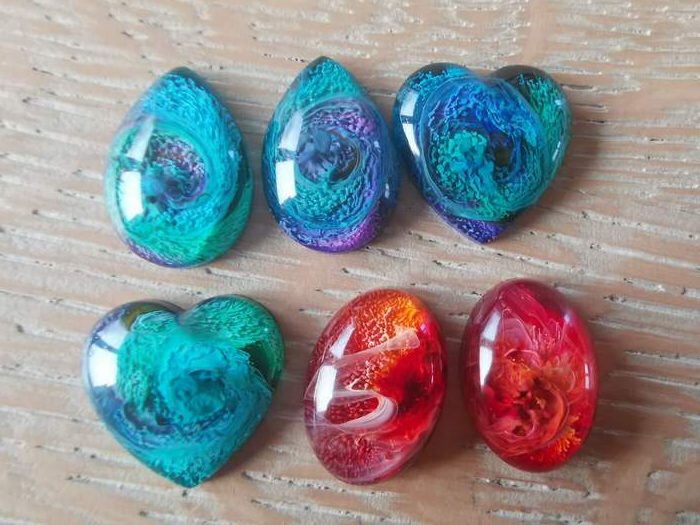
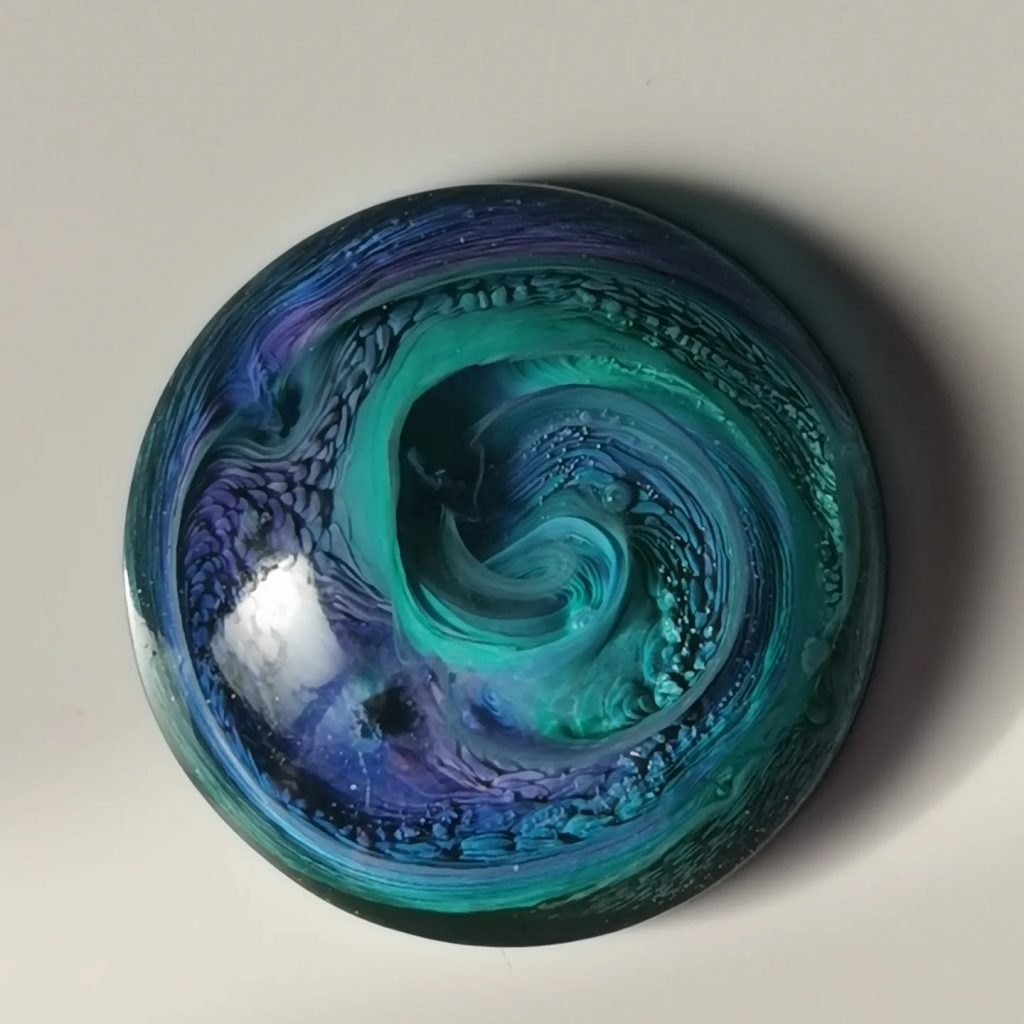
Na het gieten van mijn epoxy coasters goot ik de harsresten in siliconenmalletjes om parels te maken. Zo ontstonden zes…
Lees tutorial →