I did not receive this laser for testing, I bought it myself out of pure frustration.
I first had a small mini CNC/laser from AliExpress. At first it was fun to experiment with, but I quickly hit its limits. The cutting and engraving area was barely 10 x 15 cm and I could not get truly reliable results from it.
The turning point came when I wanted to make a gift for a child in my son’s class. The idea was solid, but the execution simply did not work with that small machine. That is when I knew that if I wanted to keep doing this, I had to invest in something more serious.
So I started looking for a hobby laser that fit my budget but still had enough power and workspace. After a lot of comparisons and reading reviews, I eventually chose the Sculpfun S30 Pro Max 20W.
In this review I show how I started, what I tested, and what you can realistically expect from this machine.
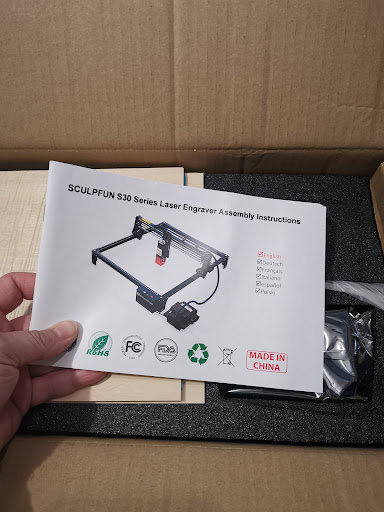
Unboxing
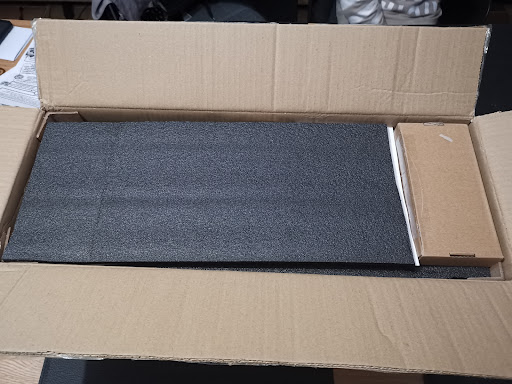
I started by unpacking, checking, and assembling everything calmly. The machine arrived well packed and that gave confidence right away. I do not have photos of the parts or assembly, but the laser is very straightforward to build and the instructions are clear.
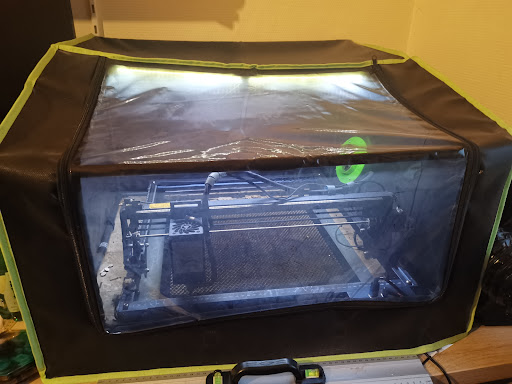
Setup and safety

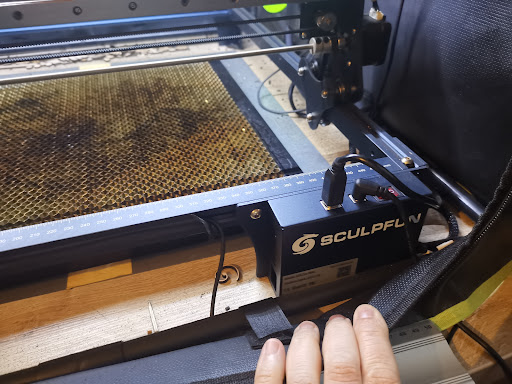
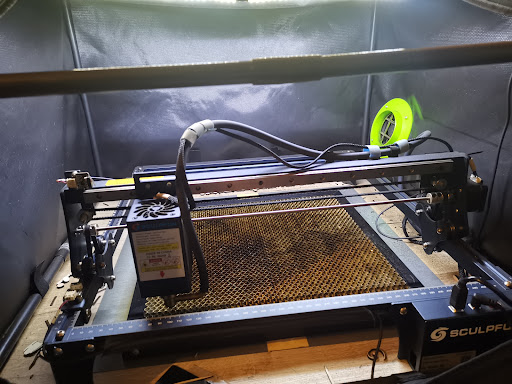
After assembly I finished the setup: enclosure, extraction, and a fixed workspace. For me, safe operation remains the foundation.
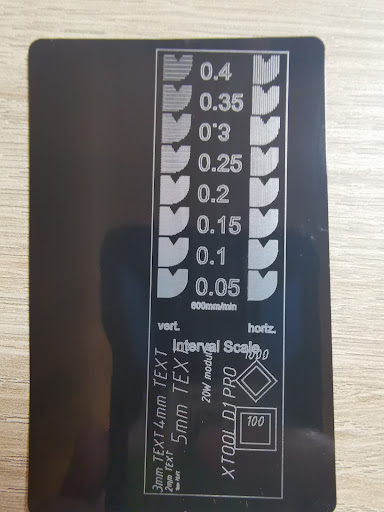
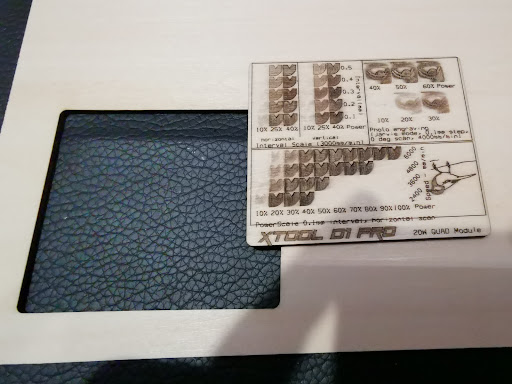
At the beginning I mostly made many test pieces in LightBurn and kept iterating until I found the right settings and the laser did what I expected.
What works well in practice?
| Operation | Pros | Cons | Review summary + my findings |
|---|---|---|---|
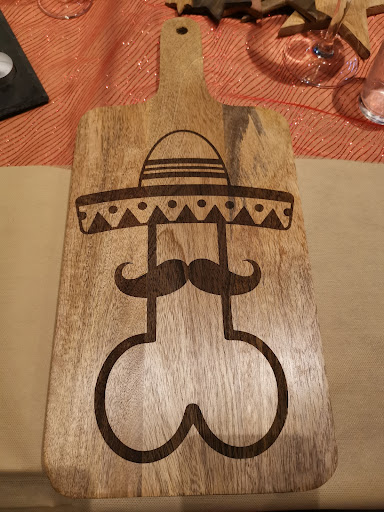
| Cutting wood/plywood | Smooth and powerful with 20W, with good headroom for creative projects. | Settings remain material-dependent; without test cuts you quickly lose quality. | Online reviews emphasize strong wood cutting performance. I see the same: cutting plywood goes very smoothly once settings are dialed in. |
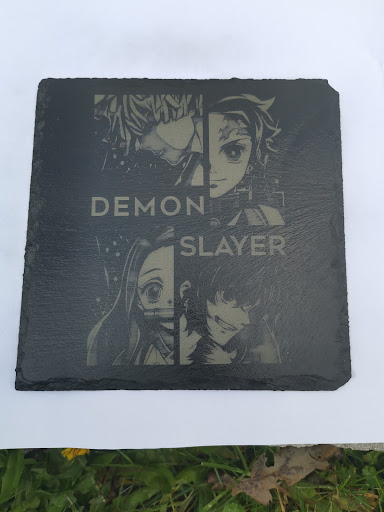
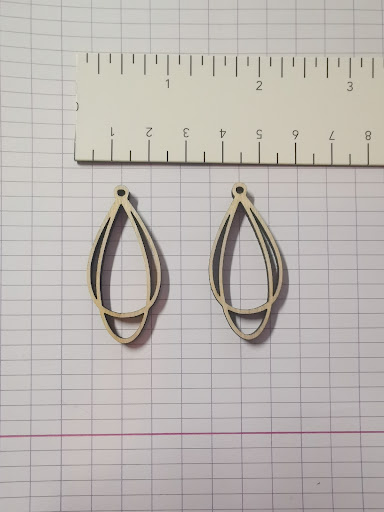
| Engraving stone, wood and soft materials | Clean engravings, good contrast, great for personalized pieces. | Too much power or wrong speed can burn out details. | Reviews often mention neat engraving results. My experience is the same on slate, wood, and other soft materials. |
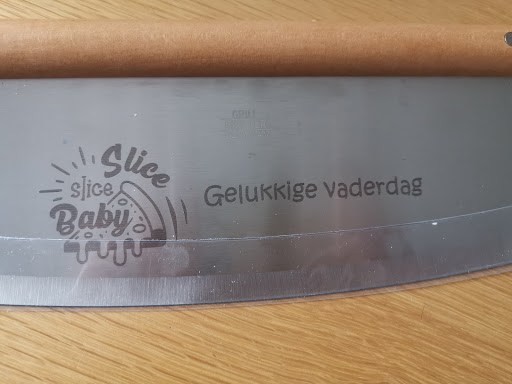
| Marking metal | Marking on brushed metal works well. | Light, shiny, or reflective surfaces are harder and require extra aids. | User reviews also report that metal is mostly about marking and depends heavily on surface type. That matches my practical results. |
| Usability and software | LightBurn works smoothly for design, testing, and repeatable jobs. | There is a learning curve: settings, speed, and power take time to tune properly. | Reviews show that beginners need initial calibration, then can achieve consistent results. That was exactly my experience. |
| Overall satisfaction | Versatile machine for hobby and creative projects. | It is still a hobby laser: you must work safely and keep realistic expectations. | In short, online experiences align well with my own conclusion: I am very satisfied with the S30 Pro Max 20W. |
10W vs 20W: a clear difference
| Spec | S30 Pro 10W | S30 Pro Max 20W | Practical impact |
|---|---|---|---|
| Optical power | 10W | 20W | 20W gives more cutting headroom and speed. |
| Spot size (laser) | 0.06 x 0.08 mm | 0.08 x 0.10 mm | 10W is finer for detail, 20W is stronger for cutting. |
| Nominal work area | 410 x 400 mm | 410 x 400 mm | Identical on paper. |
| Effective area with limits | approx. 380 x 385 mm | approx. 370 x 363 mm | Take the real usable area into account. |
| Air assist | Automatic (30 L/min) | Automatic (30 L/min) | Helps with cleaner cuts. |
Results on different materials
6) What can you expect and what not?
| Realistically achievable | Possible with extra preparation | Not realistic for this type of laser |
|---|---|---|
| Cutting wood and plywood | Marking light/glossy surfaces | Reliably cutting transparent materials |
| Engraving wood, stone, and soft materials | Top results immediately without test cards | Cutting solid metal |
| You can save your best settings per material in LightBurn. That way you do not need to test from scratch every time and you get repeatable results faster. | Using identical settings everywhere without adjustment | Running it unattended for long periods |
Final verdict: this laser is a strong choice for me. If you take time for calibration and work safely, you can make a lot with it.
Where to buy?
- Sculpfun S30 Pro 10W (Belgium)
- Sculpfun S30 10W (Germany)
- Sculpfun S30 Pro Max 20W (Germany)
- Sculpfun S30 Pro Max 20W (Belgium)
- My laser safety enclosure
Affiliate disclaimer: some links are affiliate links. If you buy via such a link, I may receive a small commission at no extra cost to you.