After the crib linen, one more item was high on my to-do list: a baby sleeping bag that matched the star fabric of the crib perfectly. Thanks to a clever trick with an existing sleeping bag, I was able to draw a pattern myself — and so this little adventure began.
Draw the pattern and cut the fabric
I had purchased 1 meter of blue fleece — more than enough for two sleeping bags. I copied all parts of an existing sleeping bag onto grid foil: a body, two sleeves and a sleeve cap. Drawing on fleece immediately proved to be a challenge: the fabric slides and pulls. Tips are always welcome!
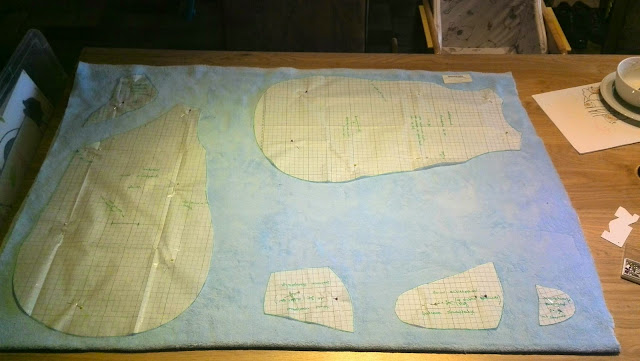

After marking everything off, I cut out all the pieces. Note: you have to cut the second sleeve mirror-image — I learned that the hard way!
Put everything together and stitch the first stitches
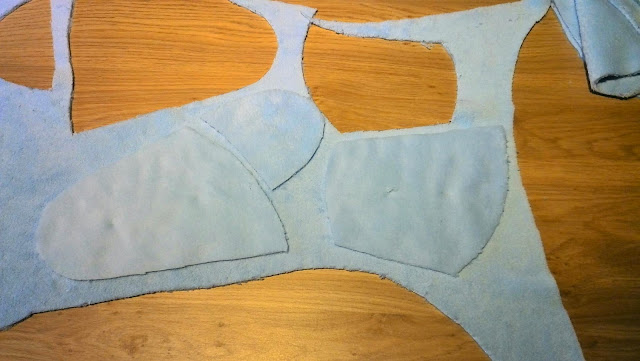
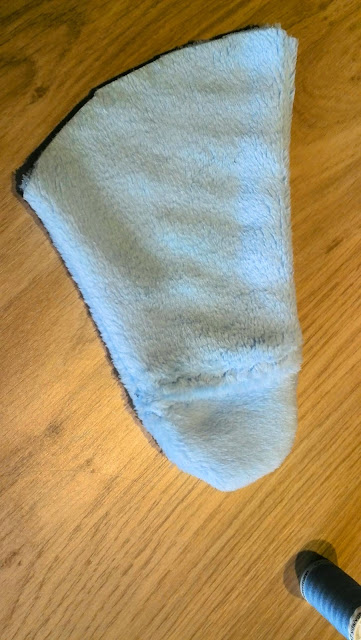
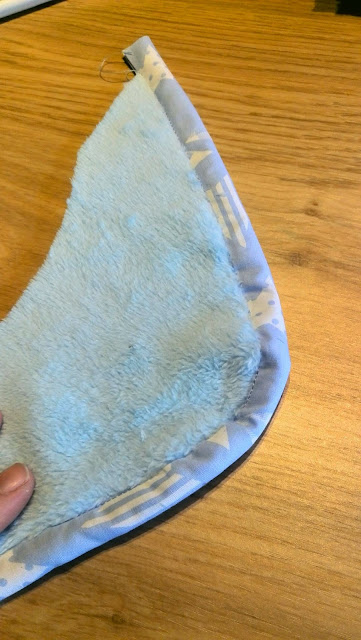
Once everything was cut, I put the pieces together to make sure it was correct. Then I stitched the first sleeve — quite an achievement for someone who was just starting to sew!

Make and stitch bias tape
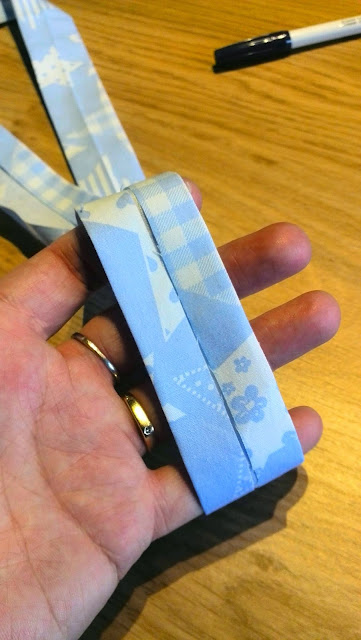
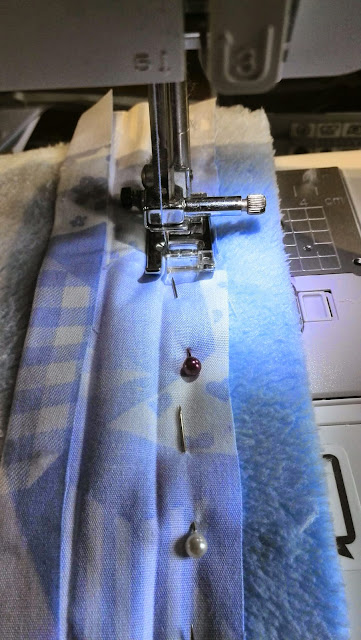
To finish the sleeves, I made my own bias tape from the matching star fabric — measure it nicely, fold it and press it with the iron. Sewing it turned out to be quite a job: bias tape tends to slide away. Not exactly straight everywhere, but still quite proud for the first time!
Toppings and the finishing touch
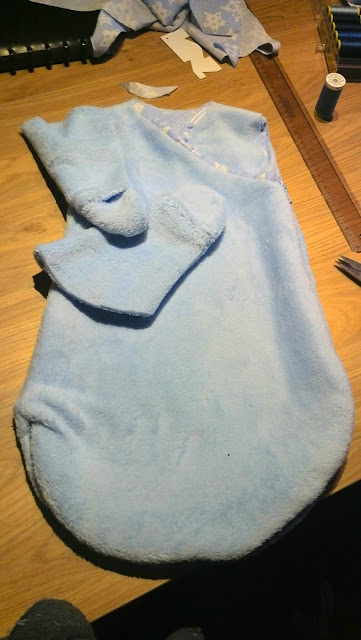
For the neck opening I made a facing of the star fabric. Then inserted the zipper — for the first time in my life! This was clearly visible because he did not walk completely straight. But it worked. The sleeping bag was almost ready, only the sleeves still needed to be inserted — you can read that in the next post.

Also read
- 👉Baby sleeping bag off— part 2: inserting sleeves, press studs and the end result
- 👉My first big project: the crib cover— the matching crib cover in the same fabric
- 👉My first sewing machine and job— how it all started
- 👉From Brother FS-40 to Innov-is 4000D: my sewing machine evolution— how my machinery grew over the years
- 👉Overlock vs coverlock: what do you really need?— everything about overlocking and finishing
Used sewing machine
I made this sleeping bag on my very first sewing machine, theBrother FS-40— reliable, affordable and perfect for beginners.
🛒Brother FS-40 on Amazon DE|Brother FS-40 on Amazon BE
Affiliate note: The links above are affiliate links. If you purchase something through such a link, I may receive a small commission — at no additional cost to you. Thank you for the support!