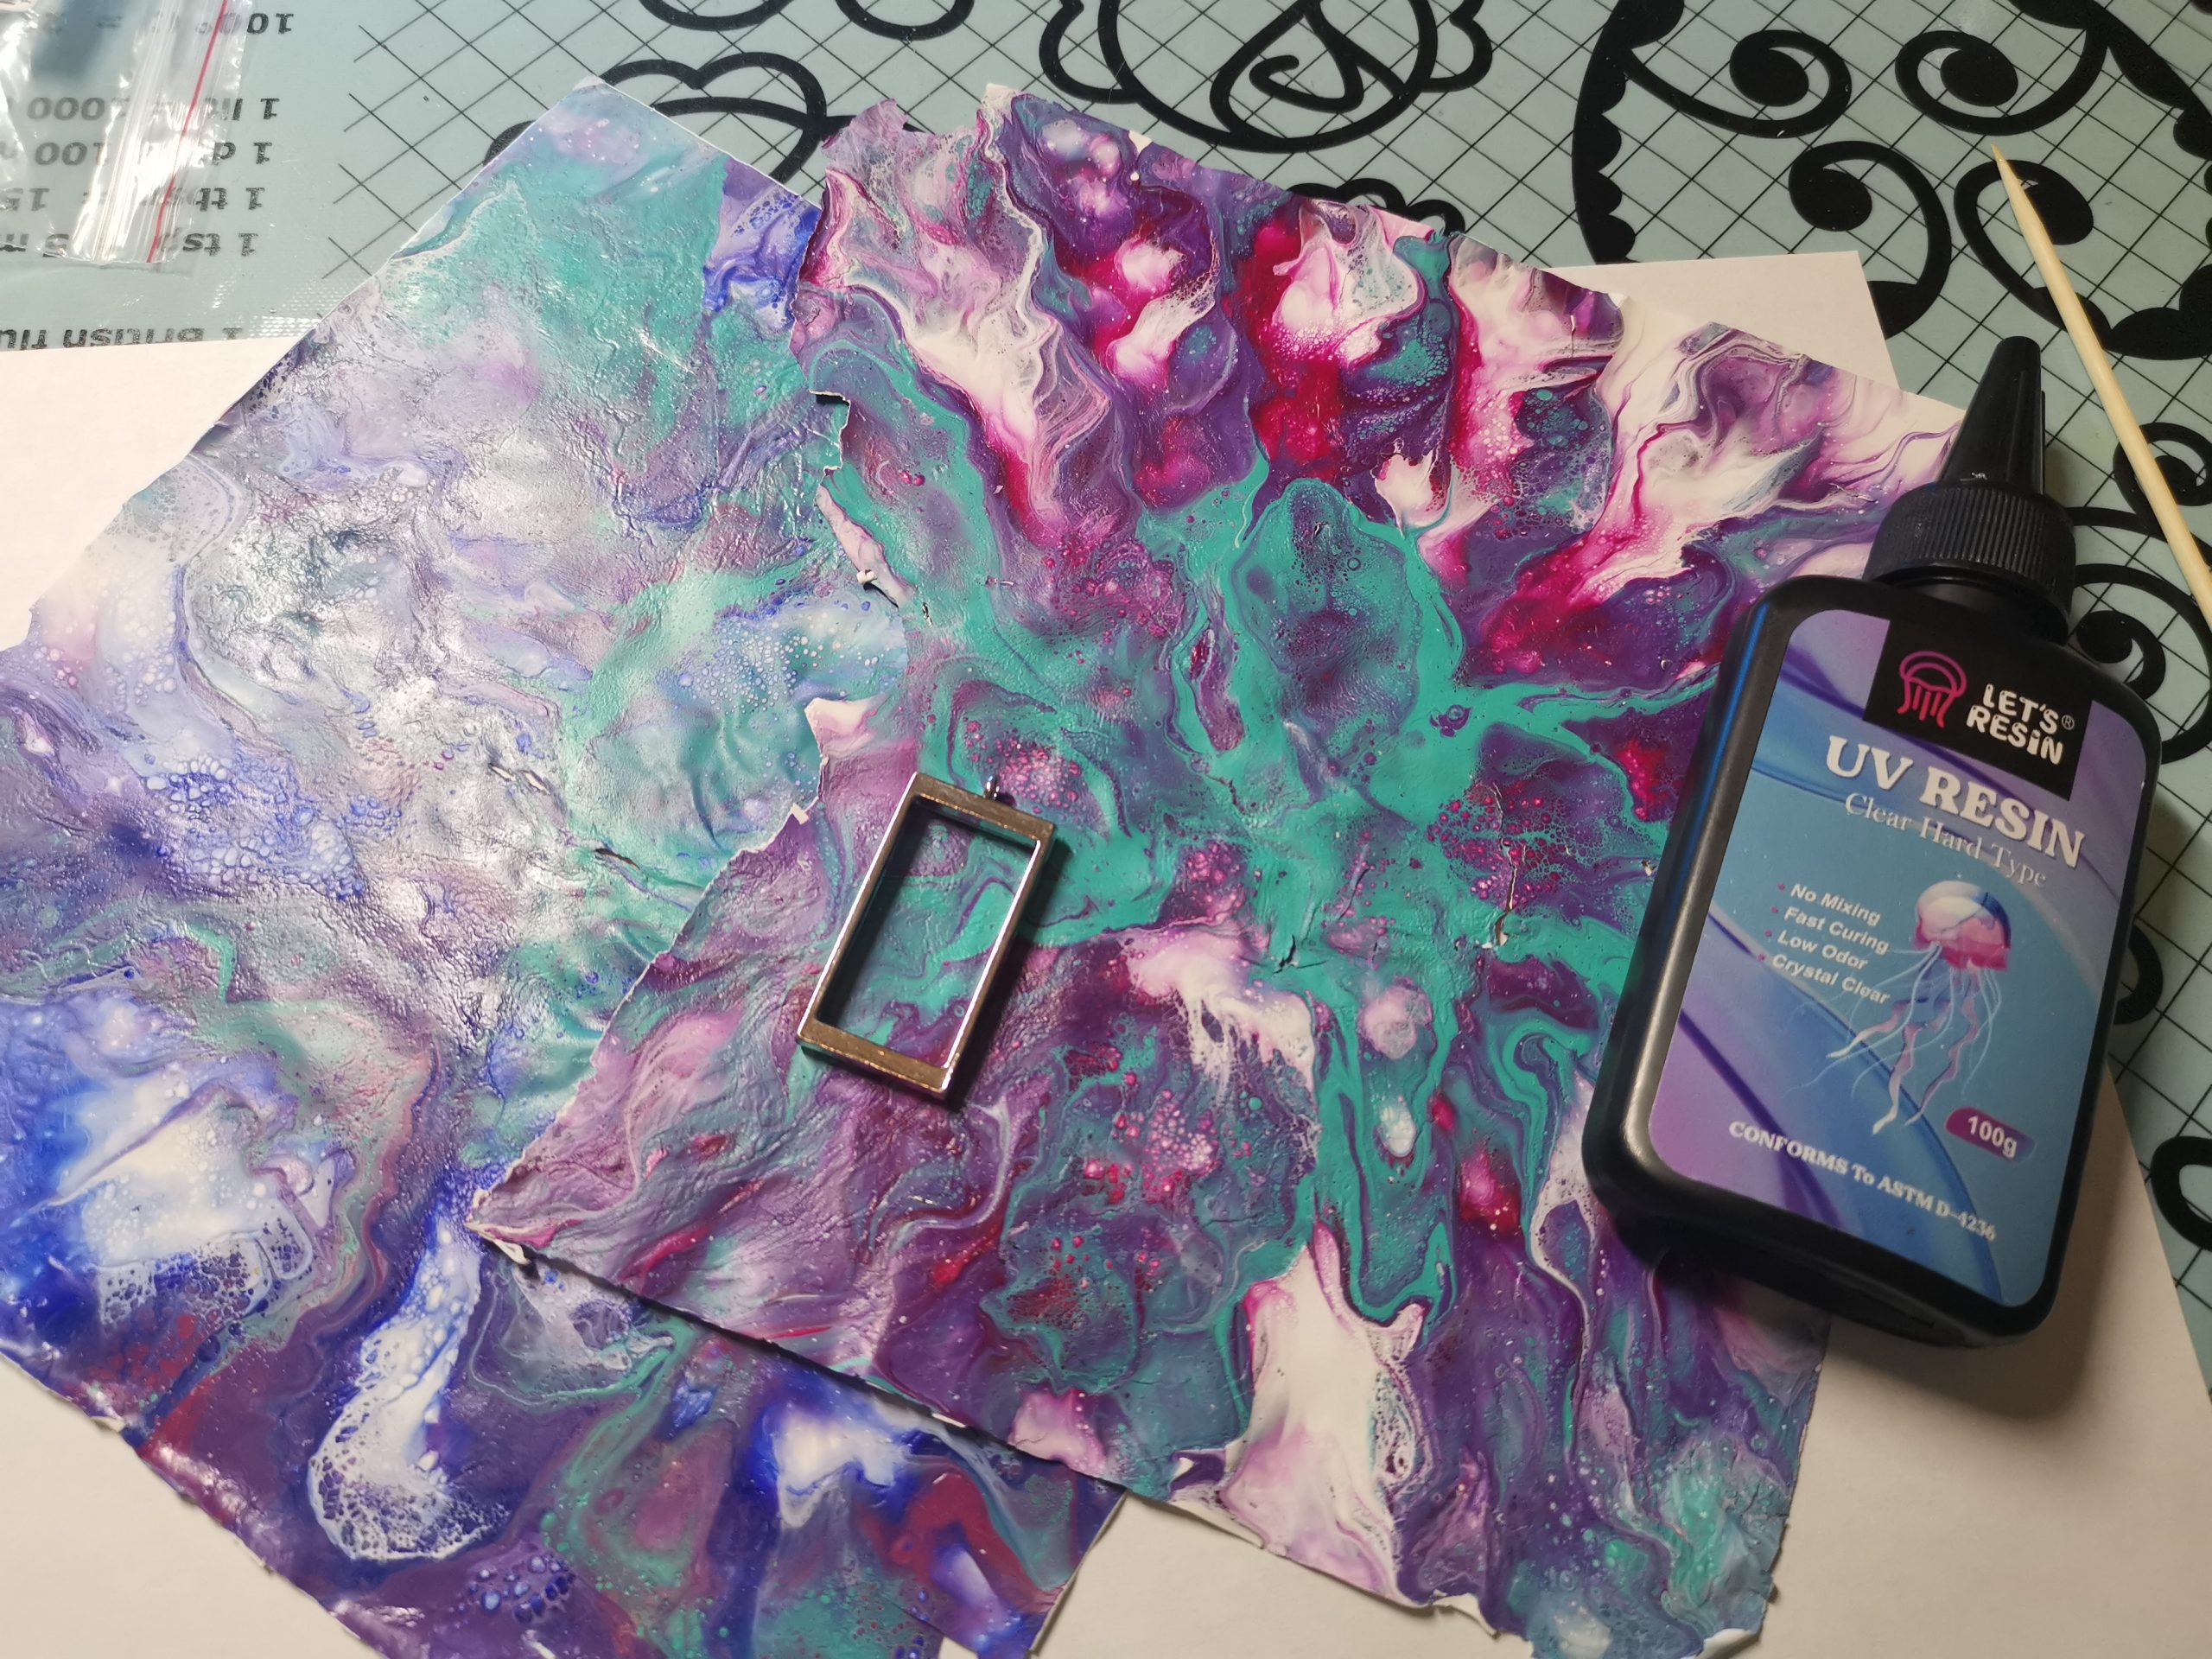
I made the fluid art sheet earlier. I usually do that with acrylic paint on a tile or plastic sheet so it releases easily afterwards. A silicone mat works even better.
Once your fluid-art sheet is ready, making a pendant is actually very straightforward. Just follow these steps carefully.
What you need
- Pendant frame
- Fluid-art sheet (made beforehand)
- Scissors and pencil
- UV resin + UV lamp
- Resin tape
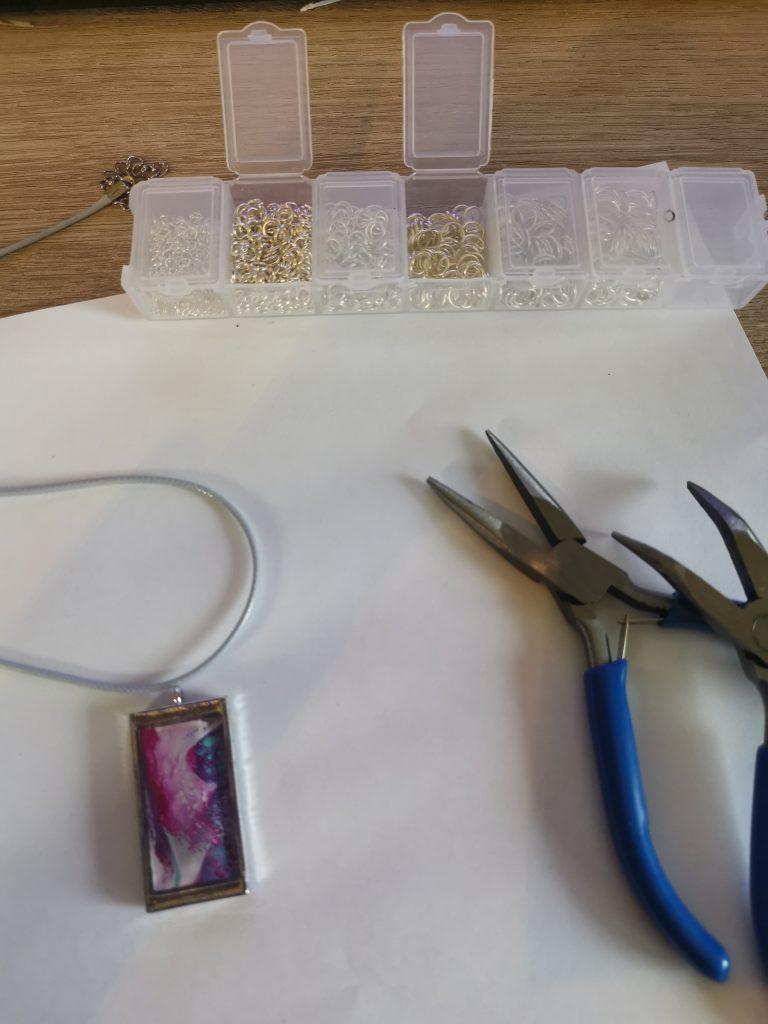
- Jump rings, pliers and cord
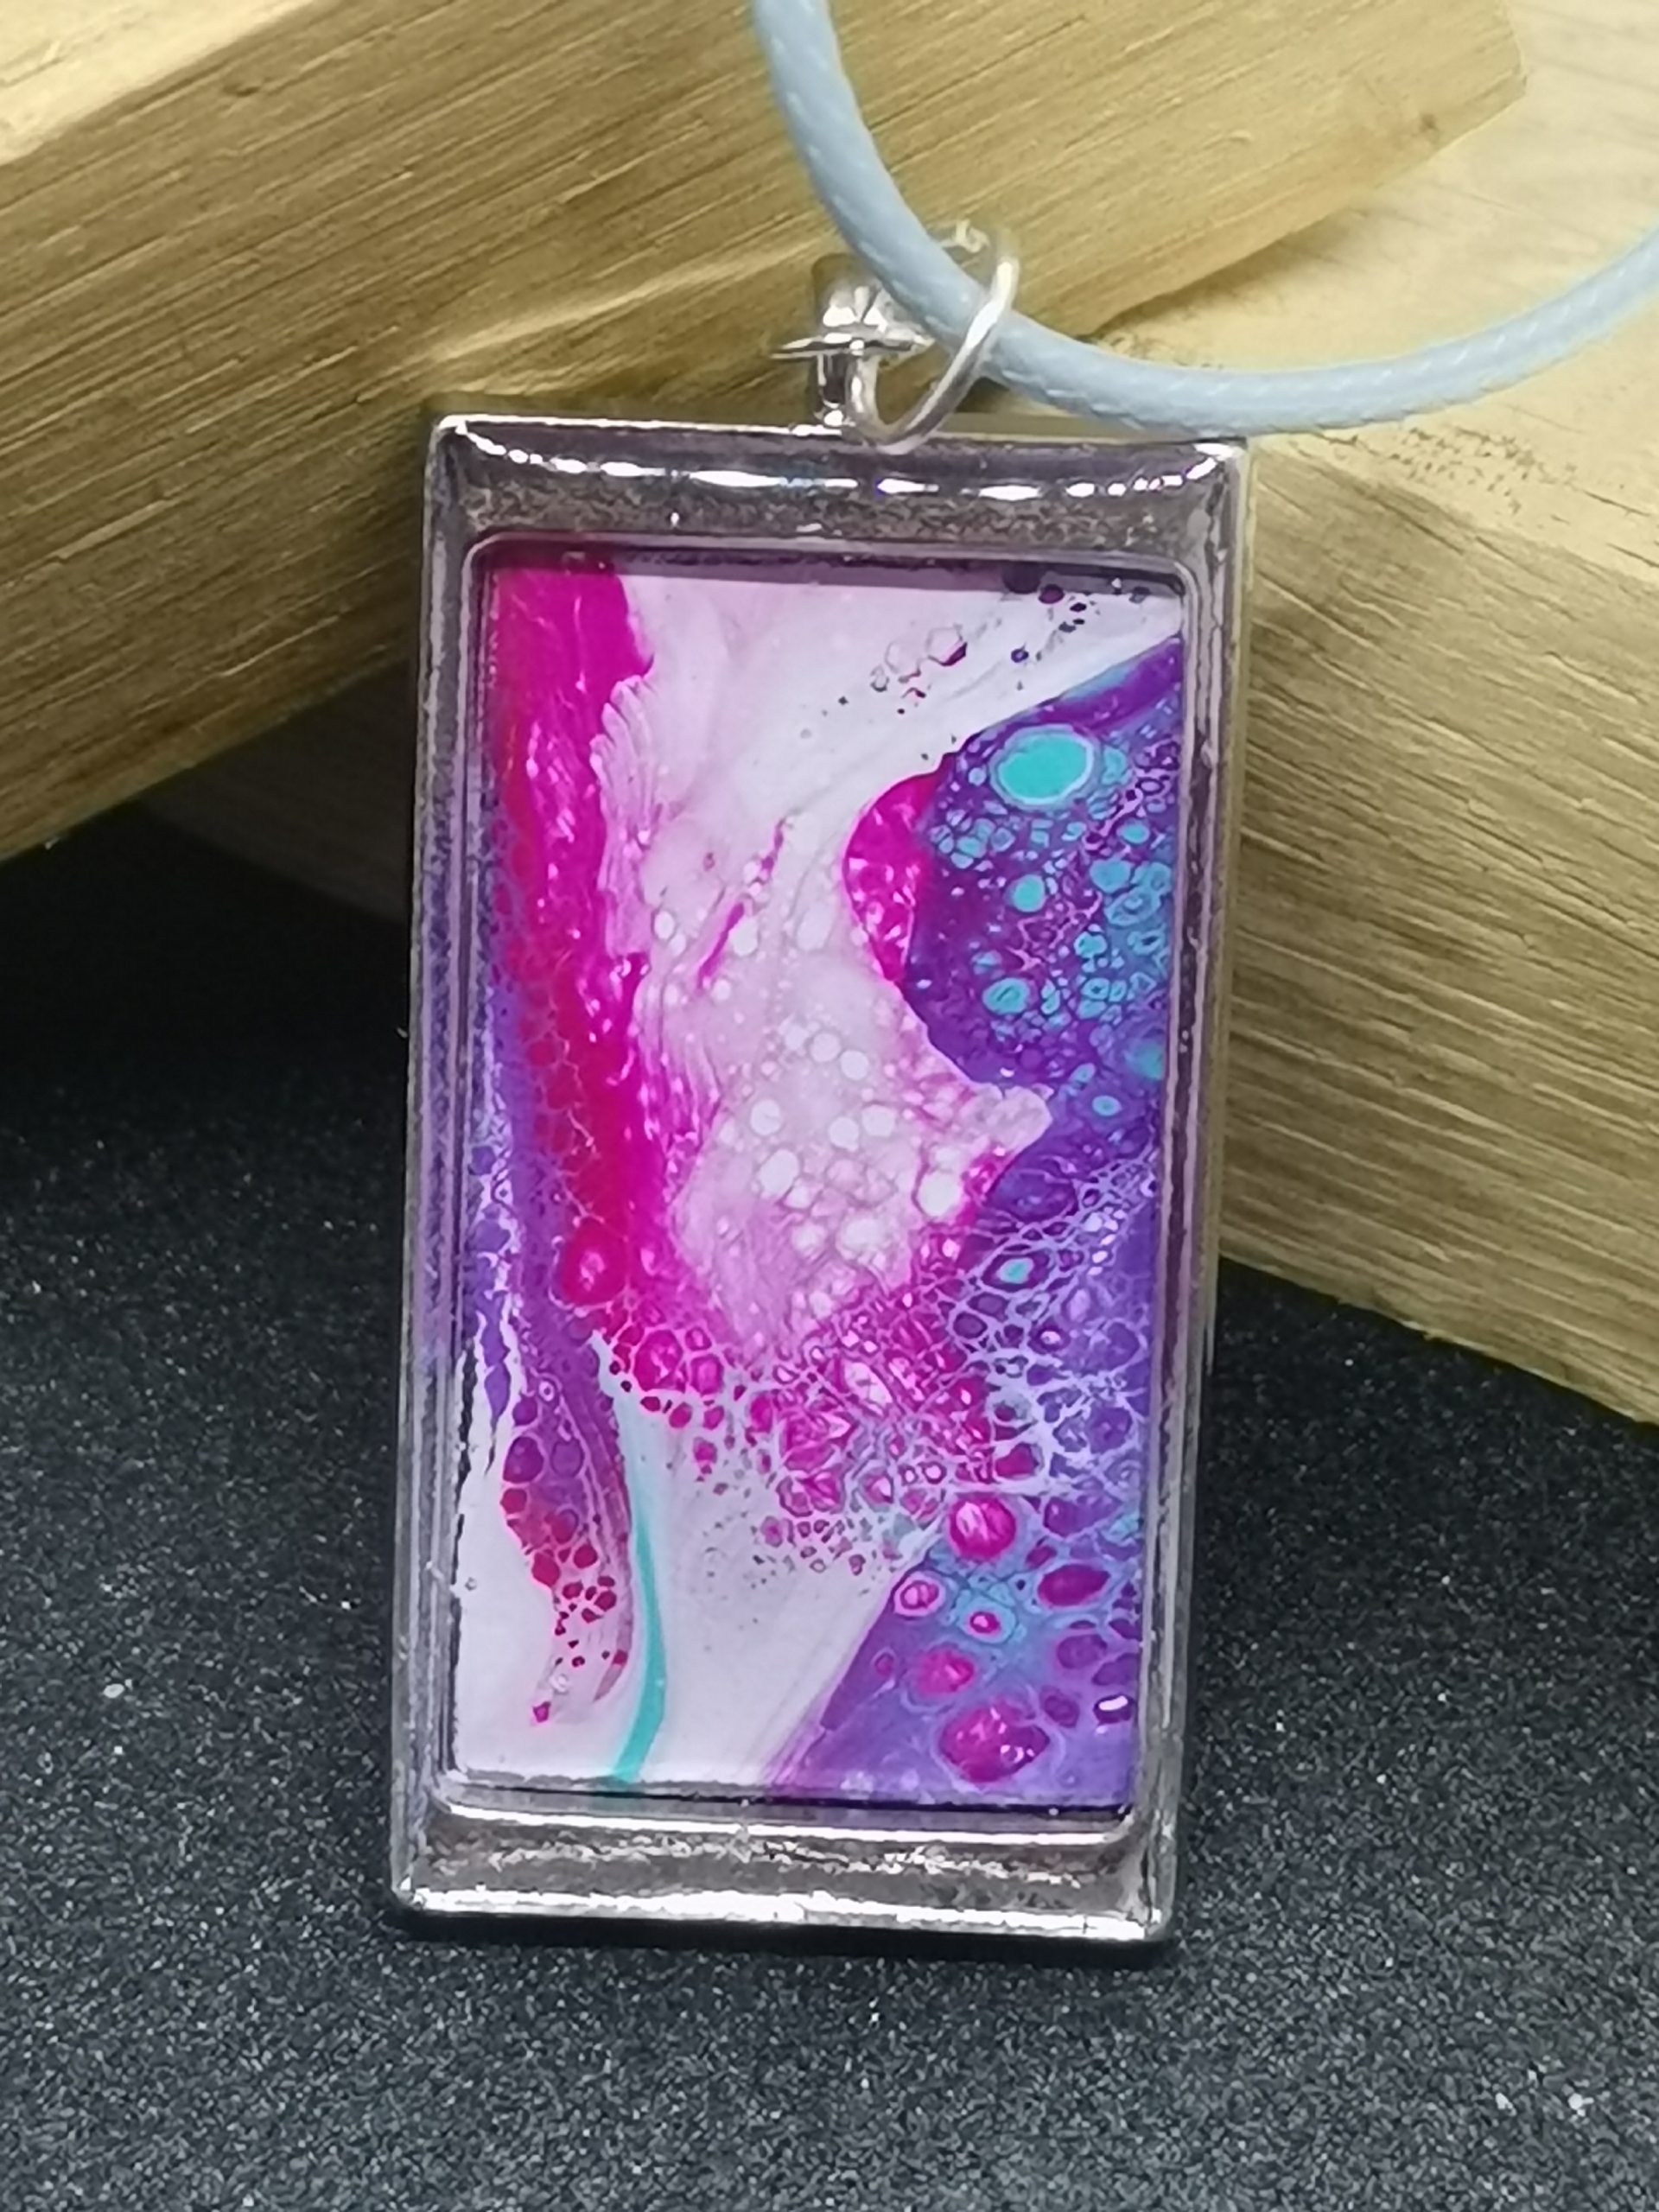
1. Choose the best area of your fluid art
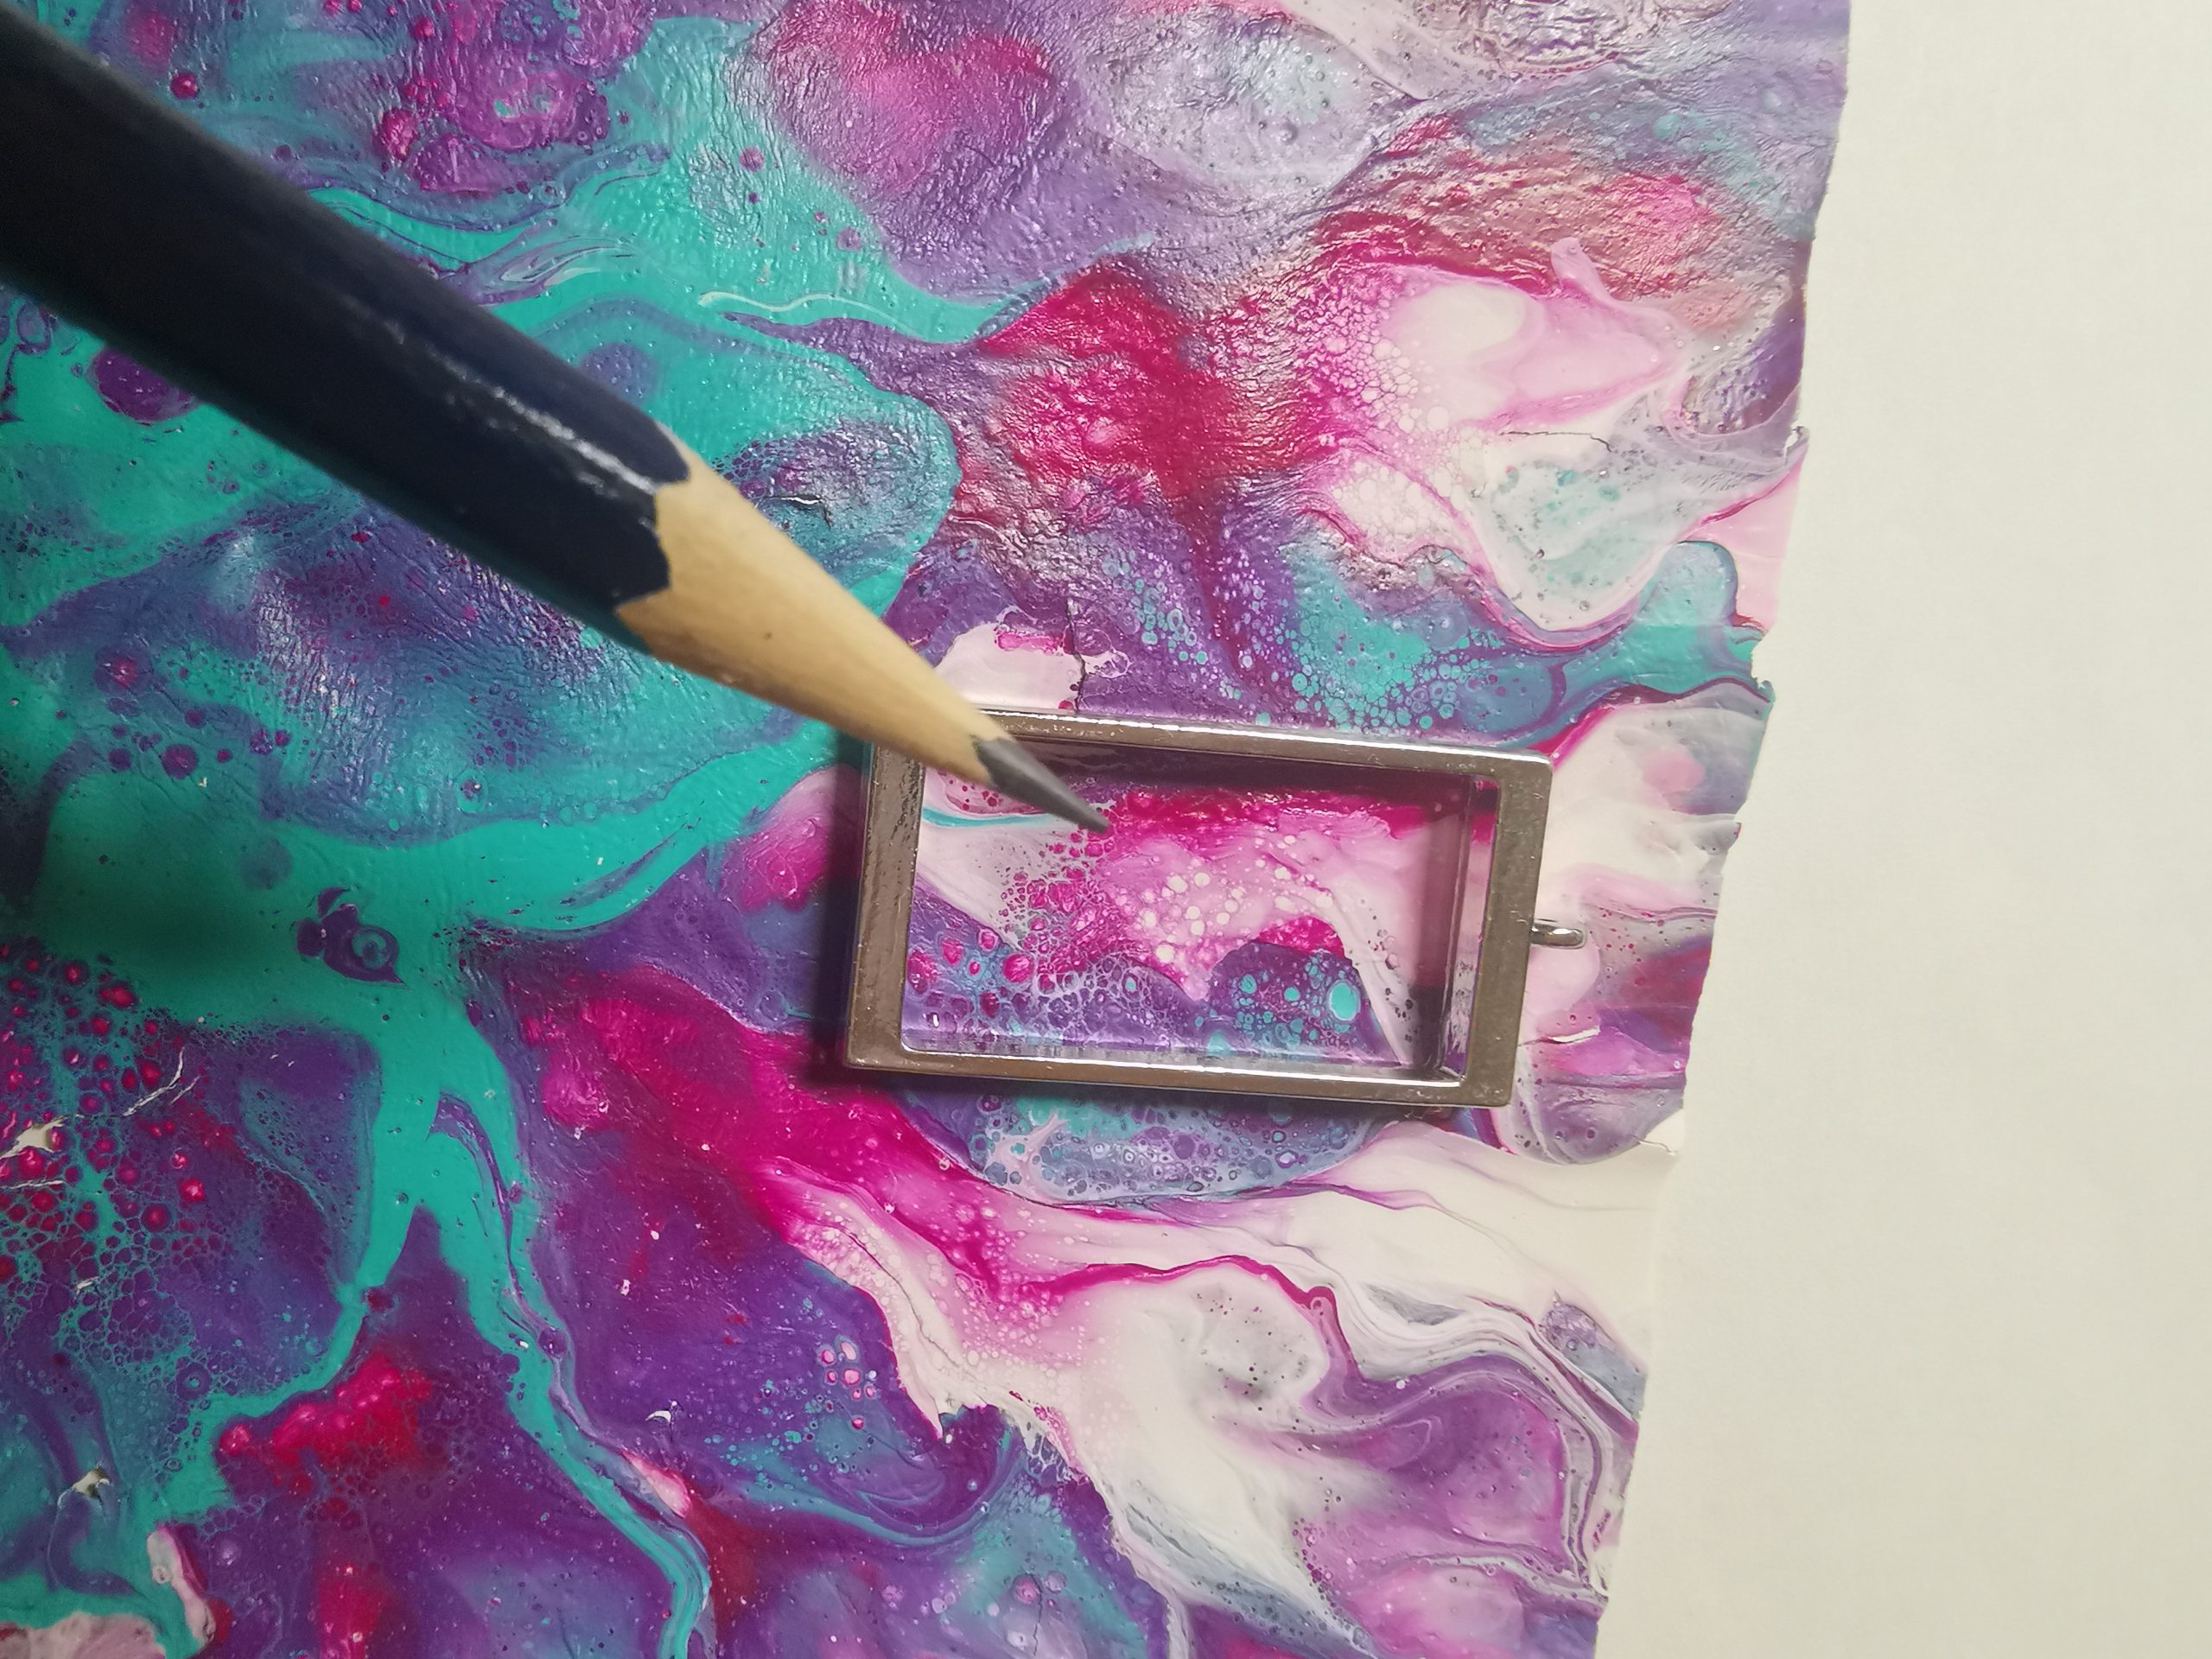

Move your frame around on the artwork and pick the area you like most. Trace the shape and cut it out neatly.

2. Place the fluid-art piece in the frame with UV resin
Add a small layer of UV resin in the frame on resin tape, then place your cut fluid-art piece inside. Work slowly so no air bubbles get trapped underneath.
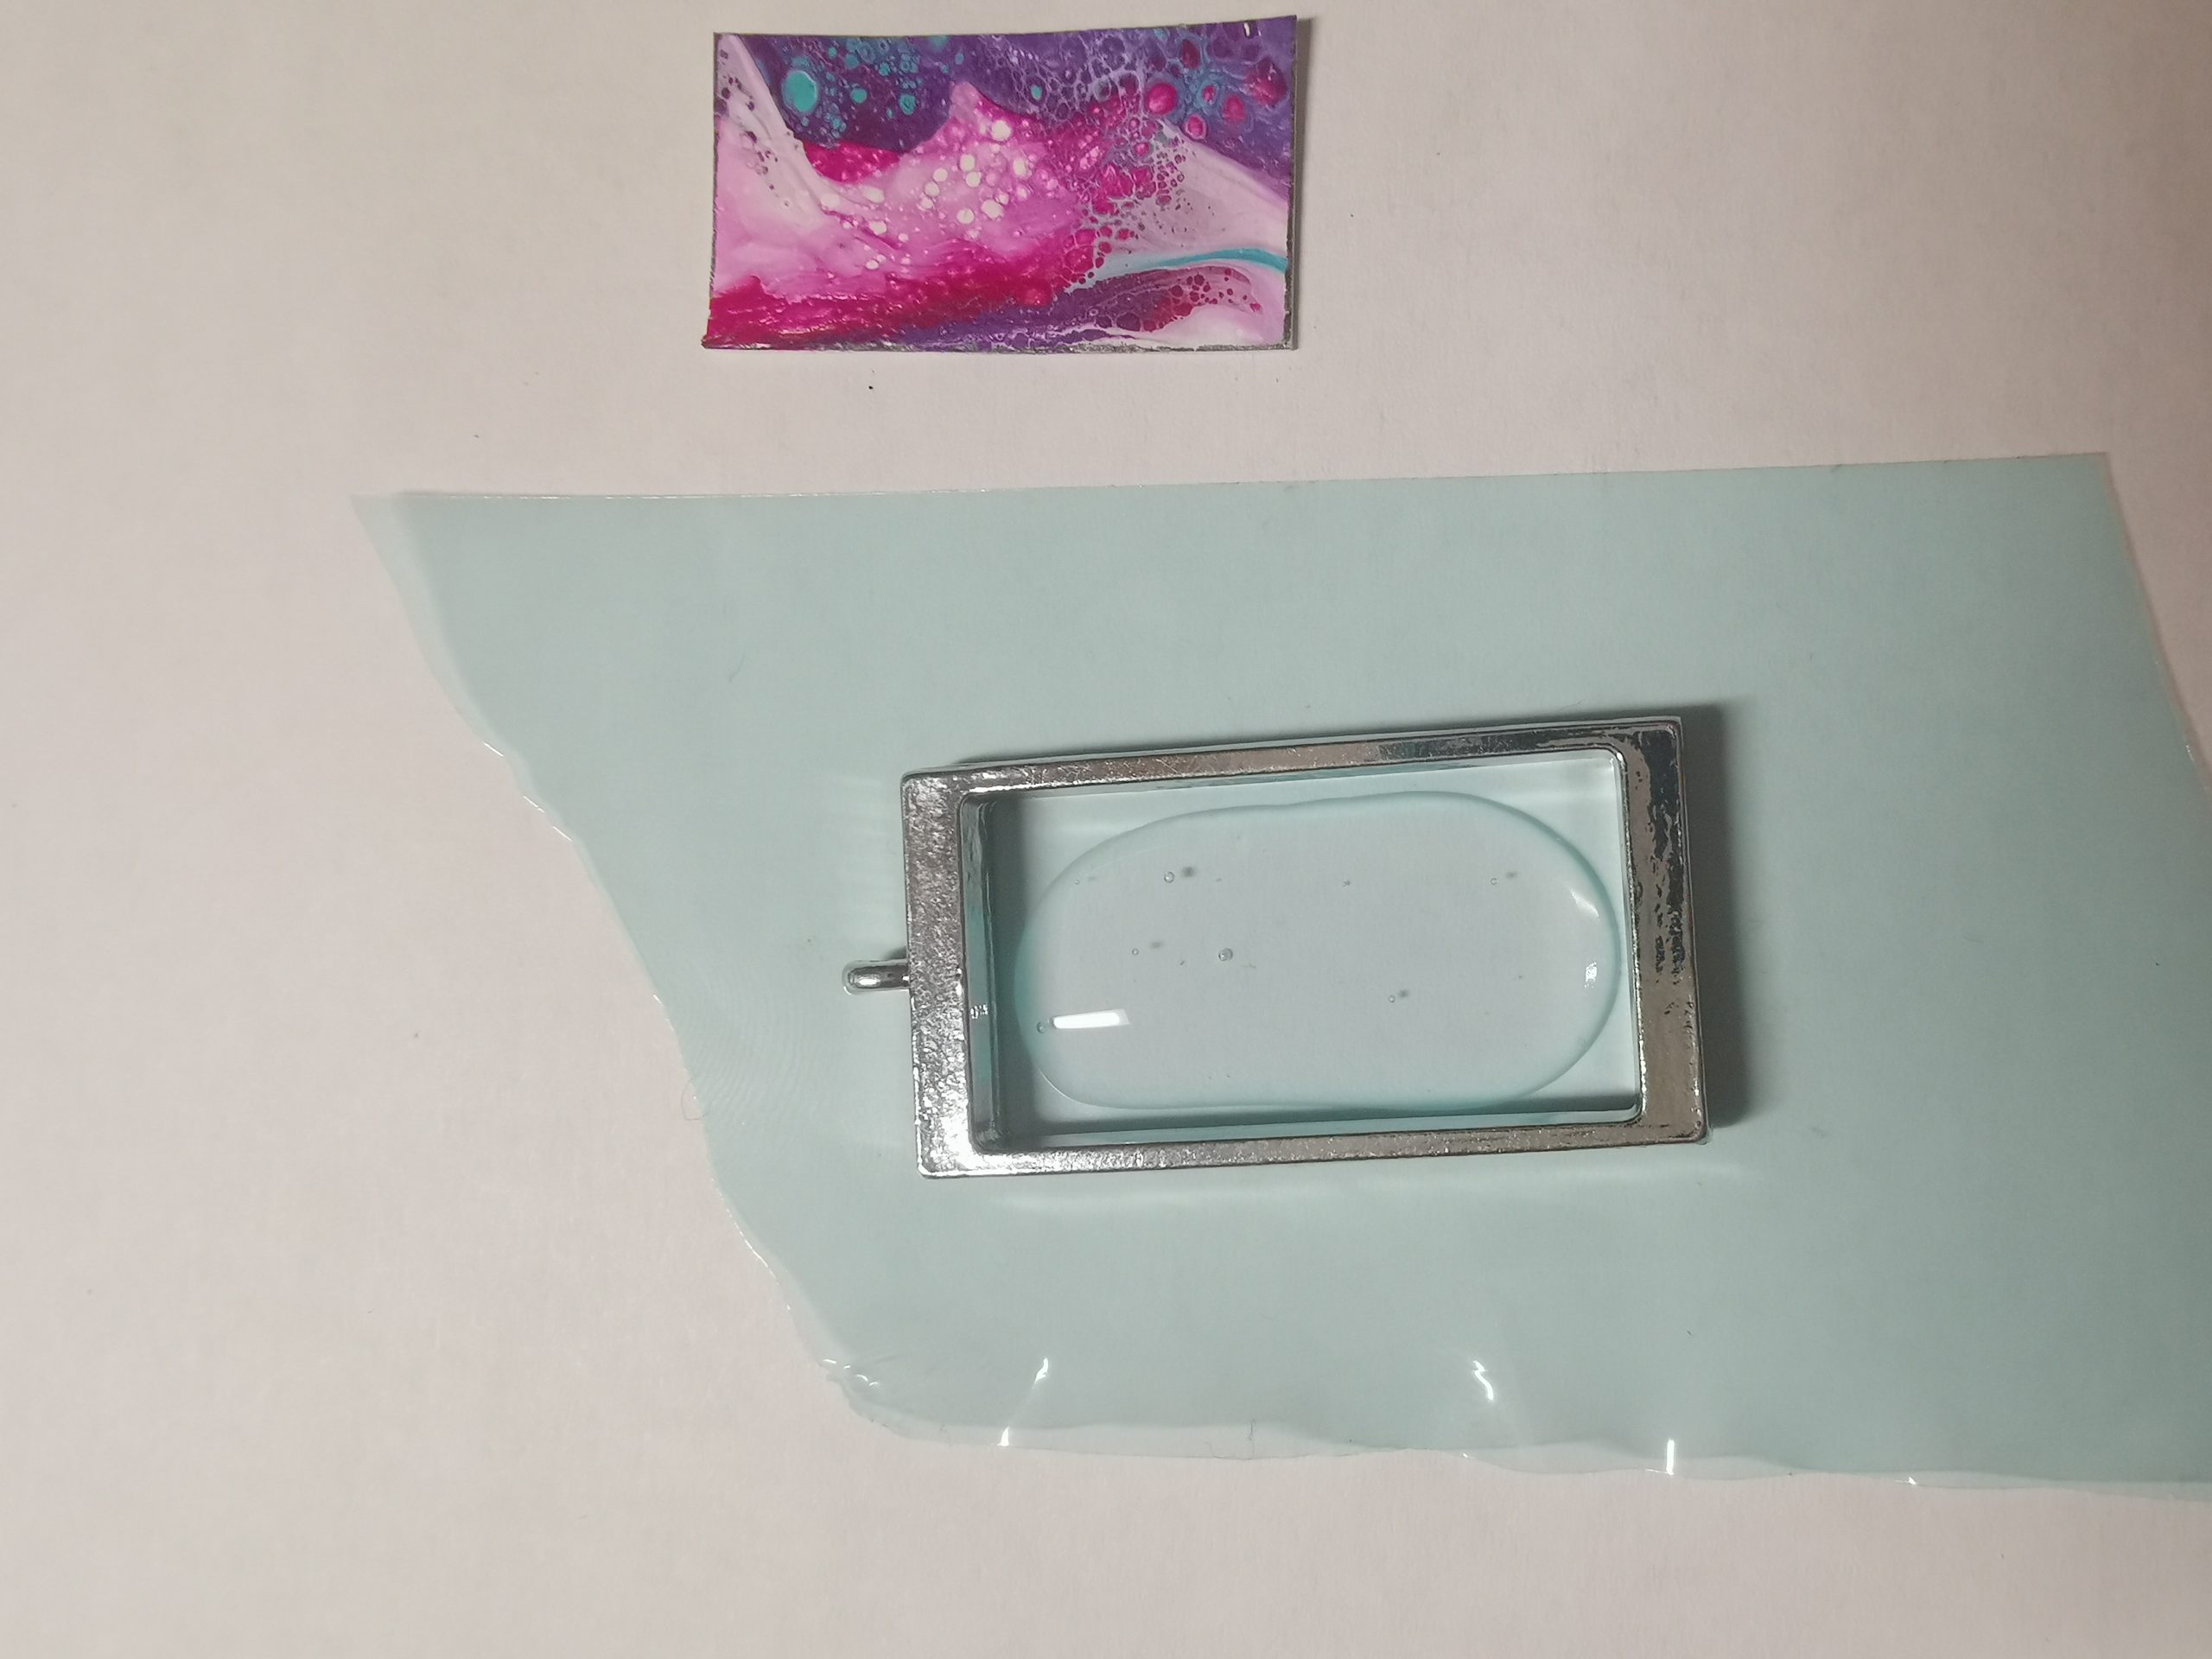
You can also lay the piece in dry first, but I preferred this method because I was worried it might stick to the tape.
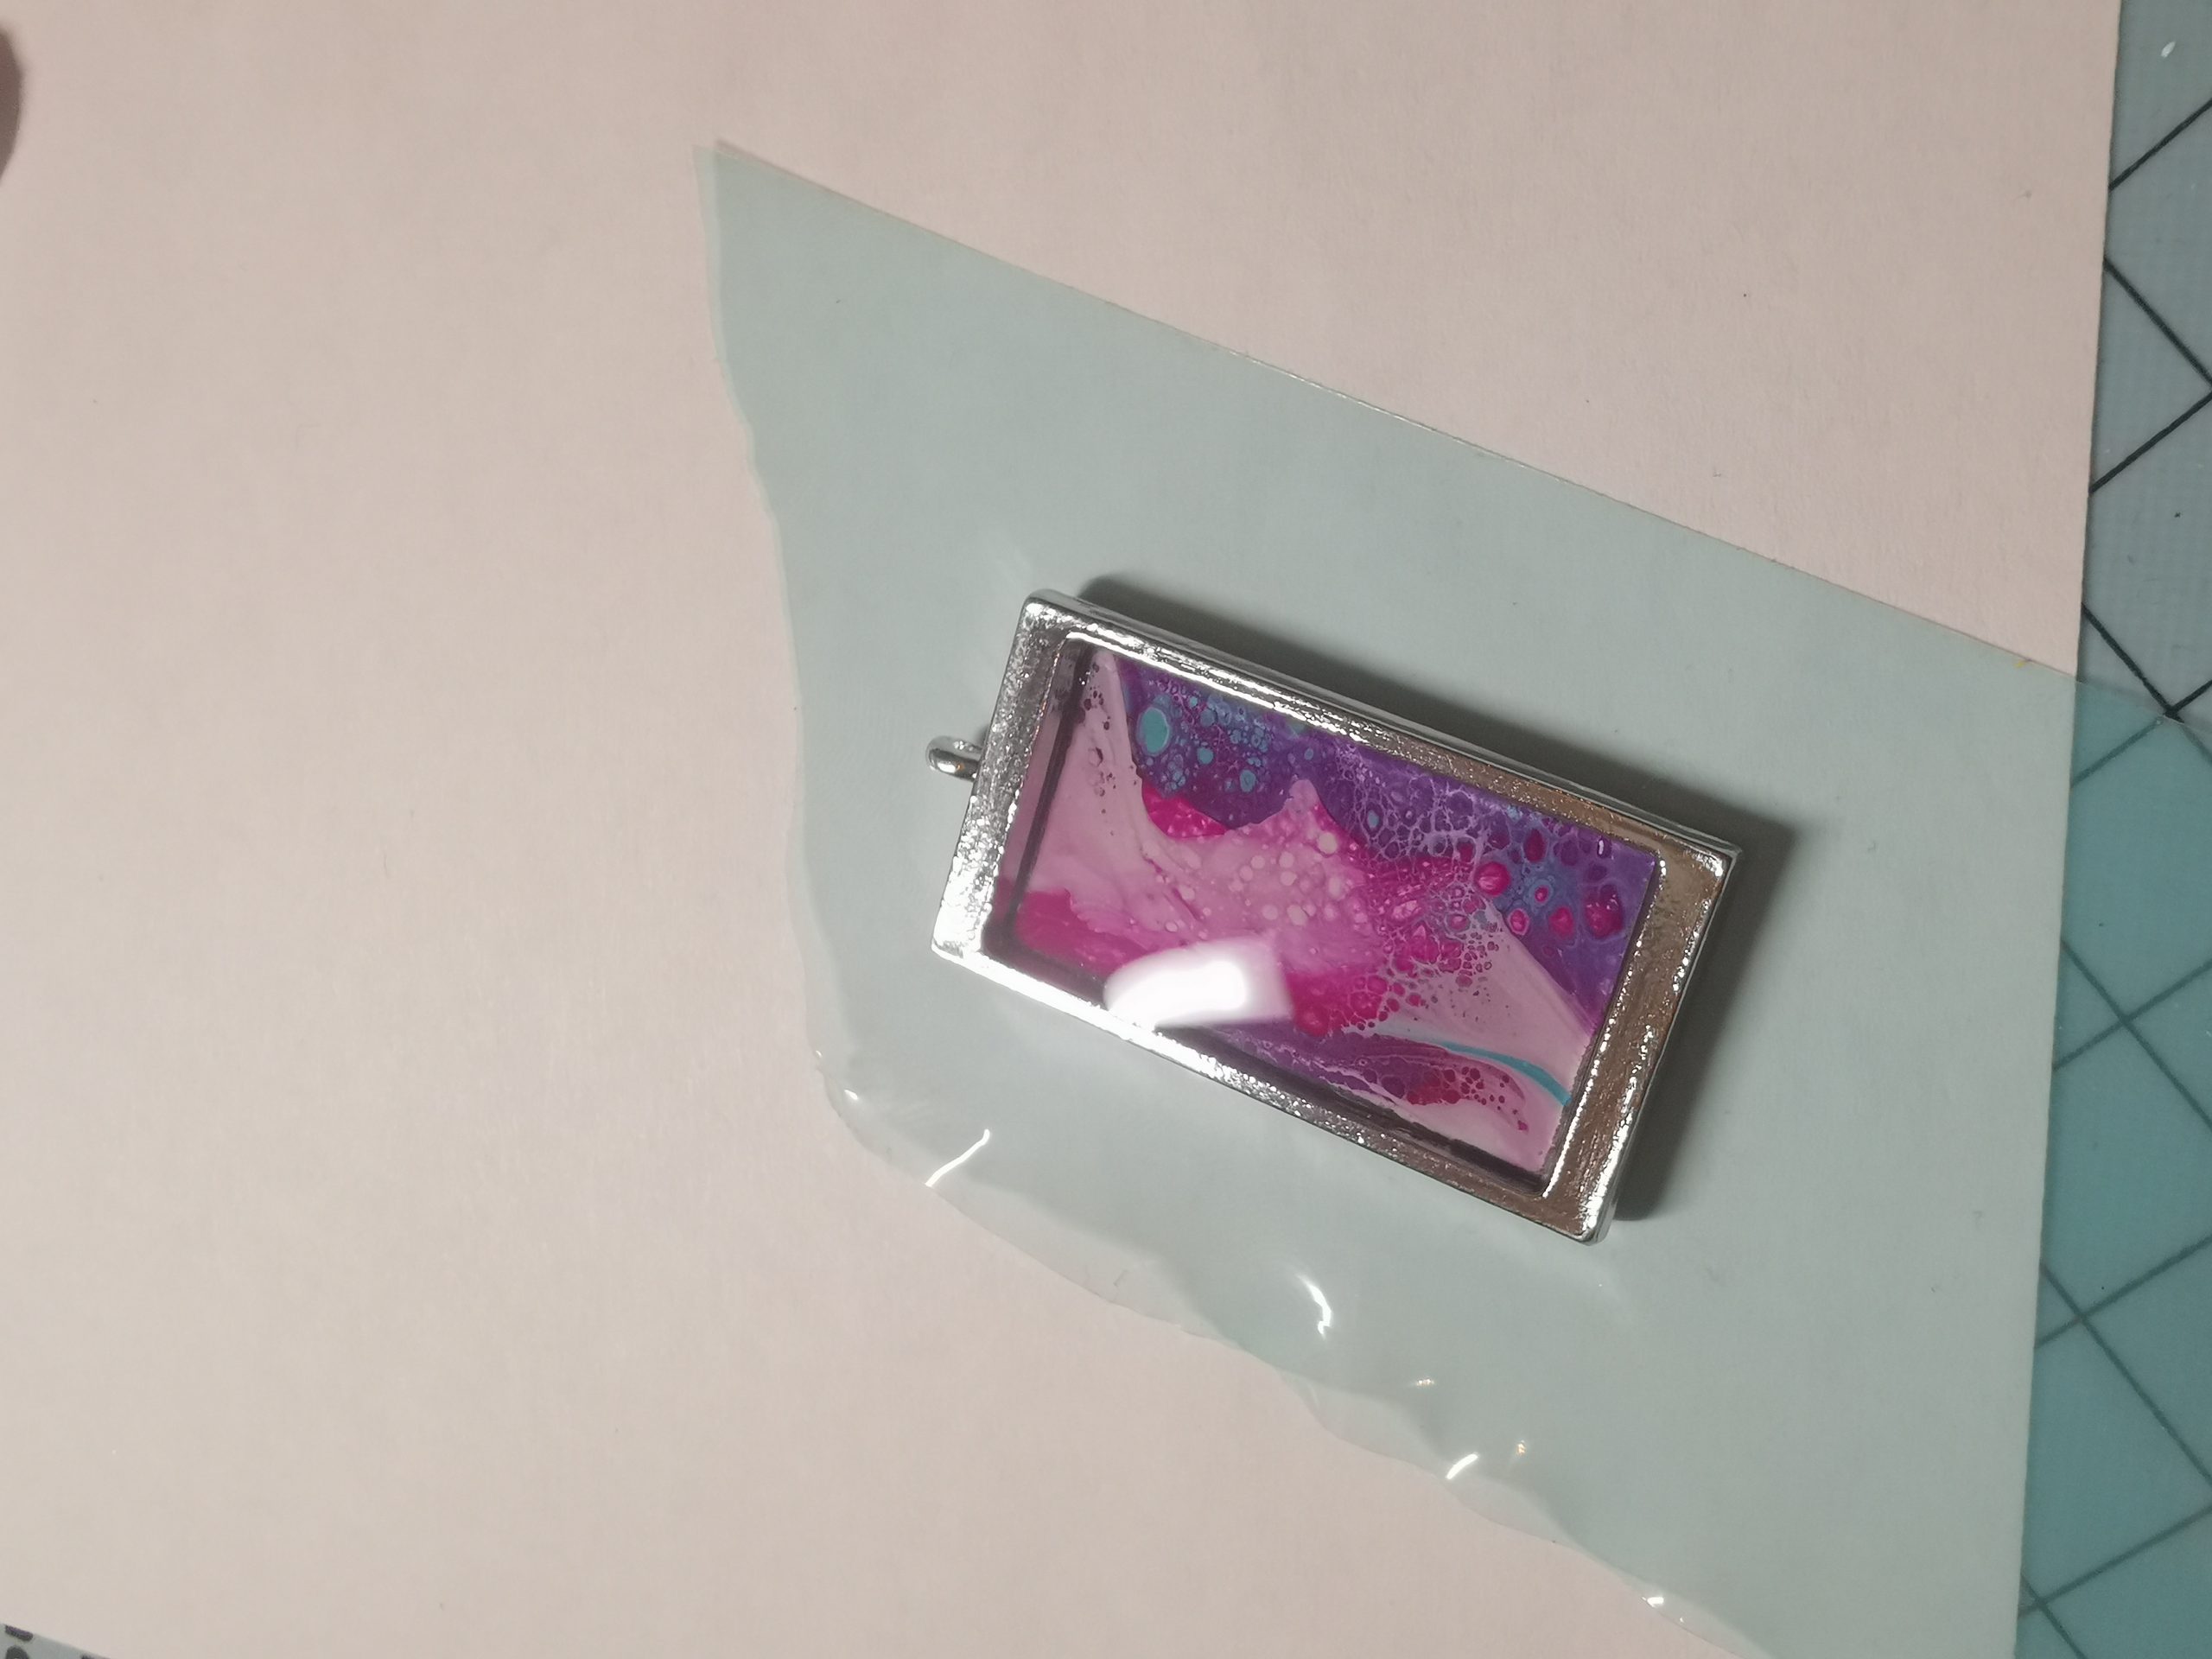
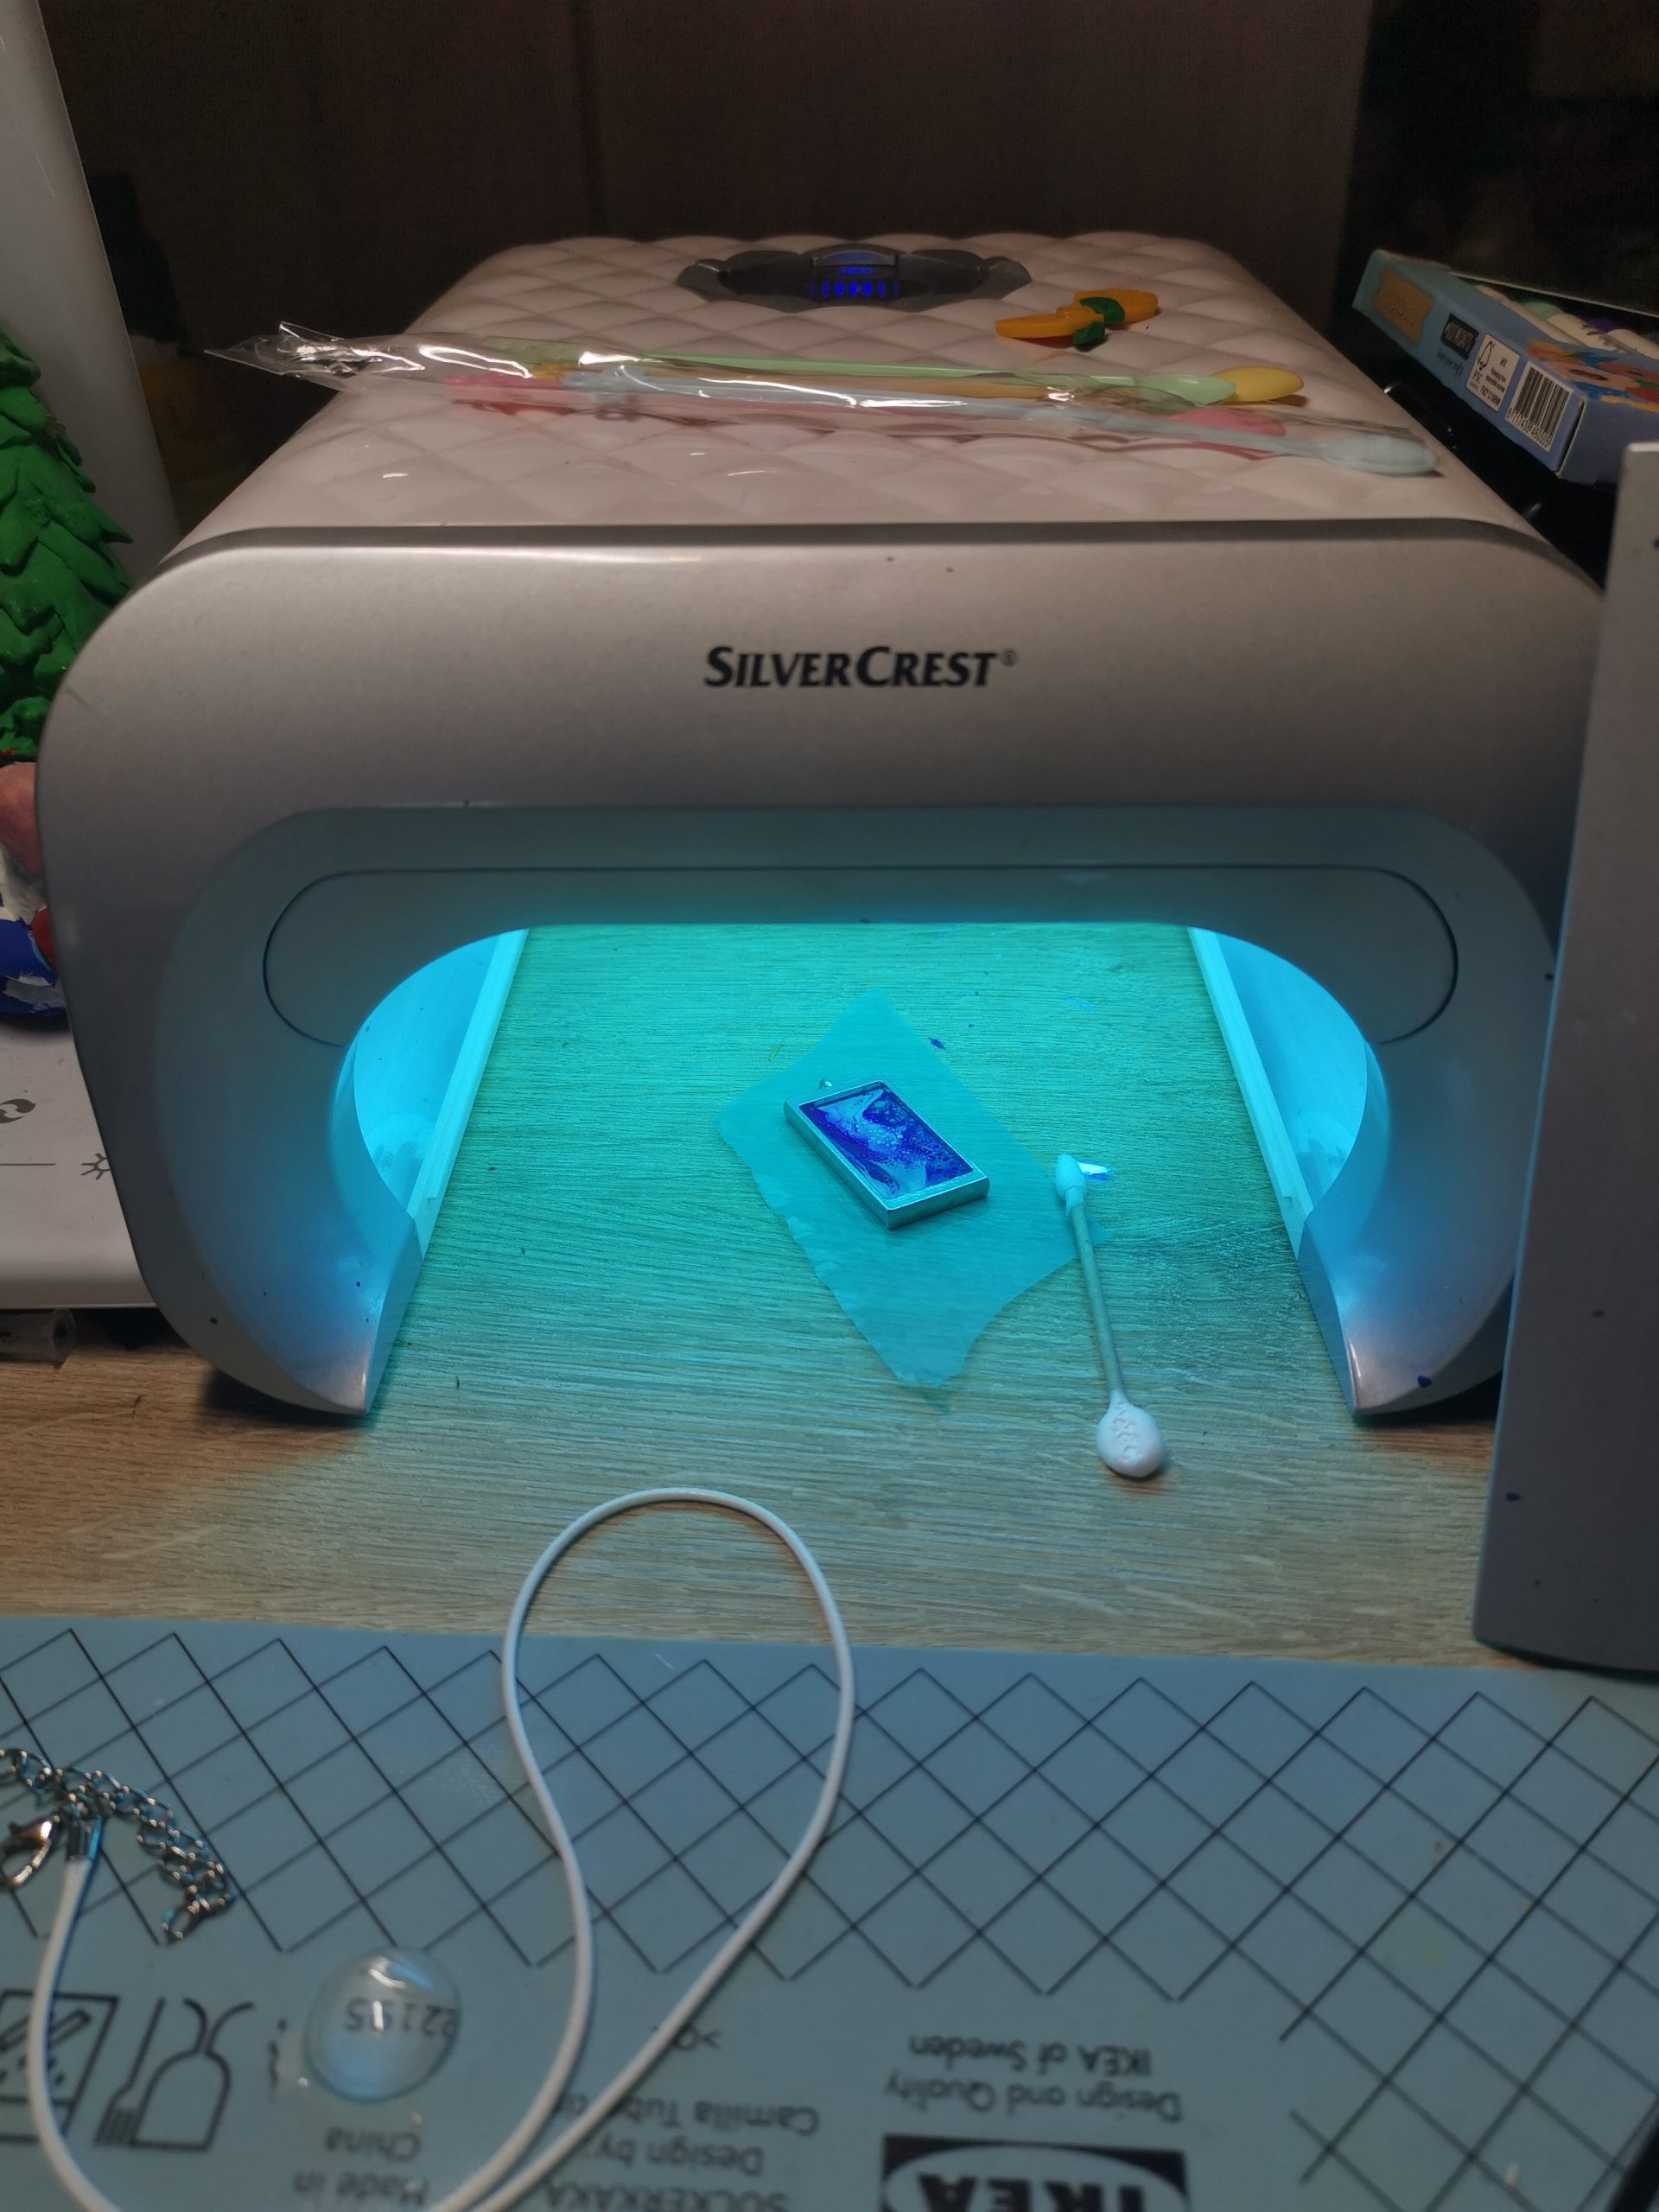
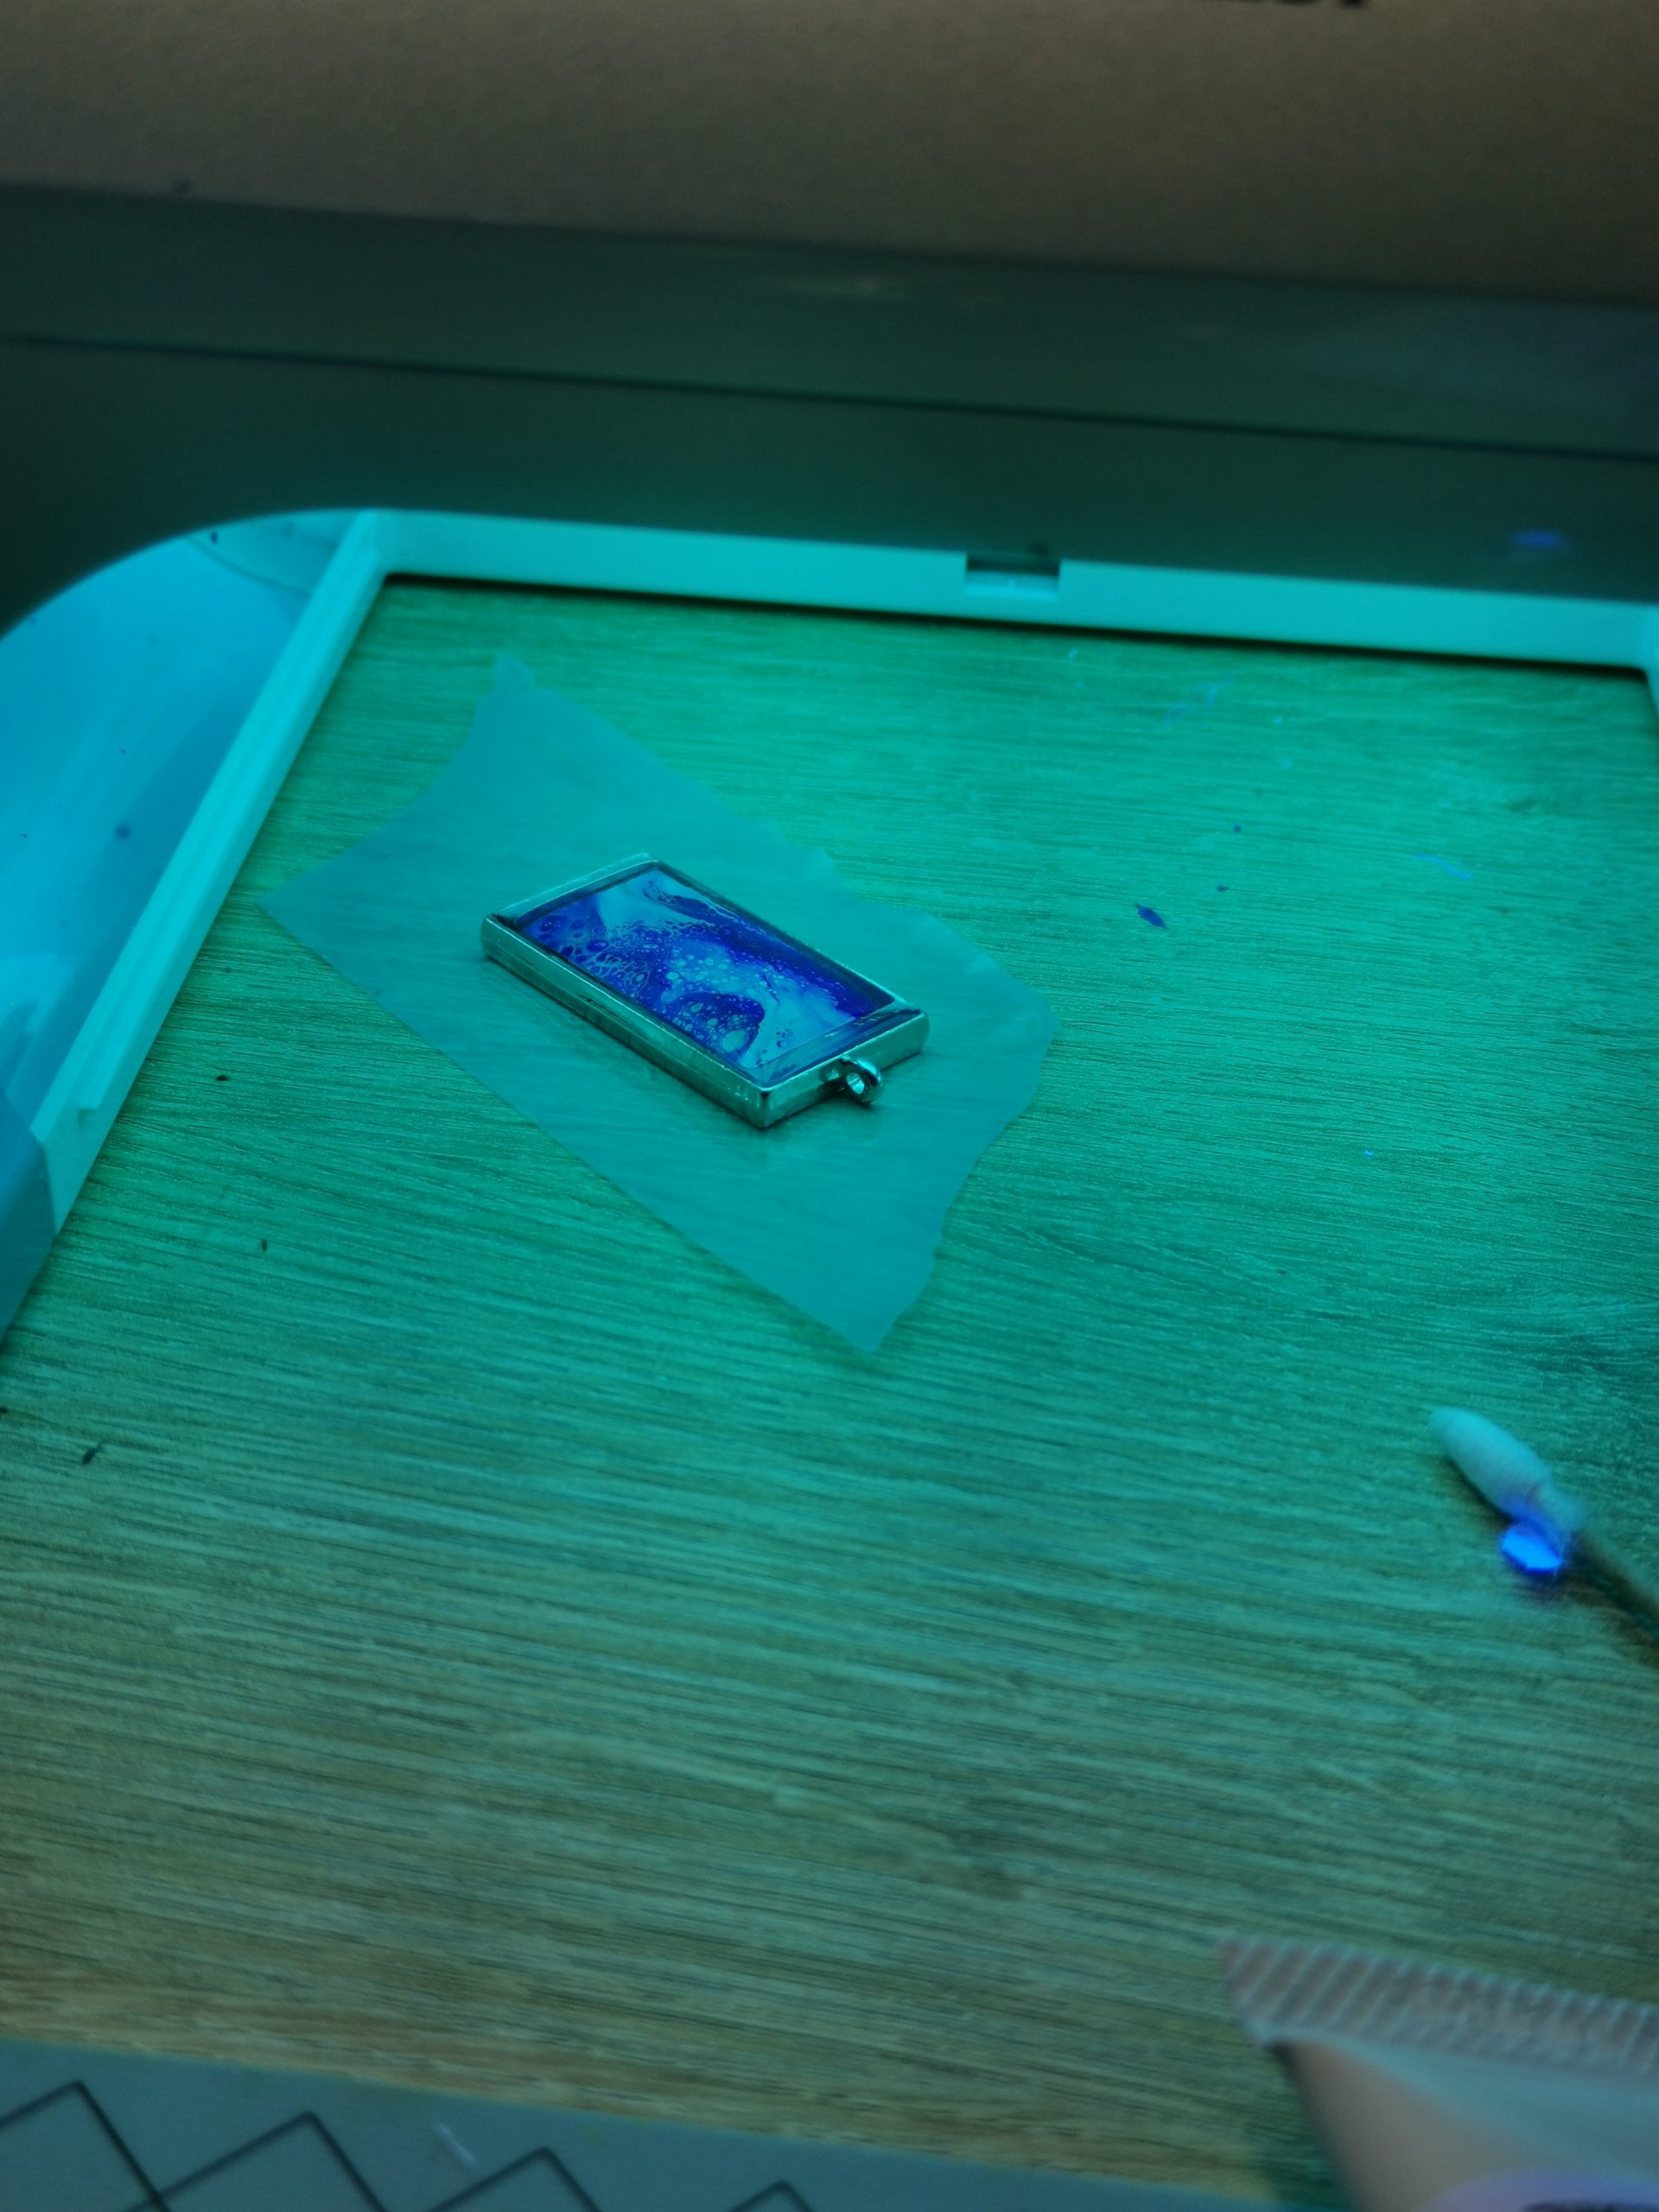
3. Cure both sides
Cure the top side first, then turn the pendant and cure the bottom side too. UV light does not pass through acrylic paint, so both sides must be cured separately.
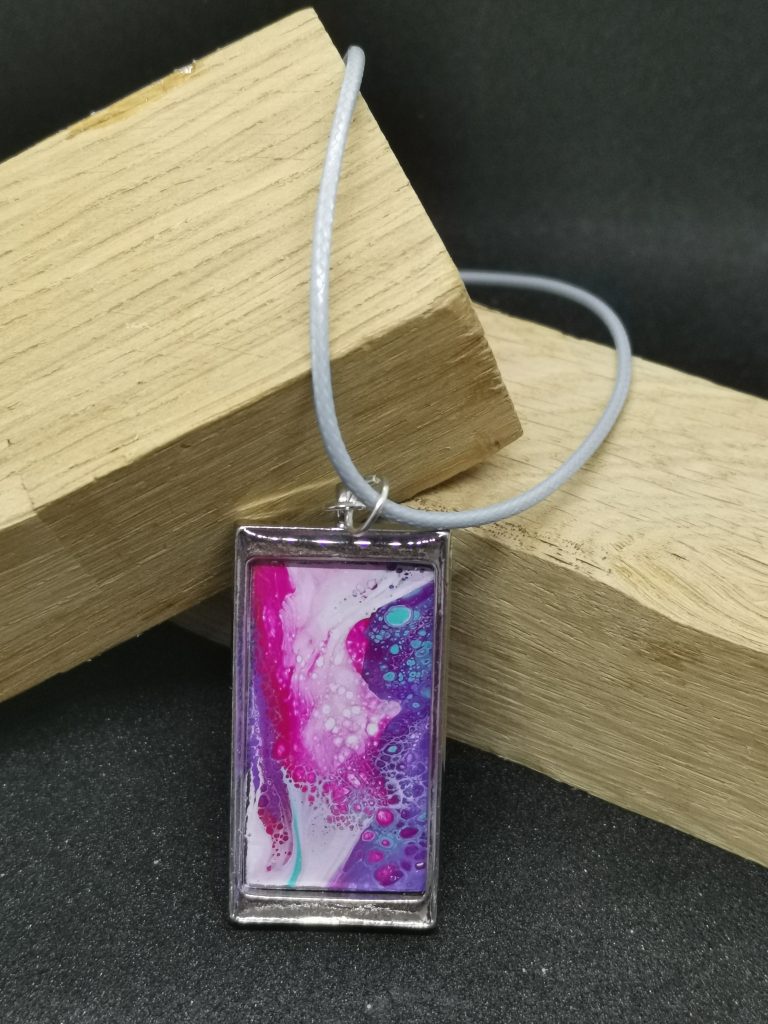
4. Dome finish and assembly
Remove the pendant from the tape and create a slightly domed finishing layer on the front with UV resin. Cure. Repeat on the back and cure again.
Then cure both sides once more in a small cup of water to avoid sticky residue.