Making jewelry from scrap material can be easier than you think. A short necklace chain, a loose earring, old beads, leftover thread or a pendant without a match can all become a new set.
In this post I show you how I approach this: quickly, easily and without major costs. Perfect if you want to be creative with what you already have at home.
Why making jewelry from scrap material is so smart
- You save money on new materials.
- You work more sustainably and waste less.
- You get unique, handmade pieces with character.
- You learn to design faster because you work with limitations.
What I prepare first (supplies)
- Left material that I used in the photos: old buttons, bare electrical wire and a black cord with closure.
- 2 basic pliers: flat nose pliers and round nose pliers (additional pliers are allowed, but not always necessary).
- Jump rings and ear hooks for finishing touches.
- Pencil + ruler to draw out wire lengths and make design.
- For finishing wire: hammer and sandpaper (optional, but nice result).
Tip: first sort your recycling material into bins:
- usable
- doubt
- recycle
Or sort by type (buttons, thread, closures). That works even faster during design.
What you can still use in and around the house
- beads, charms, loose clasps, broken earrings
- Metal wire from old projects or packaging.
- Pieces of wood (slats or plywood scraps) as natural hanger base.
- Old buttons as a central detail for earrings, pendants or charms.
My simple workflow (step by step)
1. Choose 1 main element
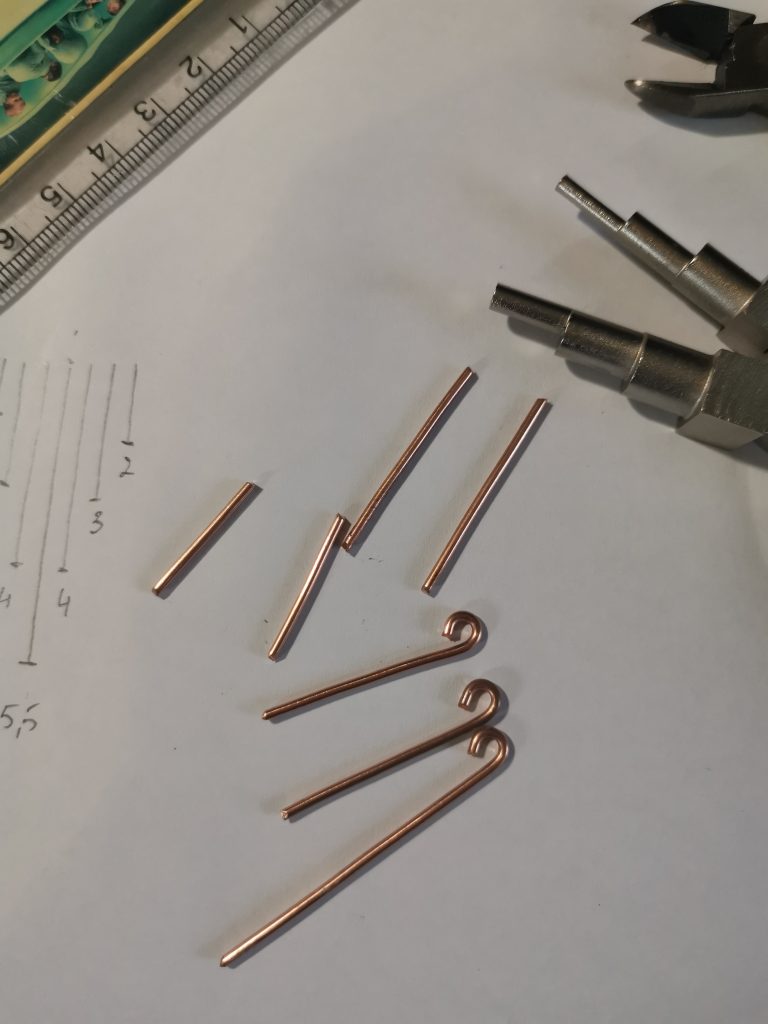
Start with 1 striking part: a pendant, bead or charm. That will be your anchor point. This way you prevent your design from becoming too busy. I simply chose copper wire in my necklace and 2 of the same buttons for my earrings.
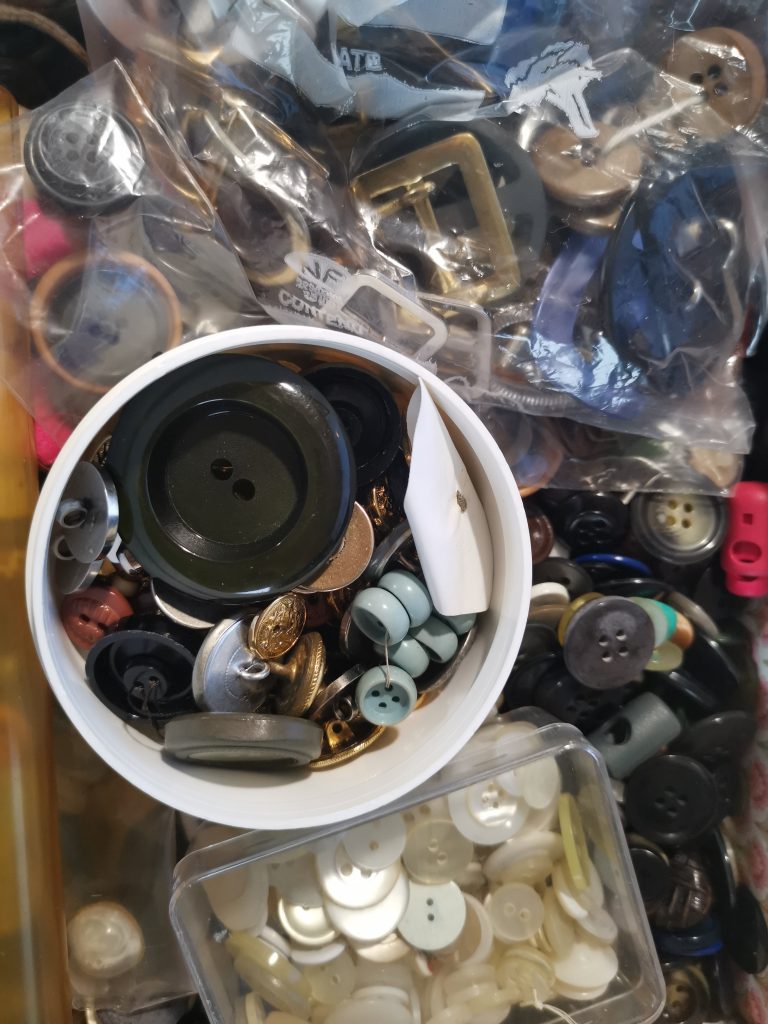 _CDL_MASK_141__Starting photo with collected buttons and residual material for the project.
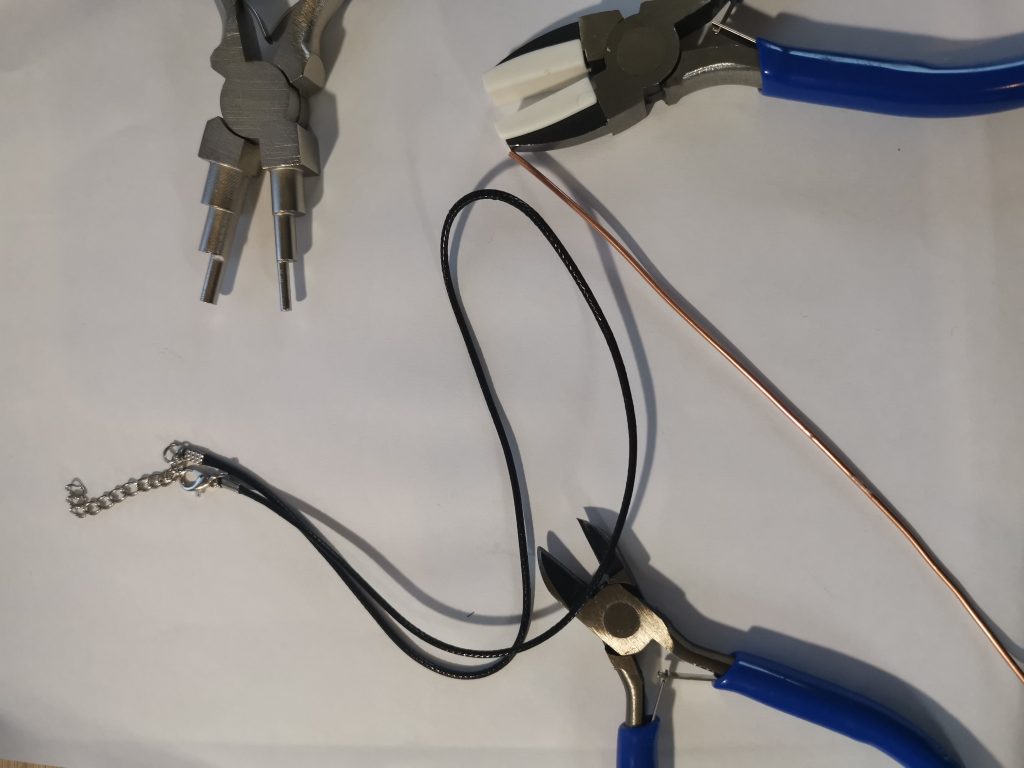
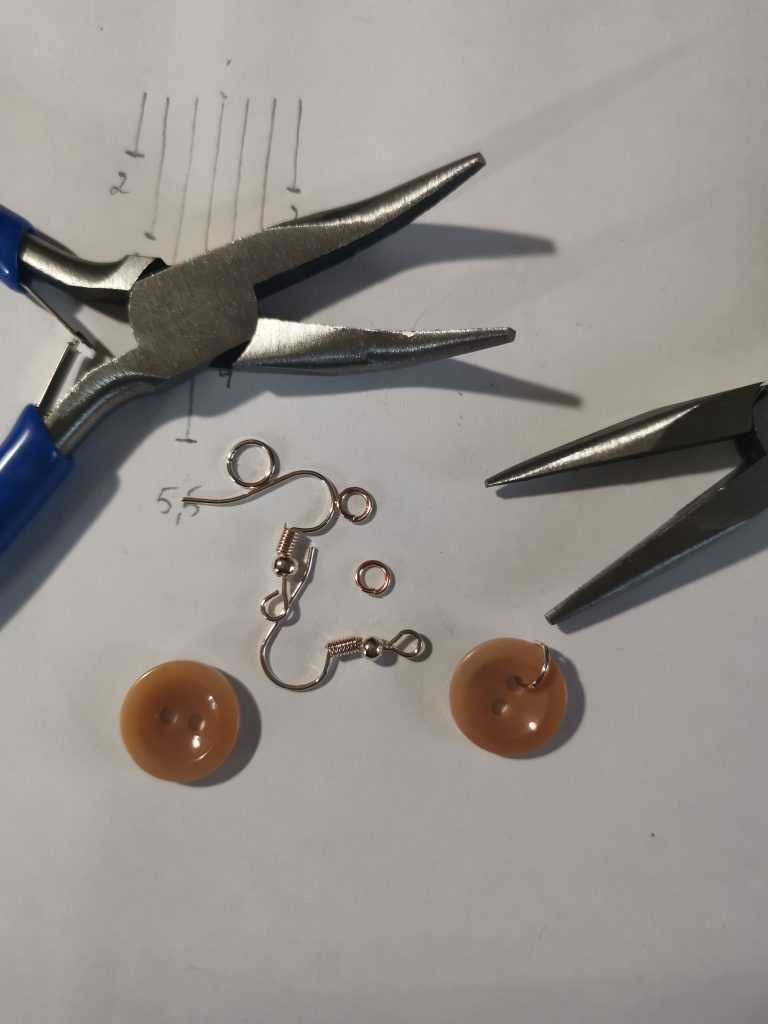 _CDL_MASK_163__Preparation of the earrings from scrap material.
2. Determine your colors and composition
Keep it simple: max. 2 metal types and 2-3 main colors. This immediately makes your recycled jewelry look more professional.
I kept my design very simple. Copper-colored thread and beige/orange buttons.

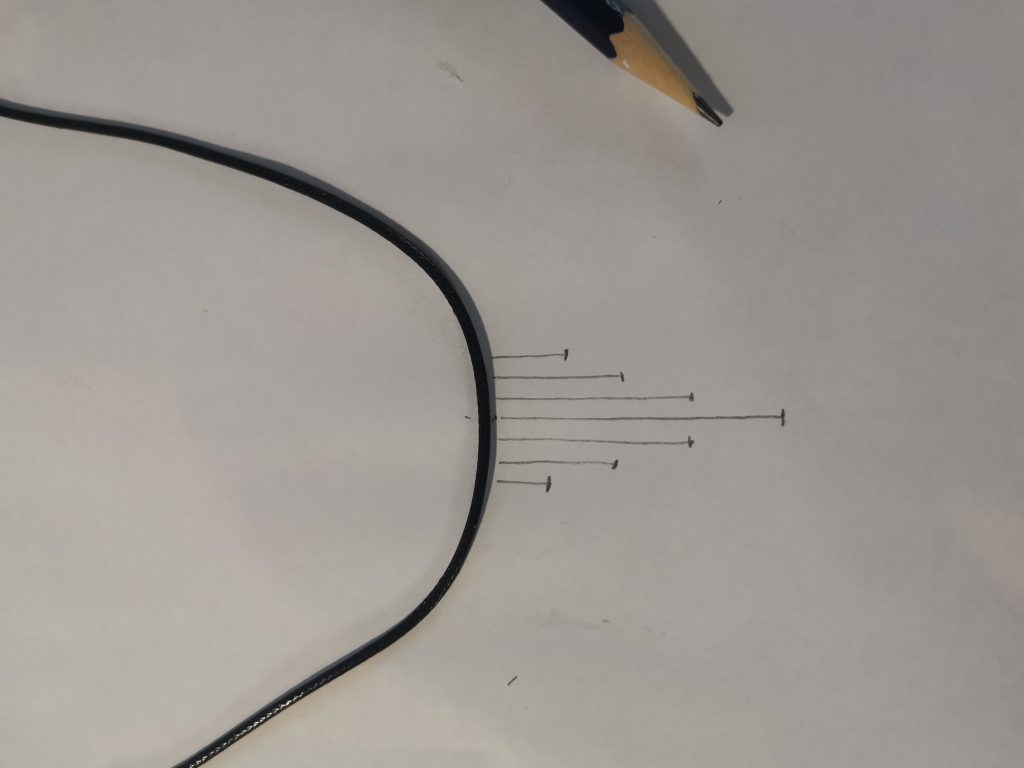 _CDL_MASK_201__Rough sketch of the pendant shape.
Make a quick sketch. What do you want to do? What should it look like?

3. Make a quick setup of the parts you want to use
Place all parts loosely next to each other before attaching anything. Just sliding around and puzzling saves you a lot of rework. Edit parts where necessary to make them more attractive or easier to assemble.
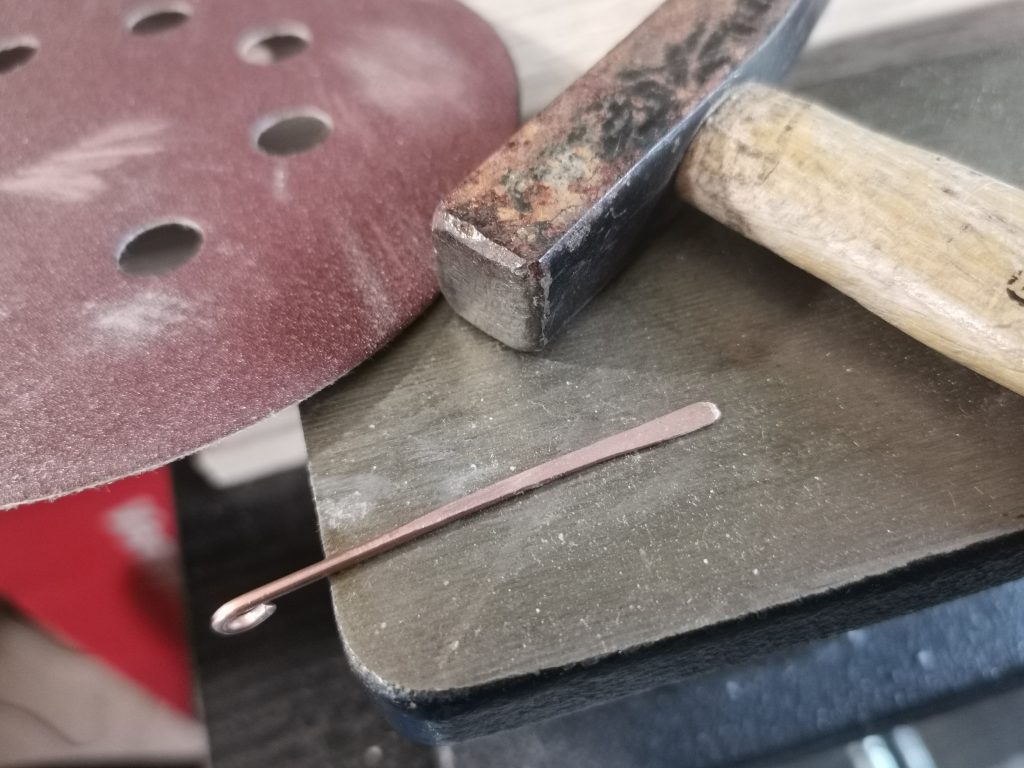 _CDL_MASK_246__Hammer the wire into shape. Flatten into drop shape. Sand off sharp edges.
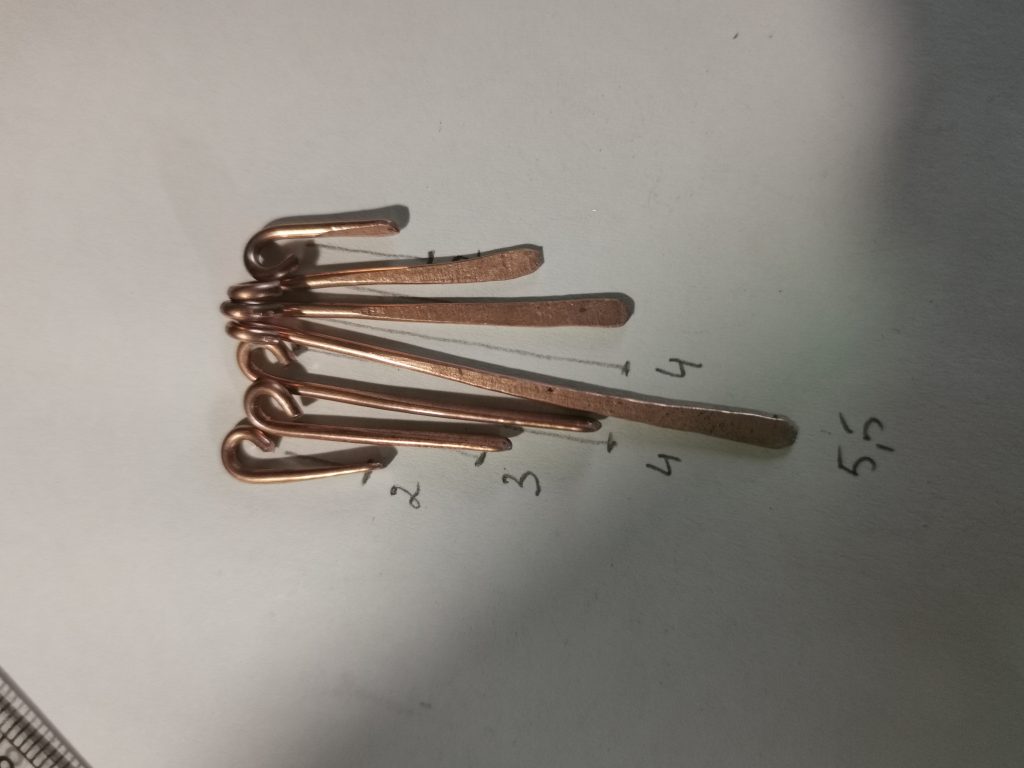
4. Install and test wearing comfort
Now install all parts in their final position. Always check: does it hang straight, does it feel light enough, does it not rub anywhere? A beautiful piece of jewelry should also be comfortable.
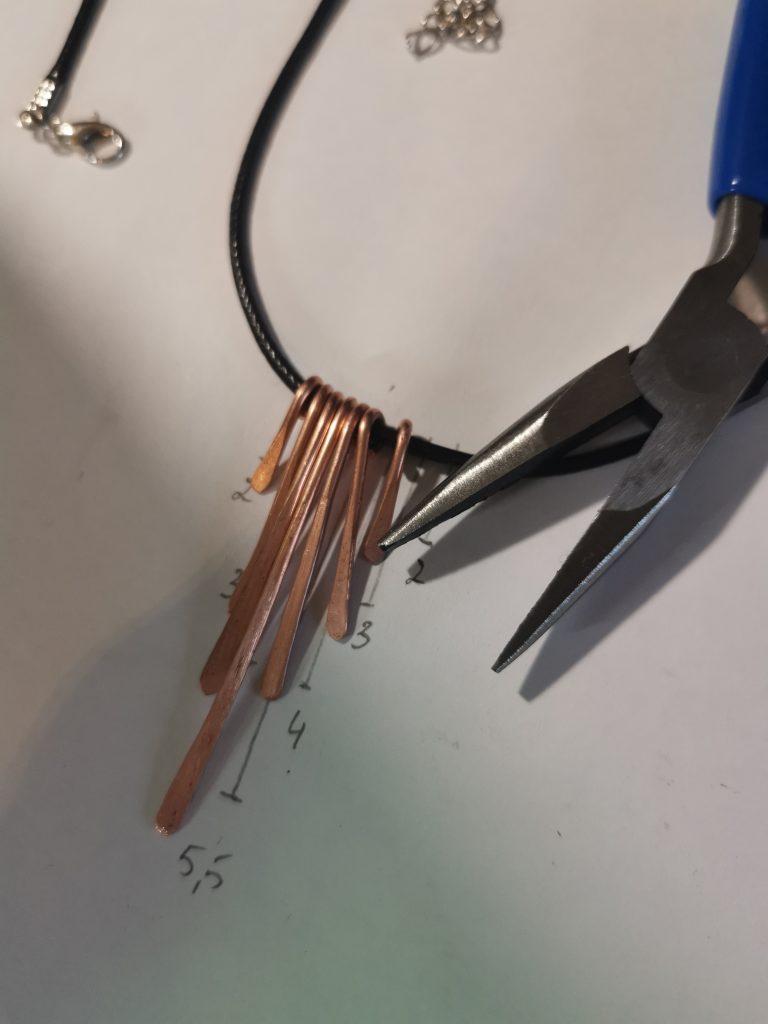
5. Finishing like a pro 😉
Finish with neat rings, pinch clasps tightly and clean your metal before taking a photo. Small finishing = big difference. Sand away scratches, be sure to use pliers without ridges so as not to damage anything.

Three quick recycling ideas
- Mismatched earrings set: two different earrings, connected by the same color accents.
- Layer chain: short residual chain piece + new pendant + extension chain.
- Charm bracelet remix: combine old charms with 1 new central element.
- Beads on a cord: Just 1 large bead on a wax cord, simple and beautiful
Common mistake (and how I avoid it)
The biggest mistake is trying to use too much at once. I adhere to this rule: if I take away 1 element and the design becomes better, then it was too much. LESS IS MORE. Keep it simple.
Related inspiration
Do you want more ideas with resin and handmade jewelry? See also:
If you want, I’ll also make a follow-up post with 10 concrete mini-projects: each in less than 30 minutes using only scrap materials.