Posted on

We still managed to make the adjustment for the Maxi-Cosi — with a little tinkering! I had the problem that my presser foot could only handle buttonholes of max 28mm, but thanks to a few tips from friends I managed to make a larger buttonhole.

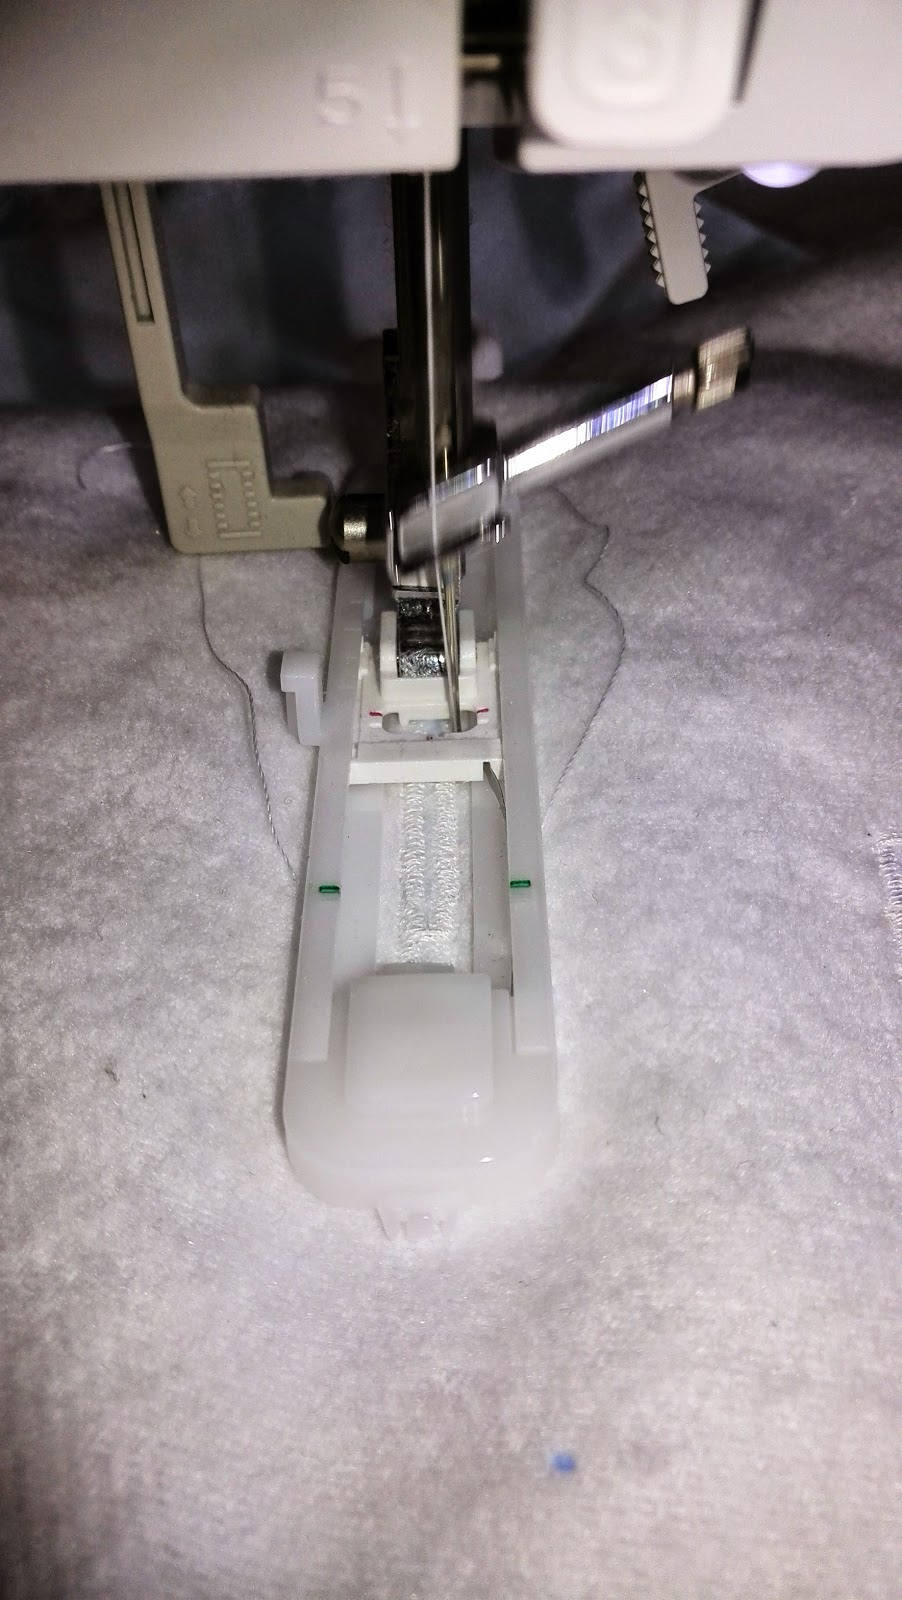
It’s actually not that difficult: you stitch 2 buttonholes on top of each other, slightly offset, so that you get the right length. Then you open it up. Voilà!

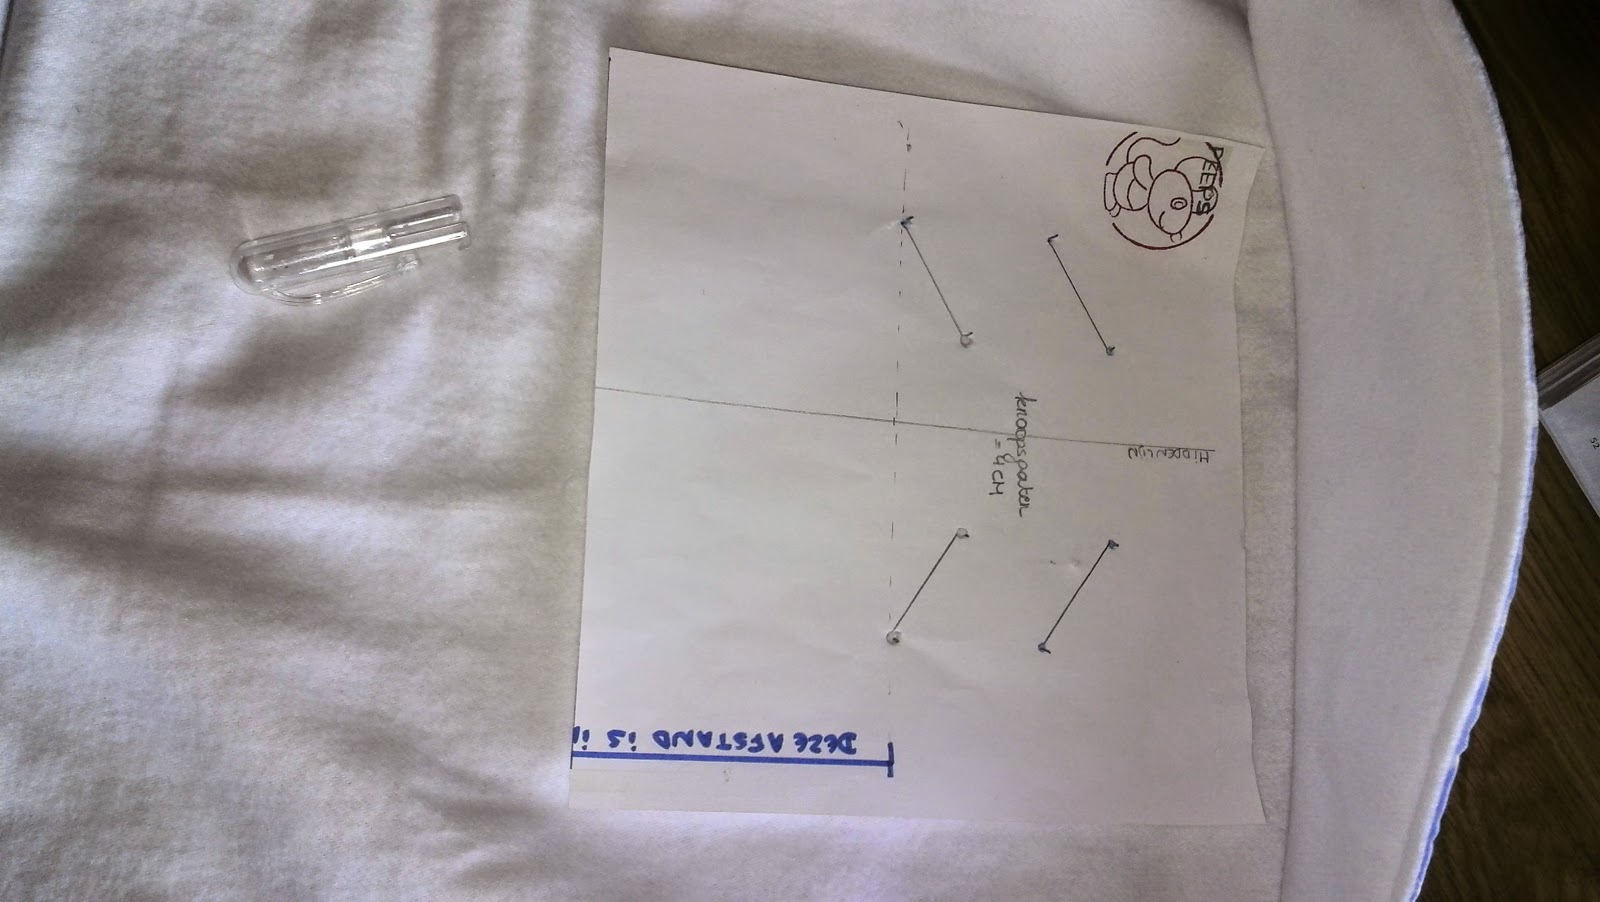
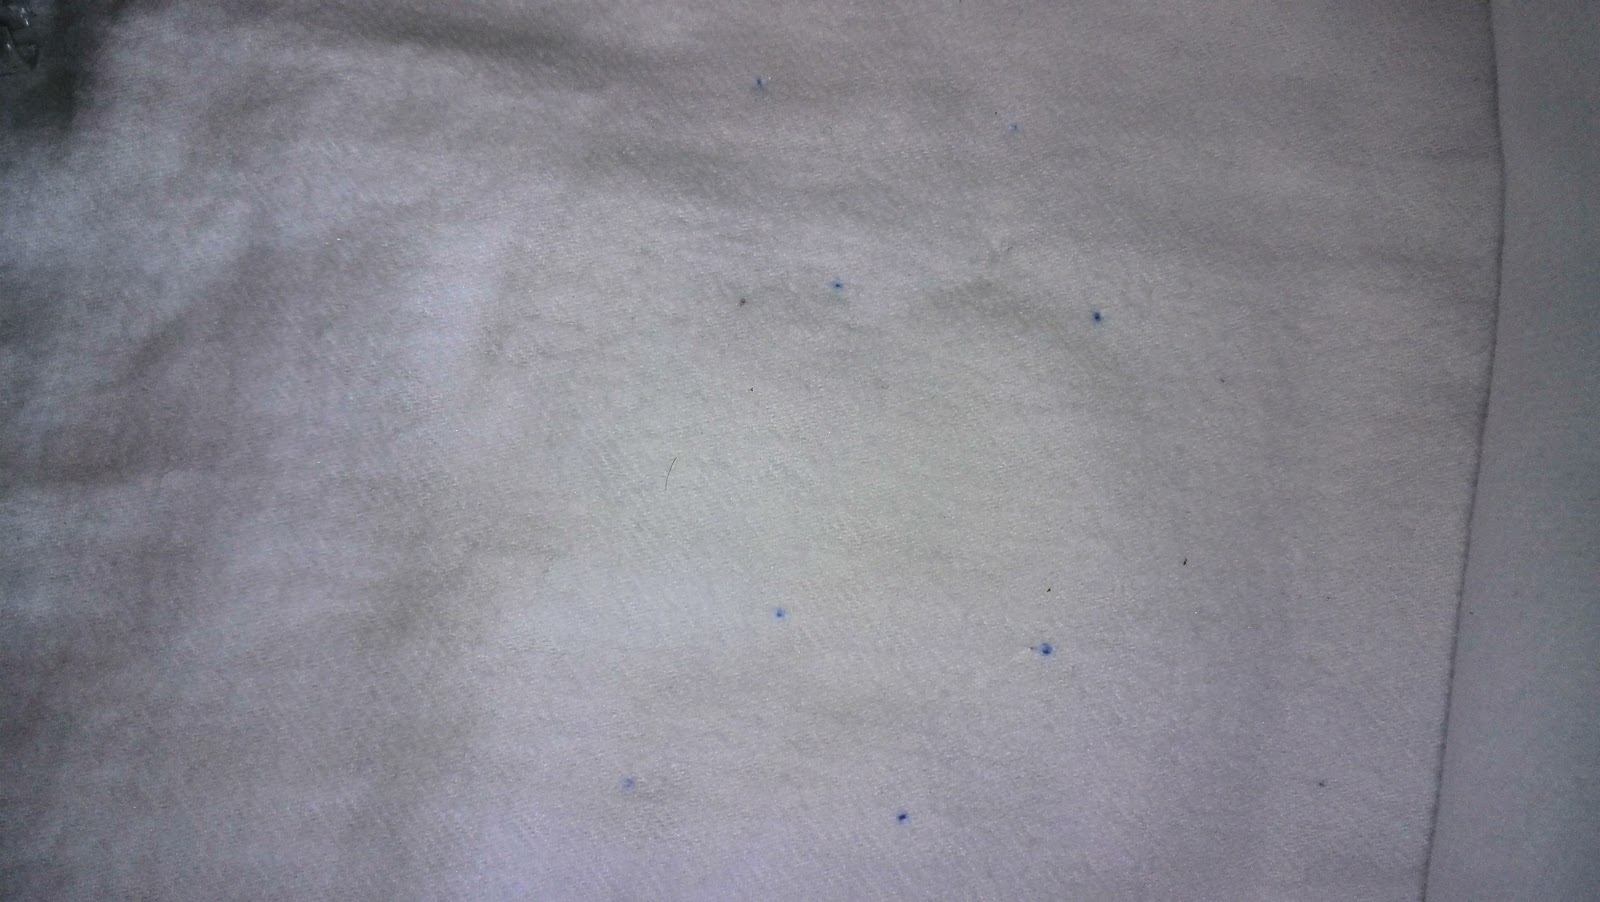
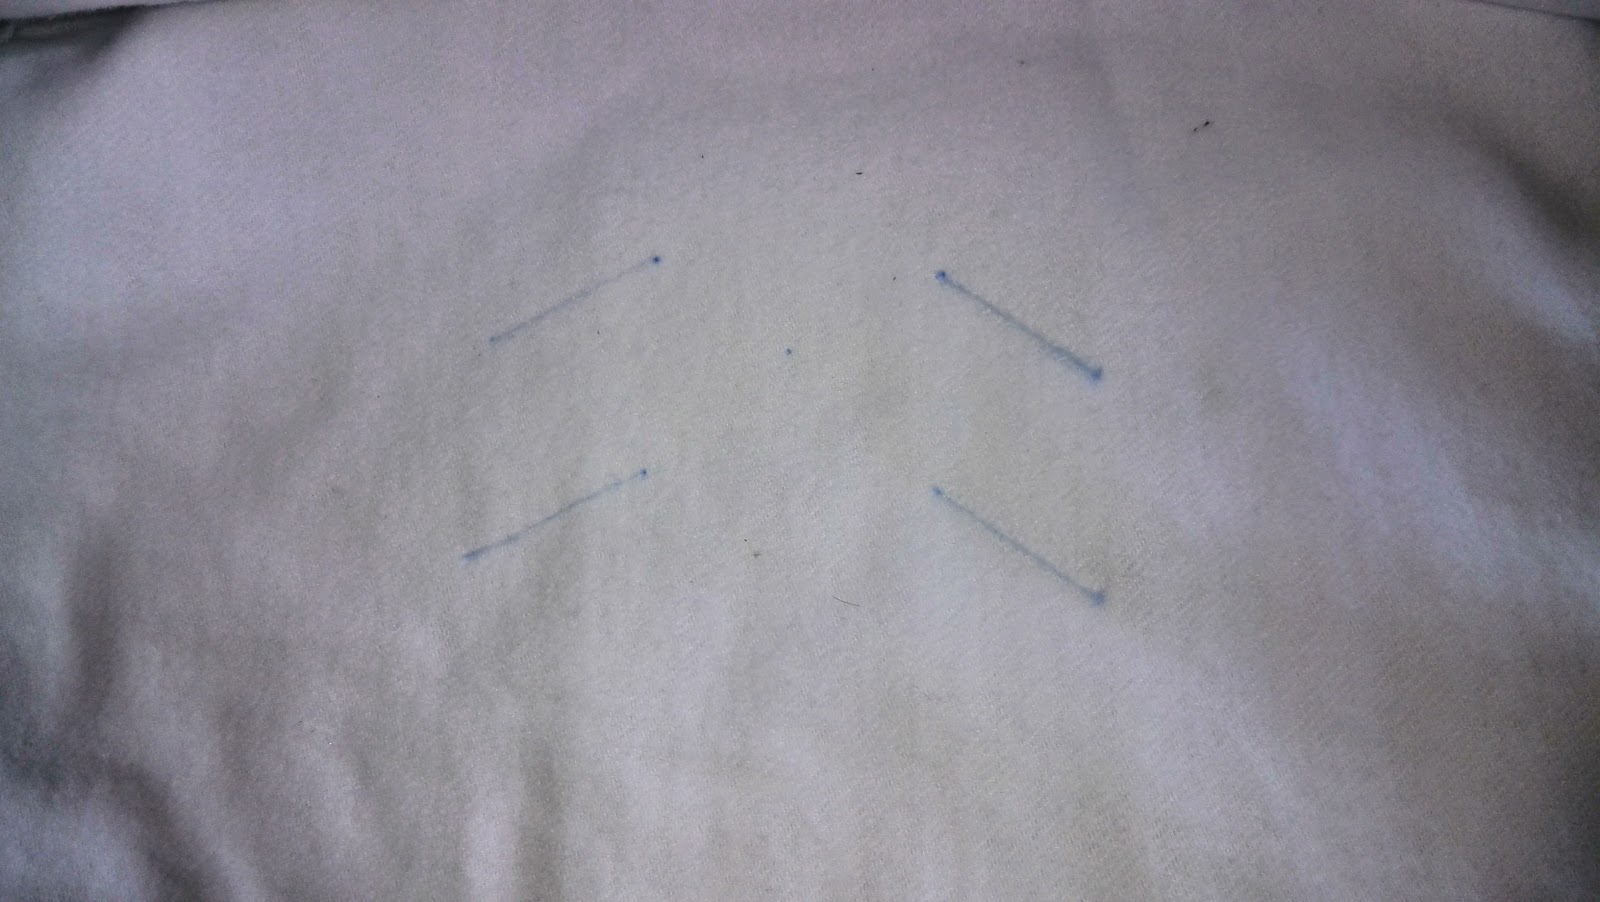
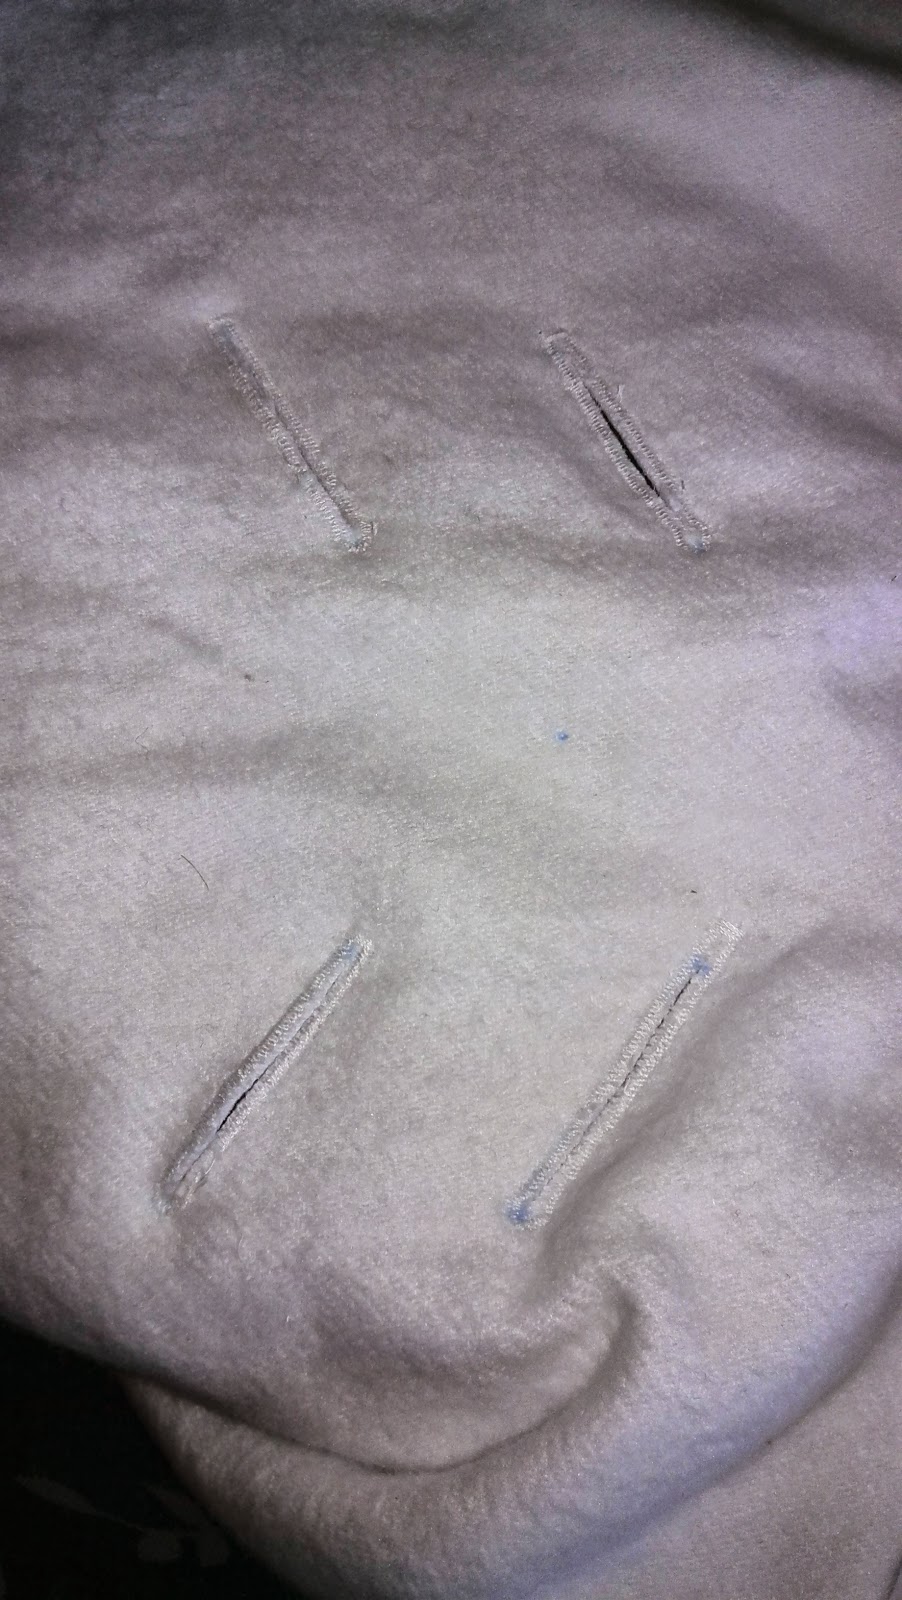
Step 1: Marking buttonholes

PEEPS knoopsgatpatroon opgespeld op de witte molton van het wikkeldekentje
Pin on PEEPS pattern — thank you!
Blauwe markeringspunten op de witte molton voor de plaatsing van de knoopsgaten
Mark length and direction with dots
Vier knoopsgatlijnen in krijt opgetekend op de witte molton van het wikkeldekentje
Lines written in chalk

Step 2: Sewing and Opening

Close-up van de knoopsgatvoet aan de naaimachine, bezig met het naaien van knoopsgaten in de molton
Sewing with the Buttonhole Foot
Vier open gemaakte knoopsgaten in de witte binnenkant van het wikkeldekentje voor de autostoelriemen
4 beautiful buttonholes opened!

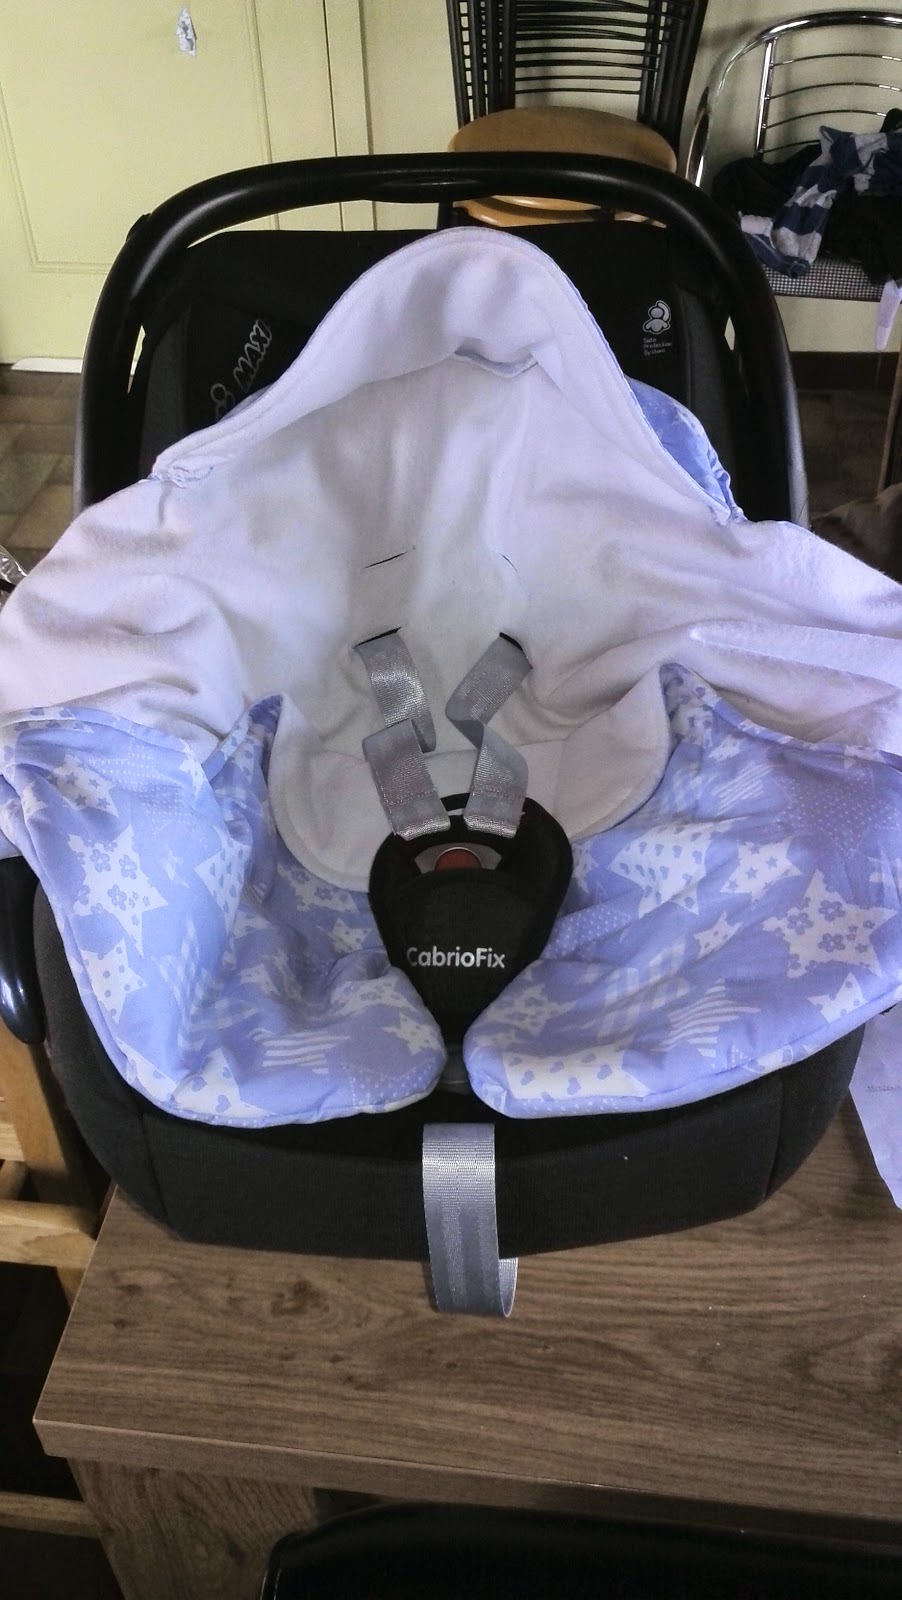
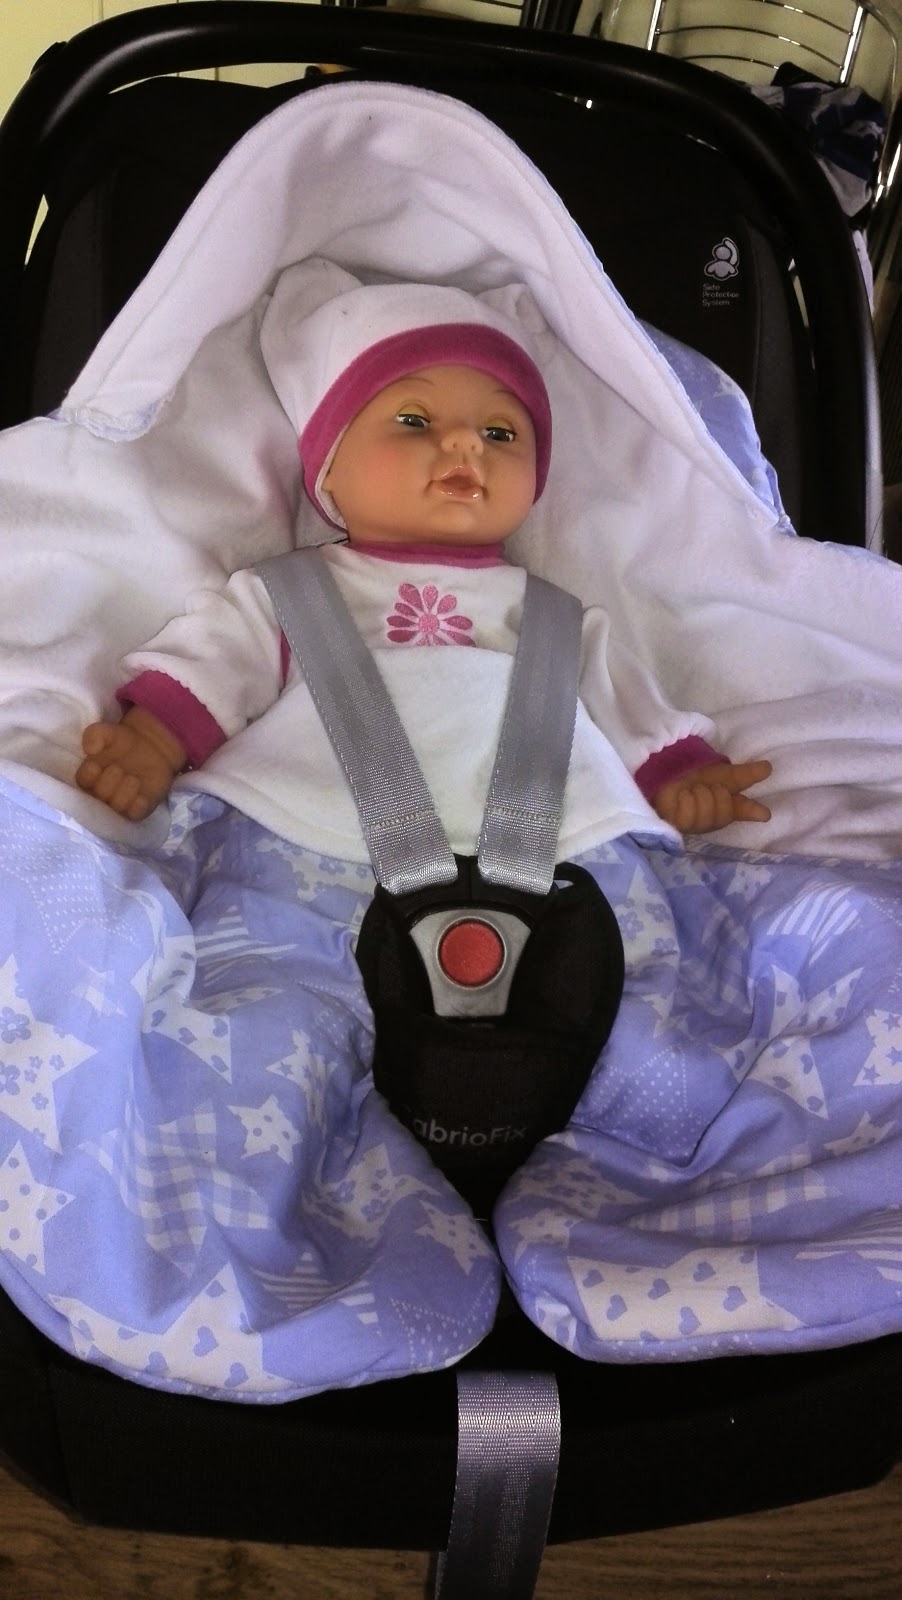
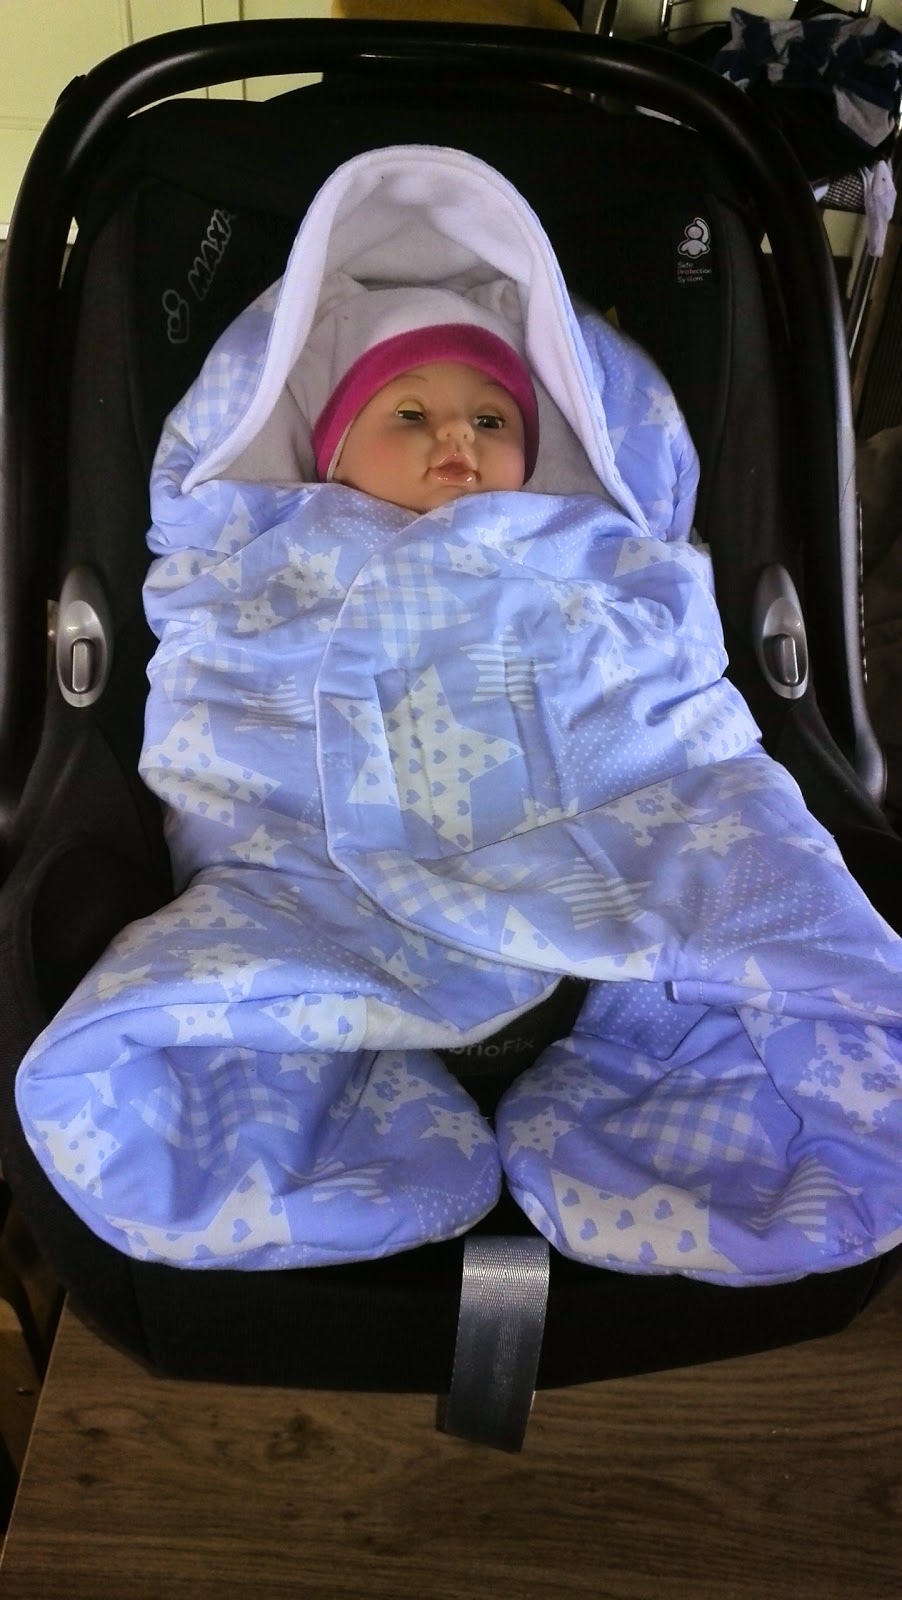
The result: blanket in the Maxi-Cosi

Wikkeldekentje in de Maxi-Cosi CabrioFix met de riemen door de knoopsgaten, nog zonder baby
Wrapping blanket in the Maxi-Cosi — straps through the buttonholes
Proefbaby (pop) in de Maxi-Cosi met het wikkeldekentje, riemen vastgeklikt door de knoopsgaten
With trial baby — straps click perfectly through the holes
Proefbaby (pop) lekker warm ingewikkeld in het dichtgeknoopte wikkeldekentje in de Maxi-Cosi
Cuddled up nice and warm!

Well, that’s it for today! Unfortunately, there are other things that need to be done before the baby arrives that have nothing to do with sewing. Too bad, but what has to be done, has to be done…


Machine I used for this: Brother FS-40 sewing machine.

Available from Amazon DE and Amazon BE.