I finally managed to get back to working on my wrap blanket — and today I finished it! It’s the first time I’ve made something like this, and I didn’t really stick to Kallou’s working method.
At Kallou they work with 1 or max 2 layers, I worked with 3 layers of fabric. And they work with bias or piping — since I was just using up scraps of fabric and didn’t want to hang extra pennies on them, I did the finishing in a completely different way: the technique I used for my crib upholstery.
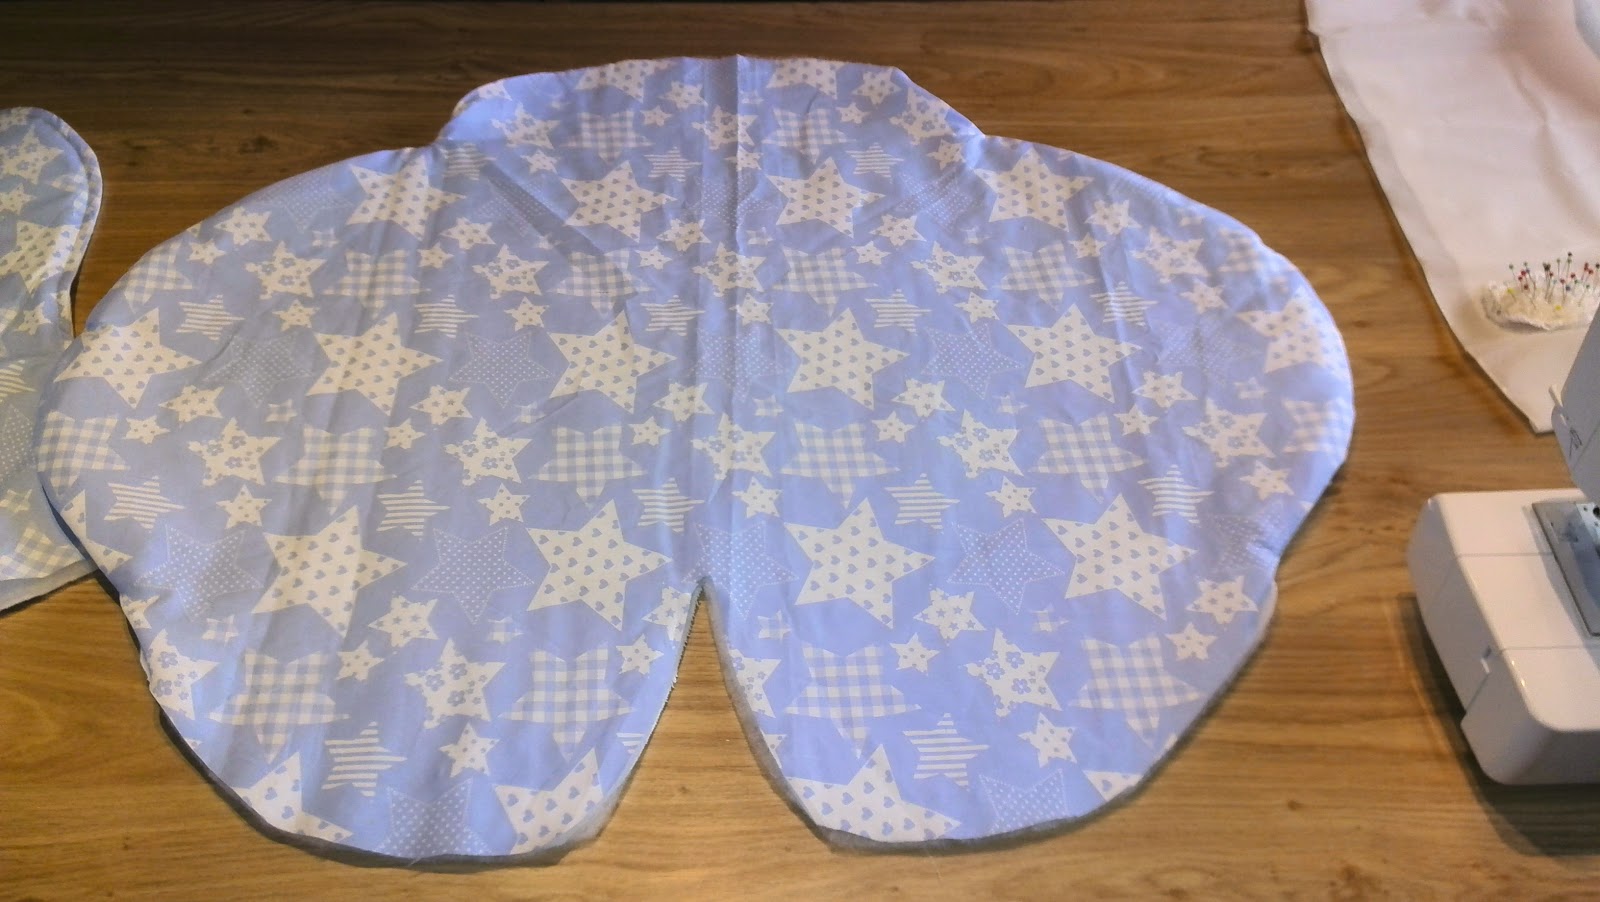
Step 1: Properly stack layers
Last time I had already cut most of the fabric pieces. Now it’s about sewing it together. First place the pieces of fabric on top of each other correctly — you do this with all parts, I only show one here.
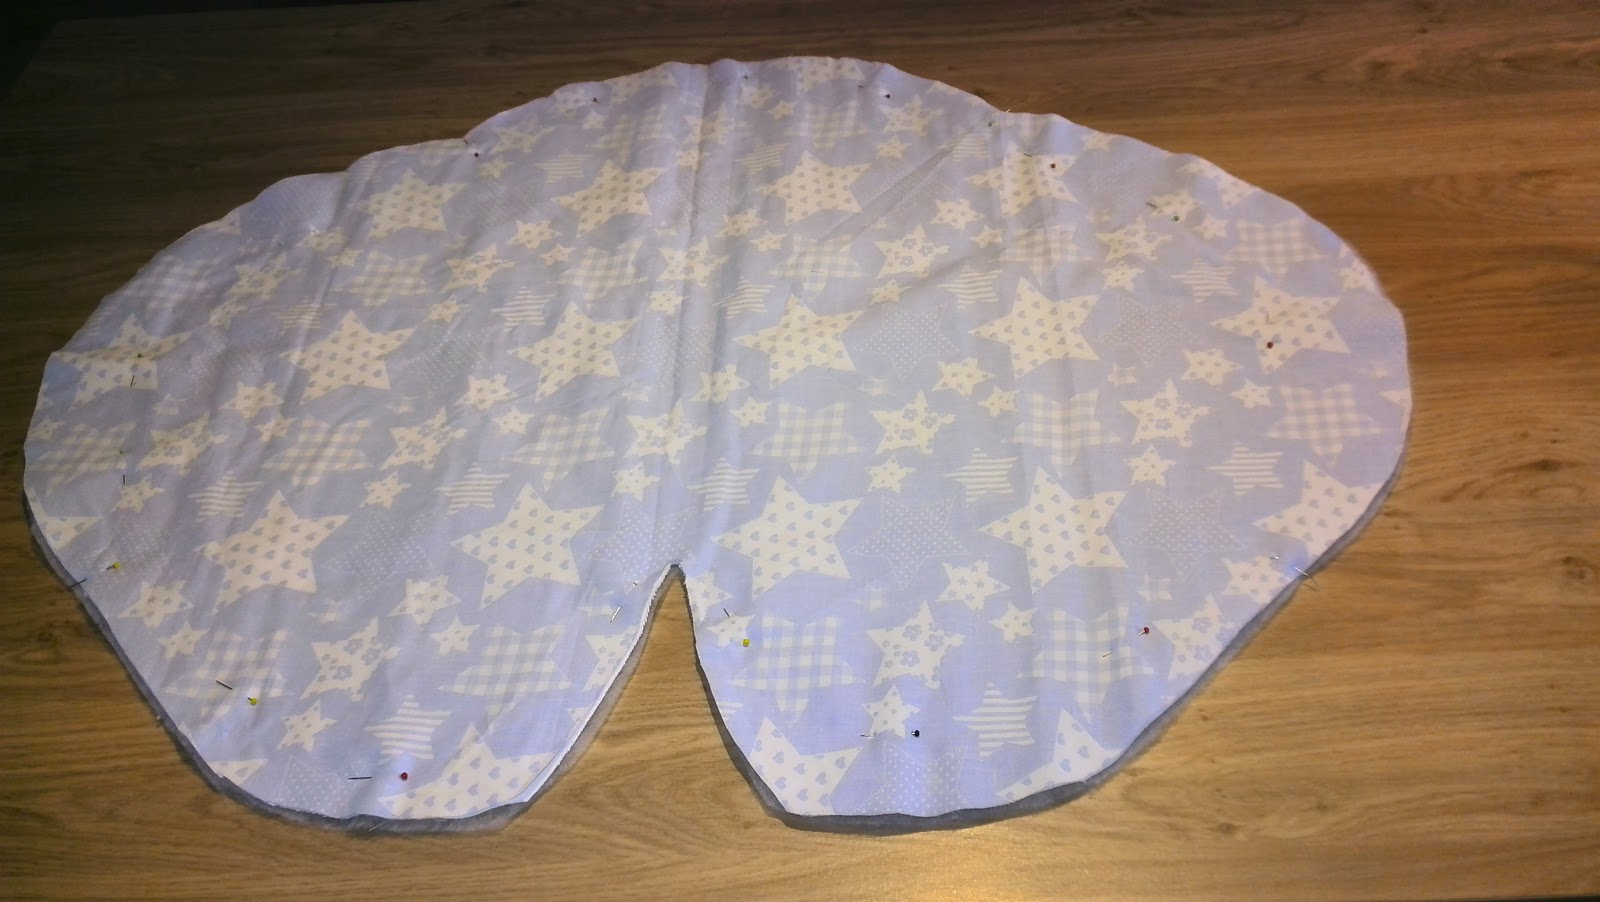
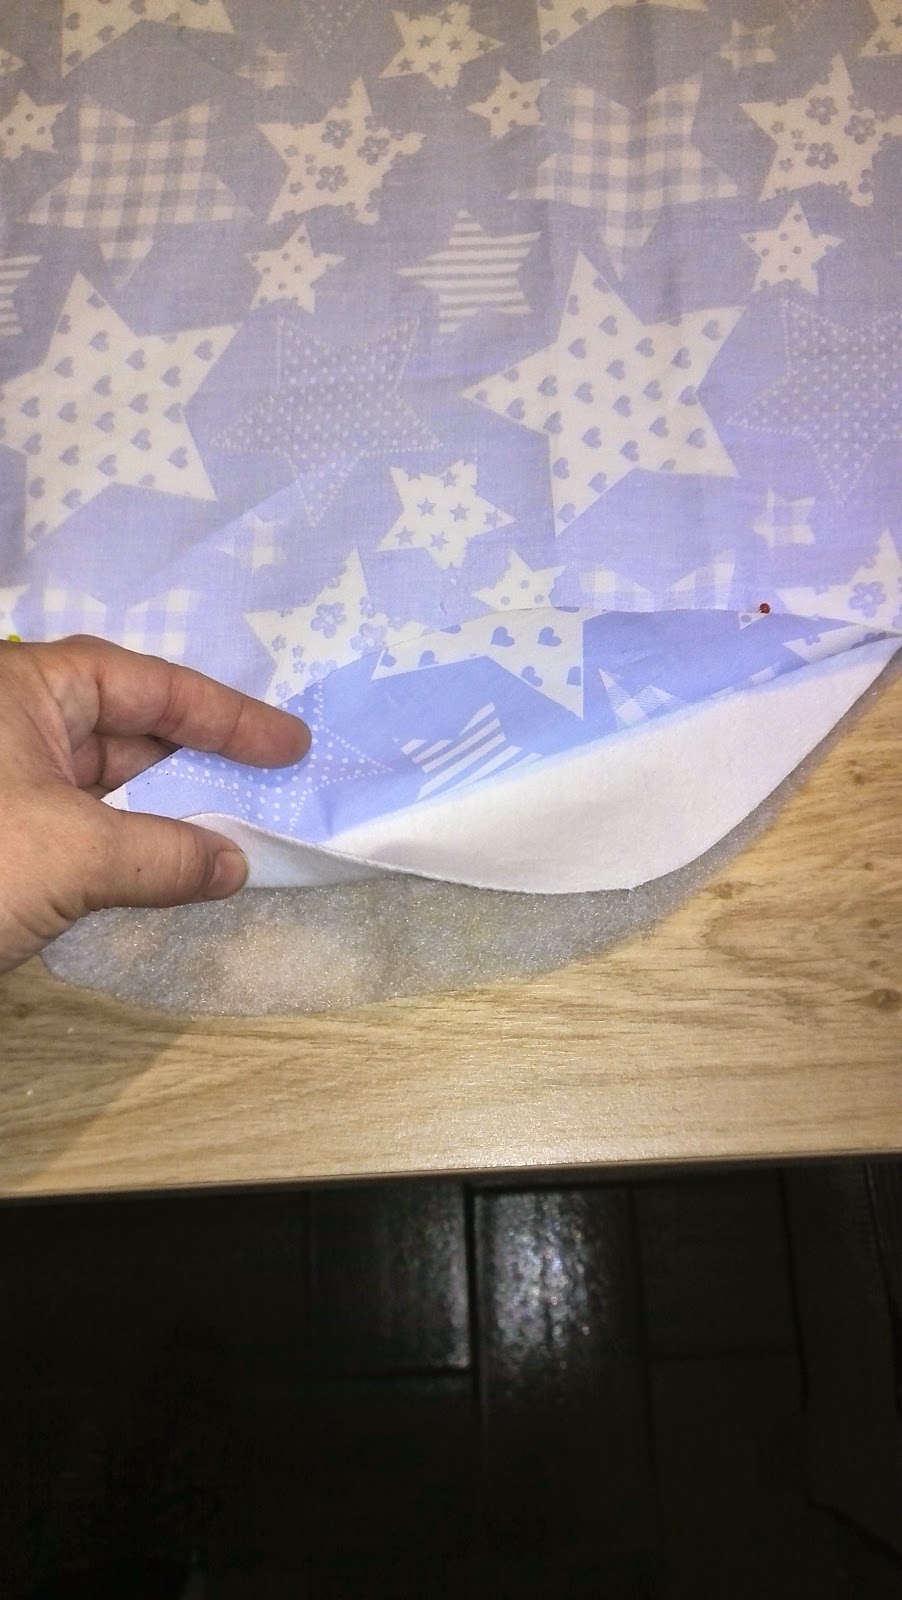
The correct order is: wattine at the bottom, on top of that the inner lining (molton) with the right side up, and on top of that the outer fabric with the right side up down.
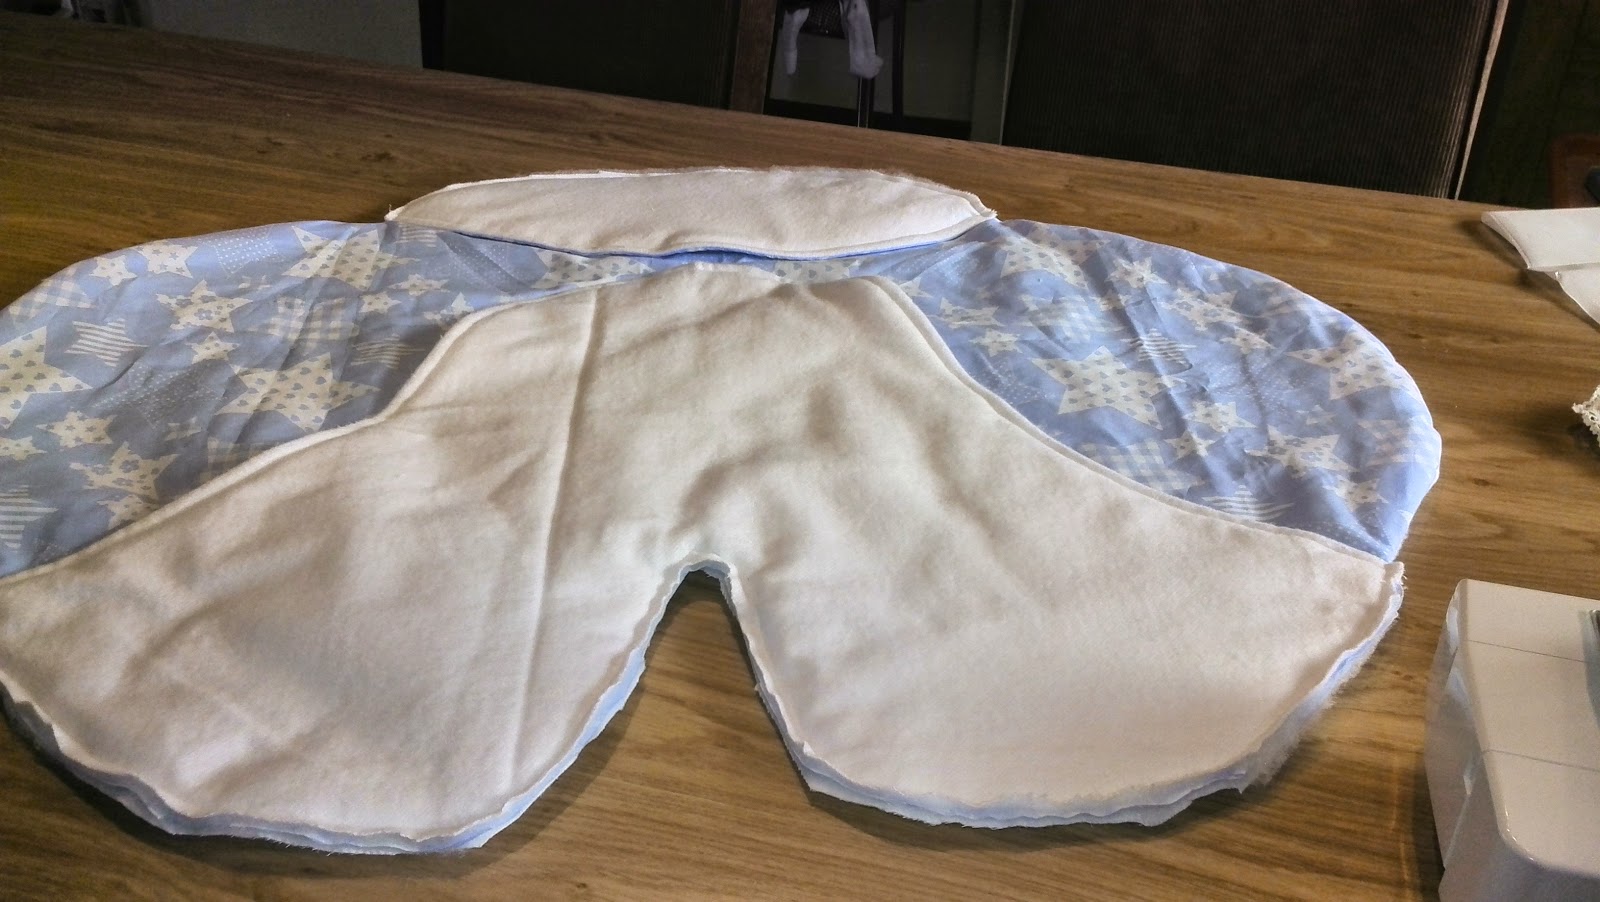
Step 2: Topstitch and turn
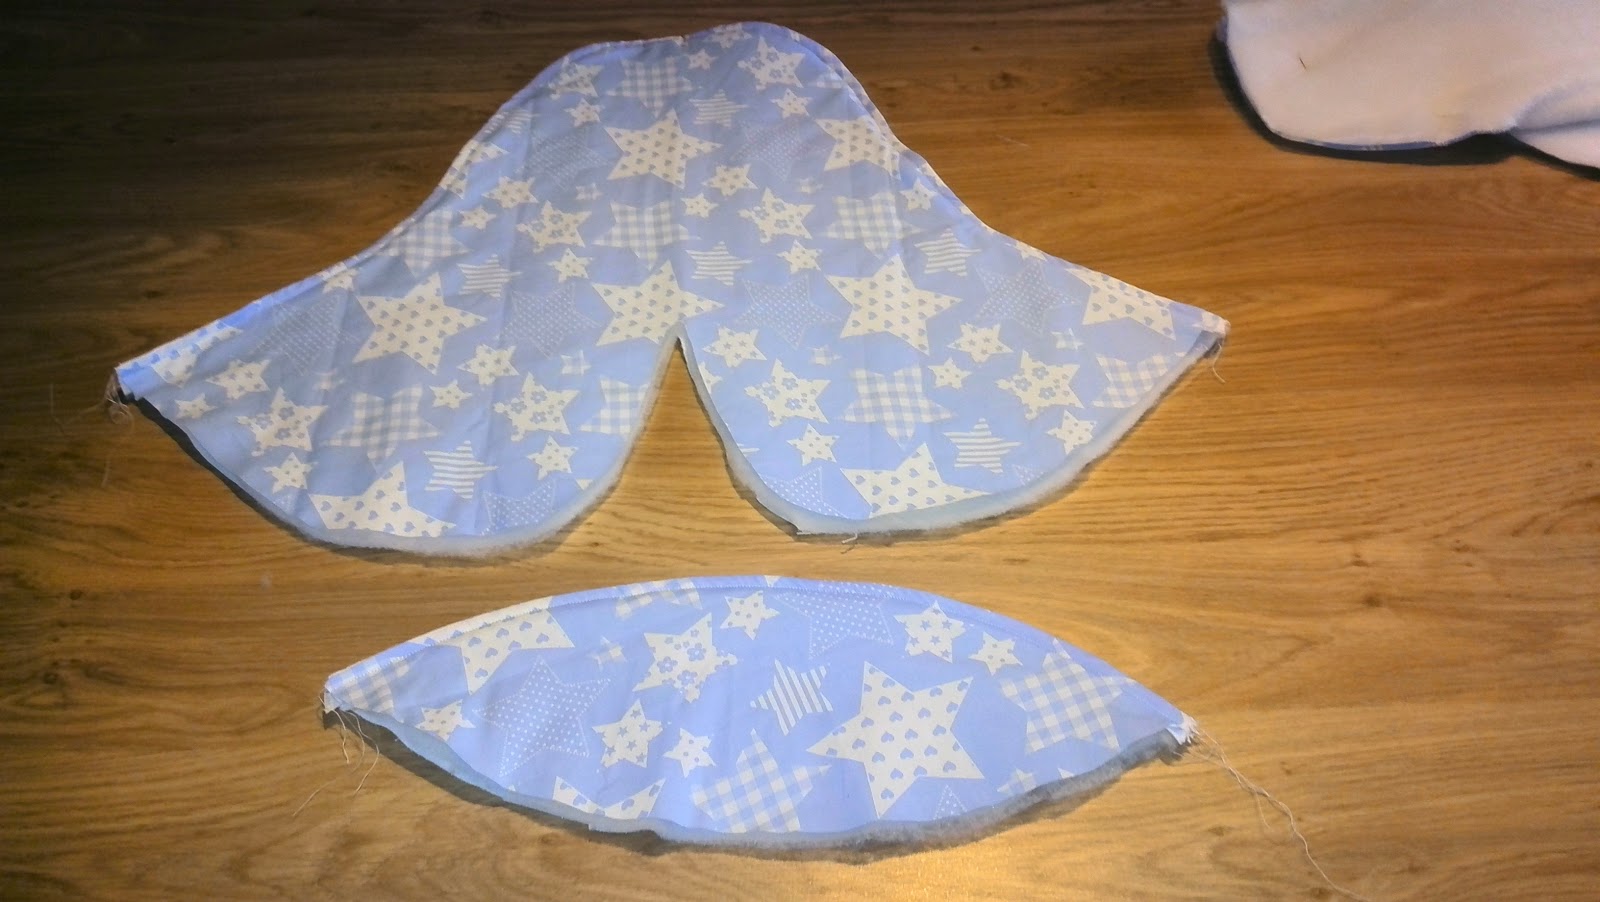
You mark carefully from where to where you need to stitch the parts together — only stitch where nothing else needs to be attached together (i.e. the loose sides).
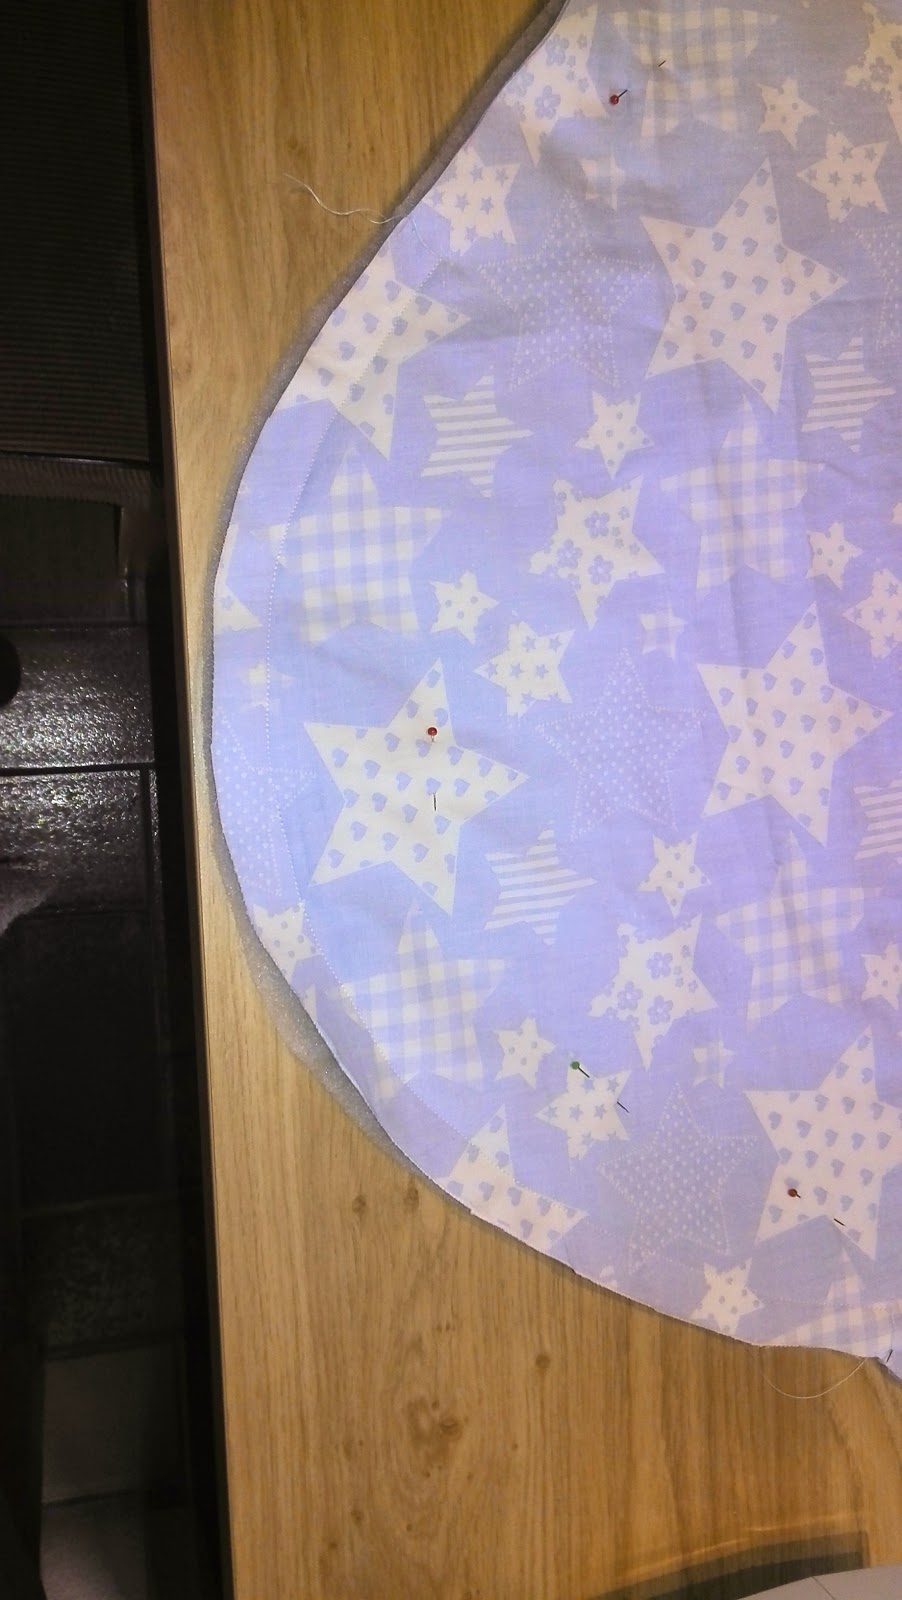
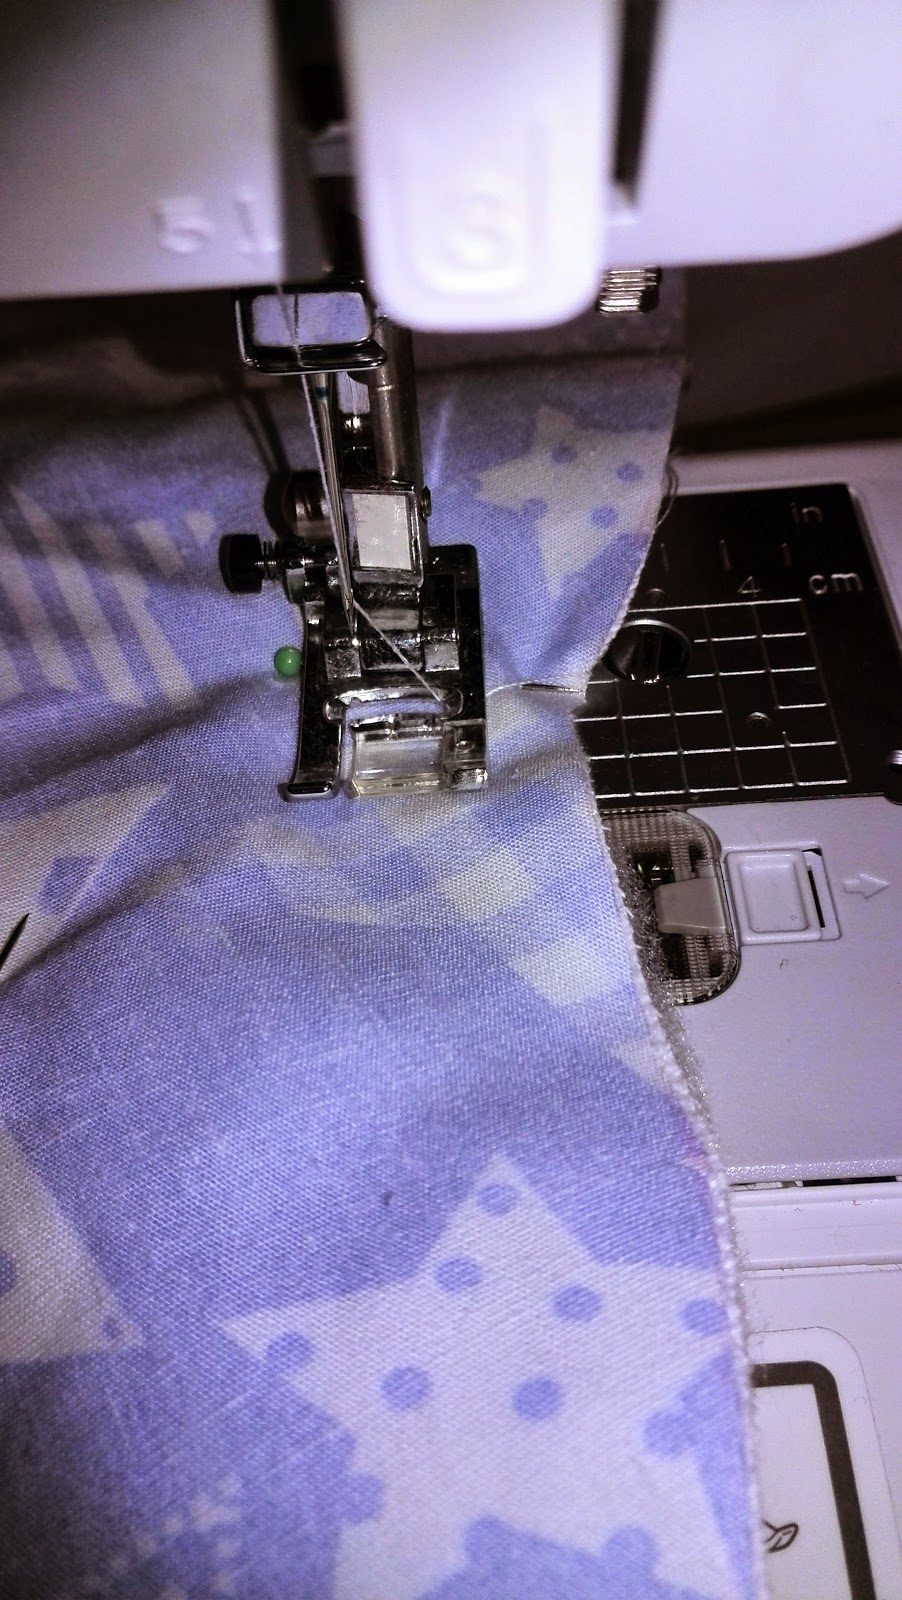
This is the result when you turn it inside out. You can see that I only sewed the sides. I also only finished the loose sides of the cap and feet: topstitch inside out, turn over and then topstitch again half a cm from the edge.
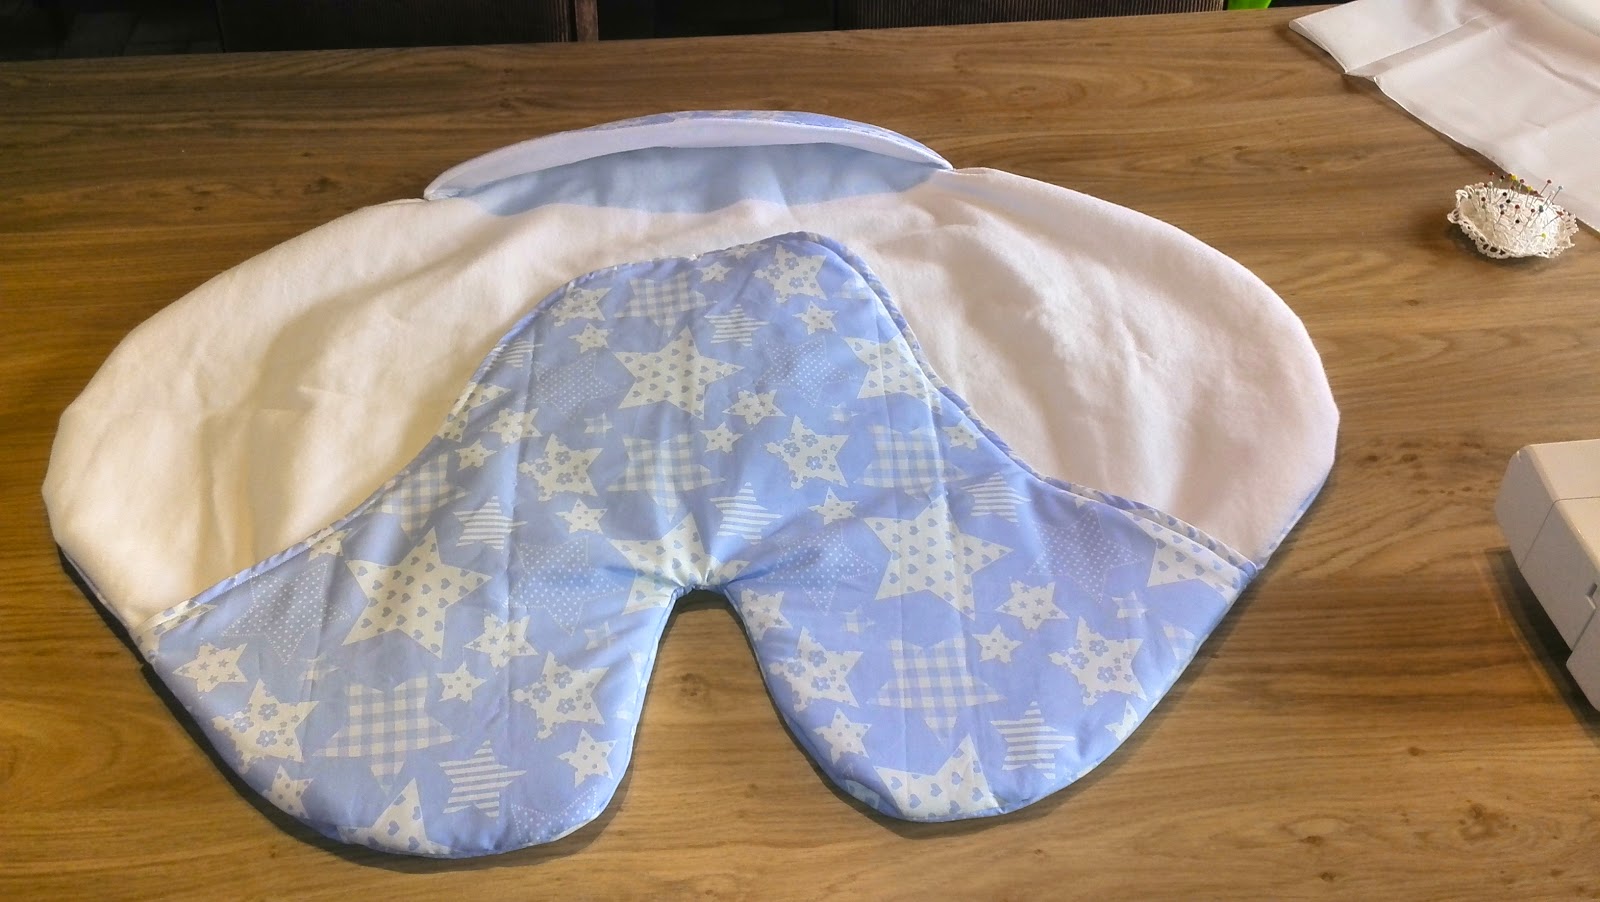
Step 3: Merge Parts

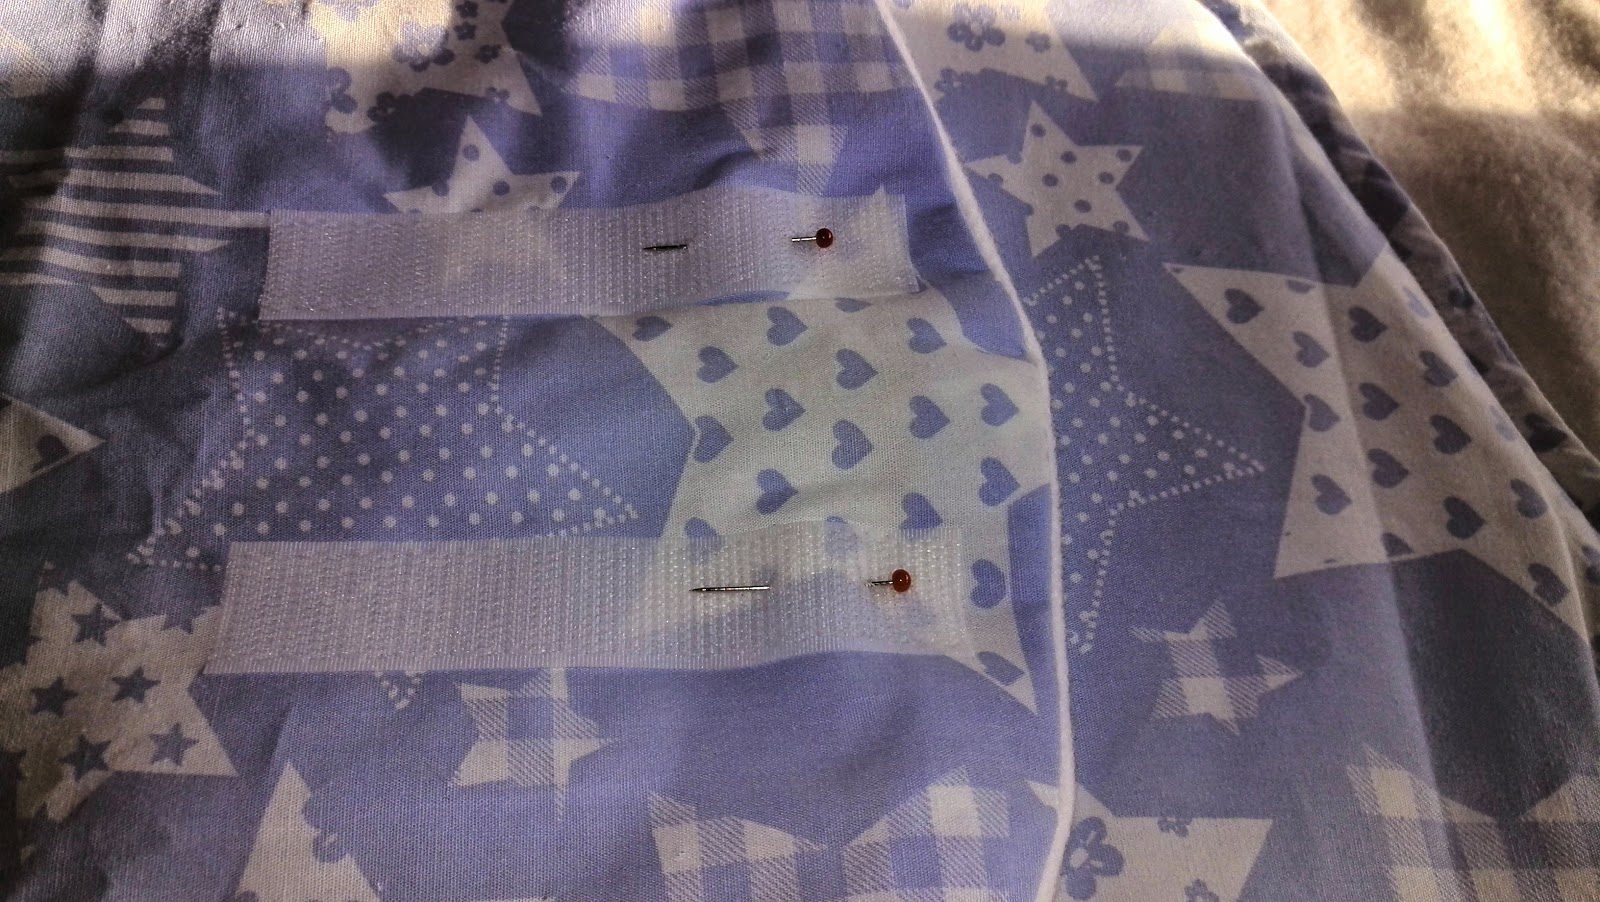
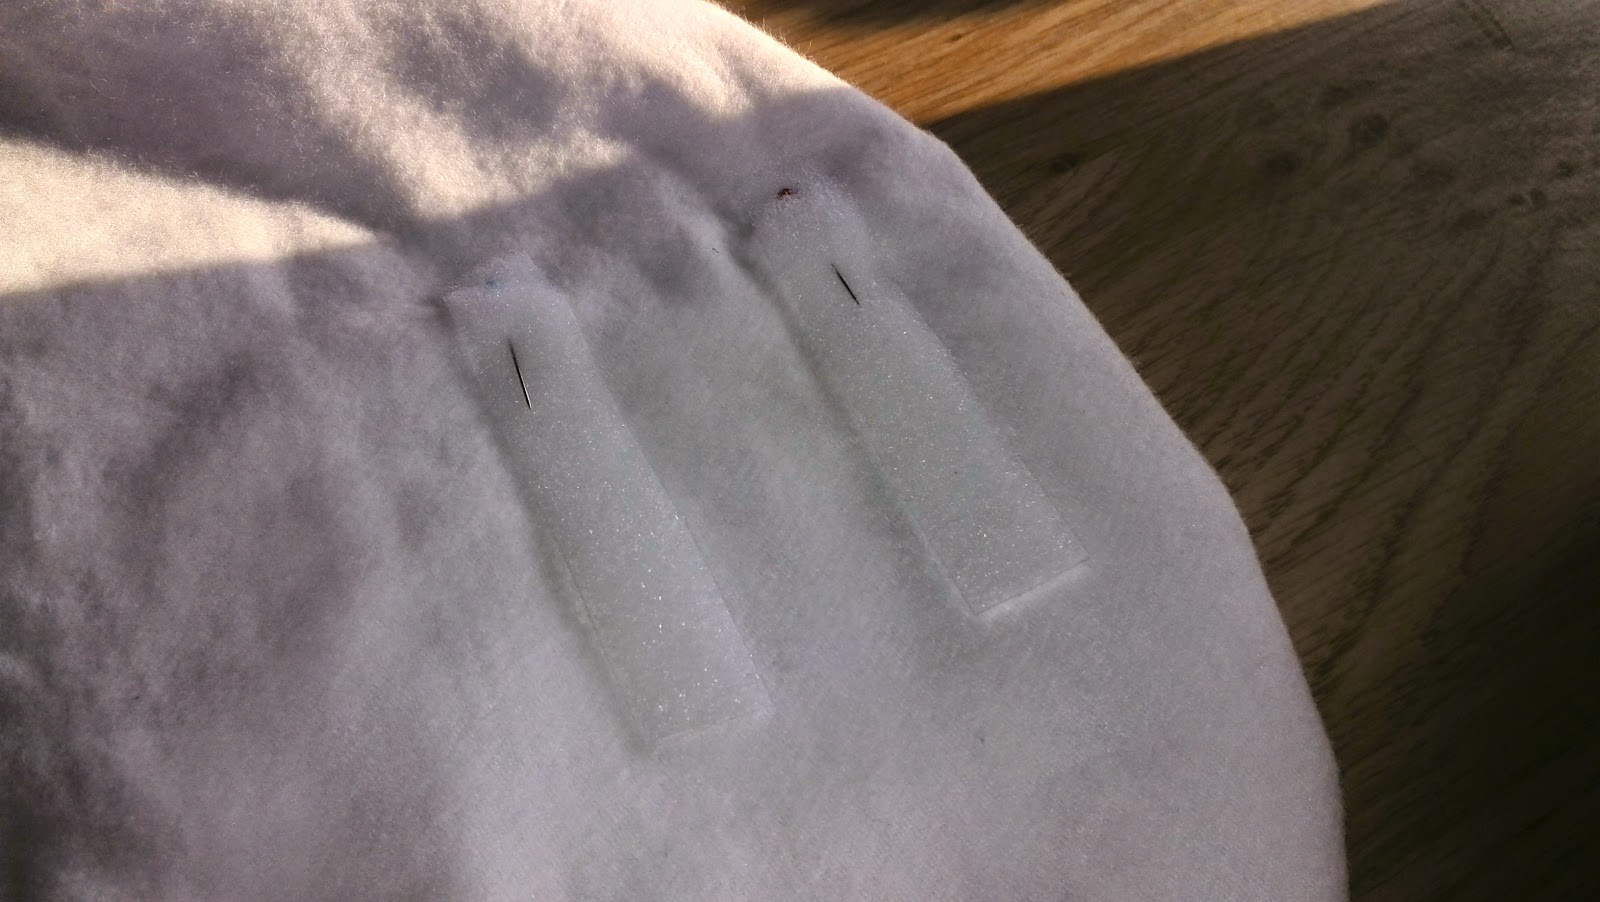
Step 4: Attaching Velcro
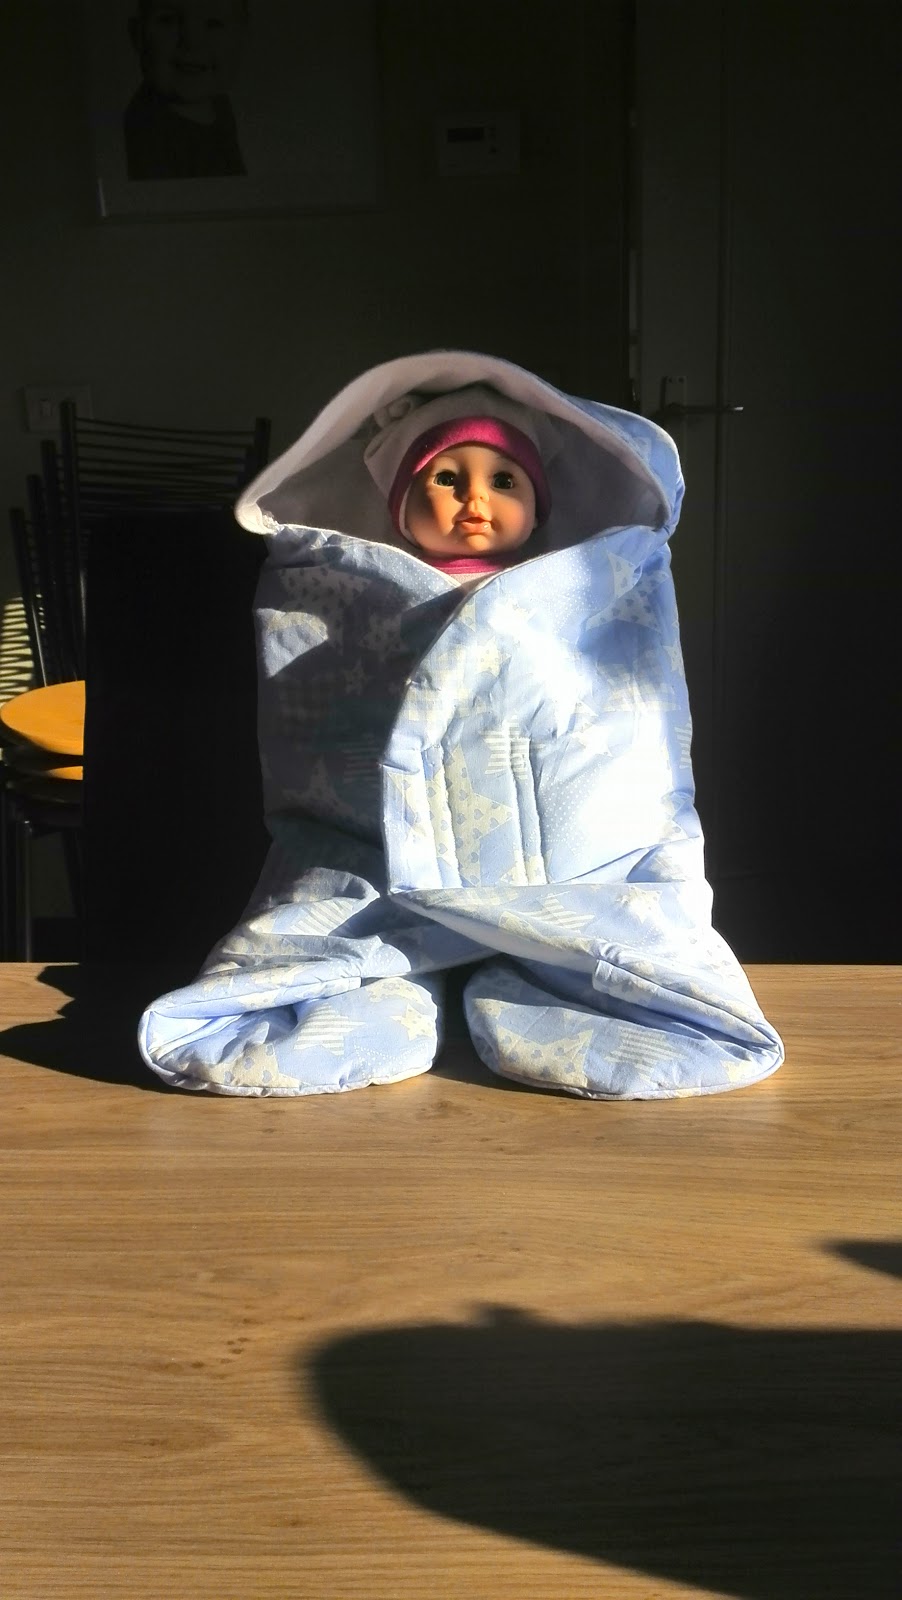
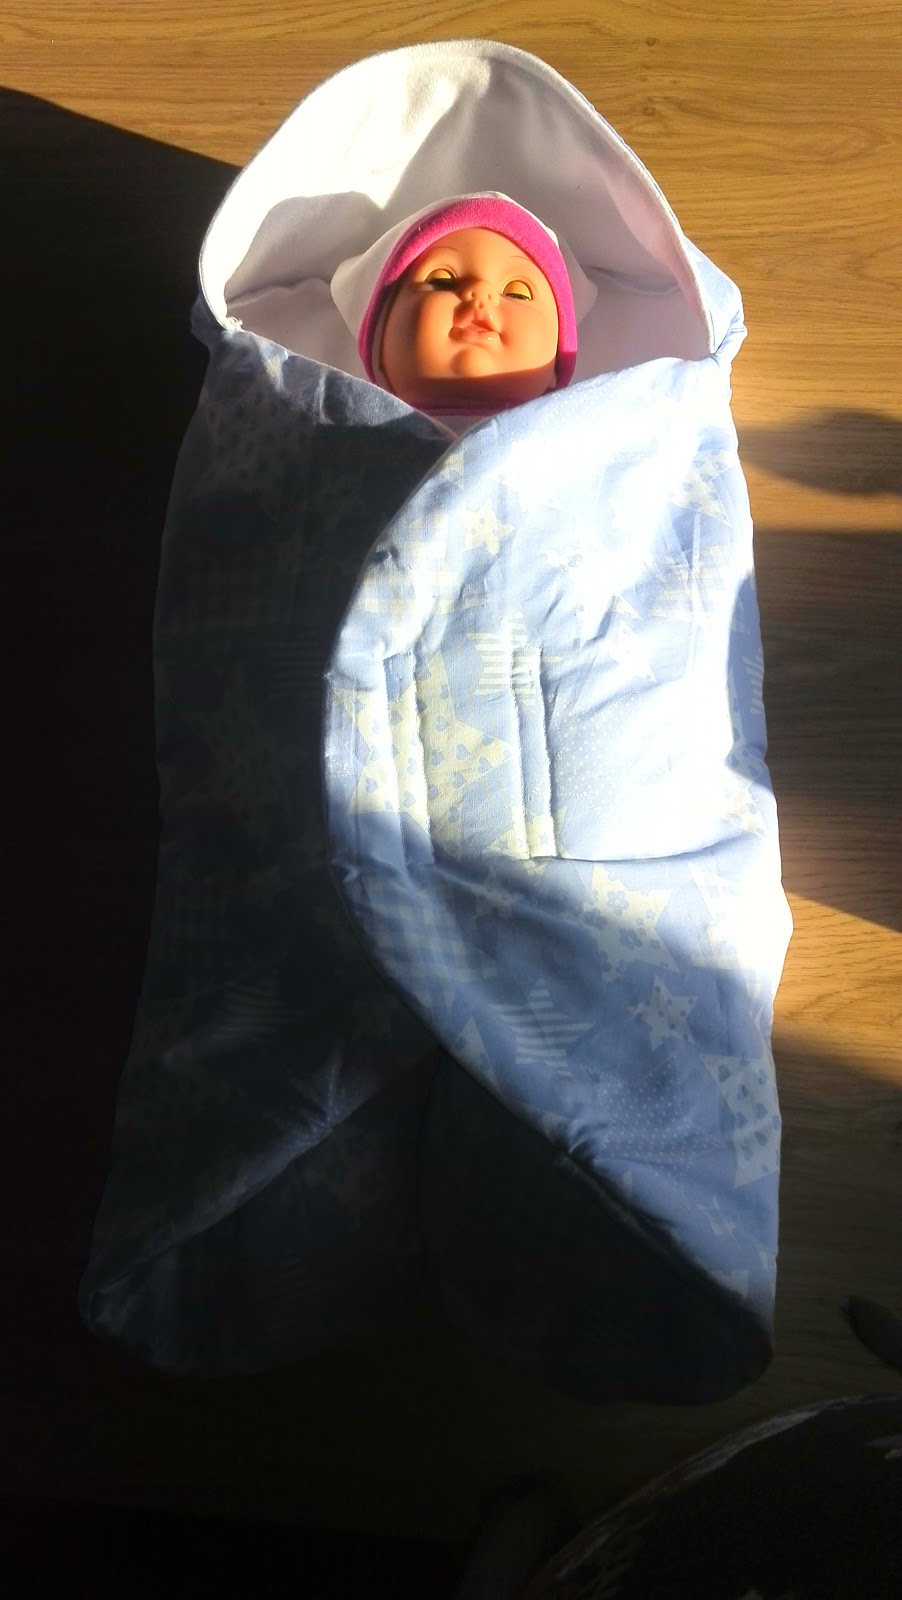
The result
And you’re done! Except for the buttonholes for the straps — it turns out my buttonhole foot isn’t big enough. But that’s for next time…
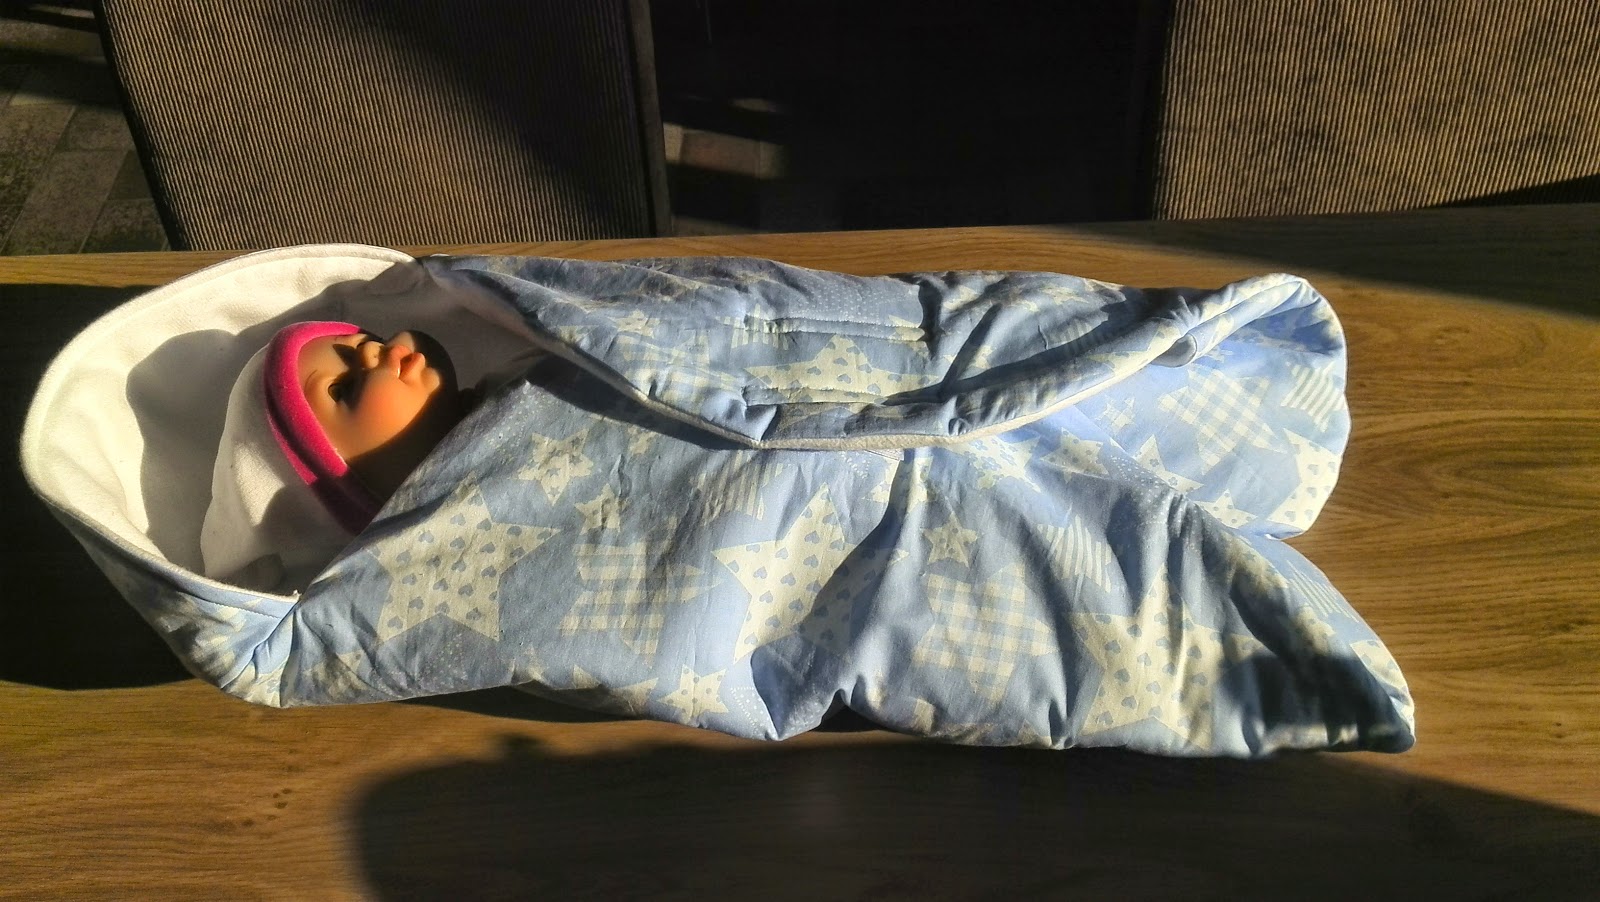
Another thing on my to-do list! The wrap blanket is as good as finished. Until next time!
Machine I used for this: Brother FS-40 sewing machine.